
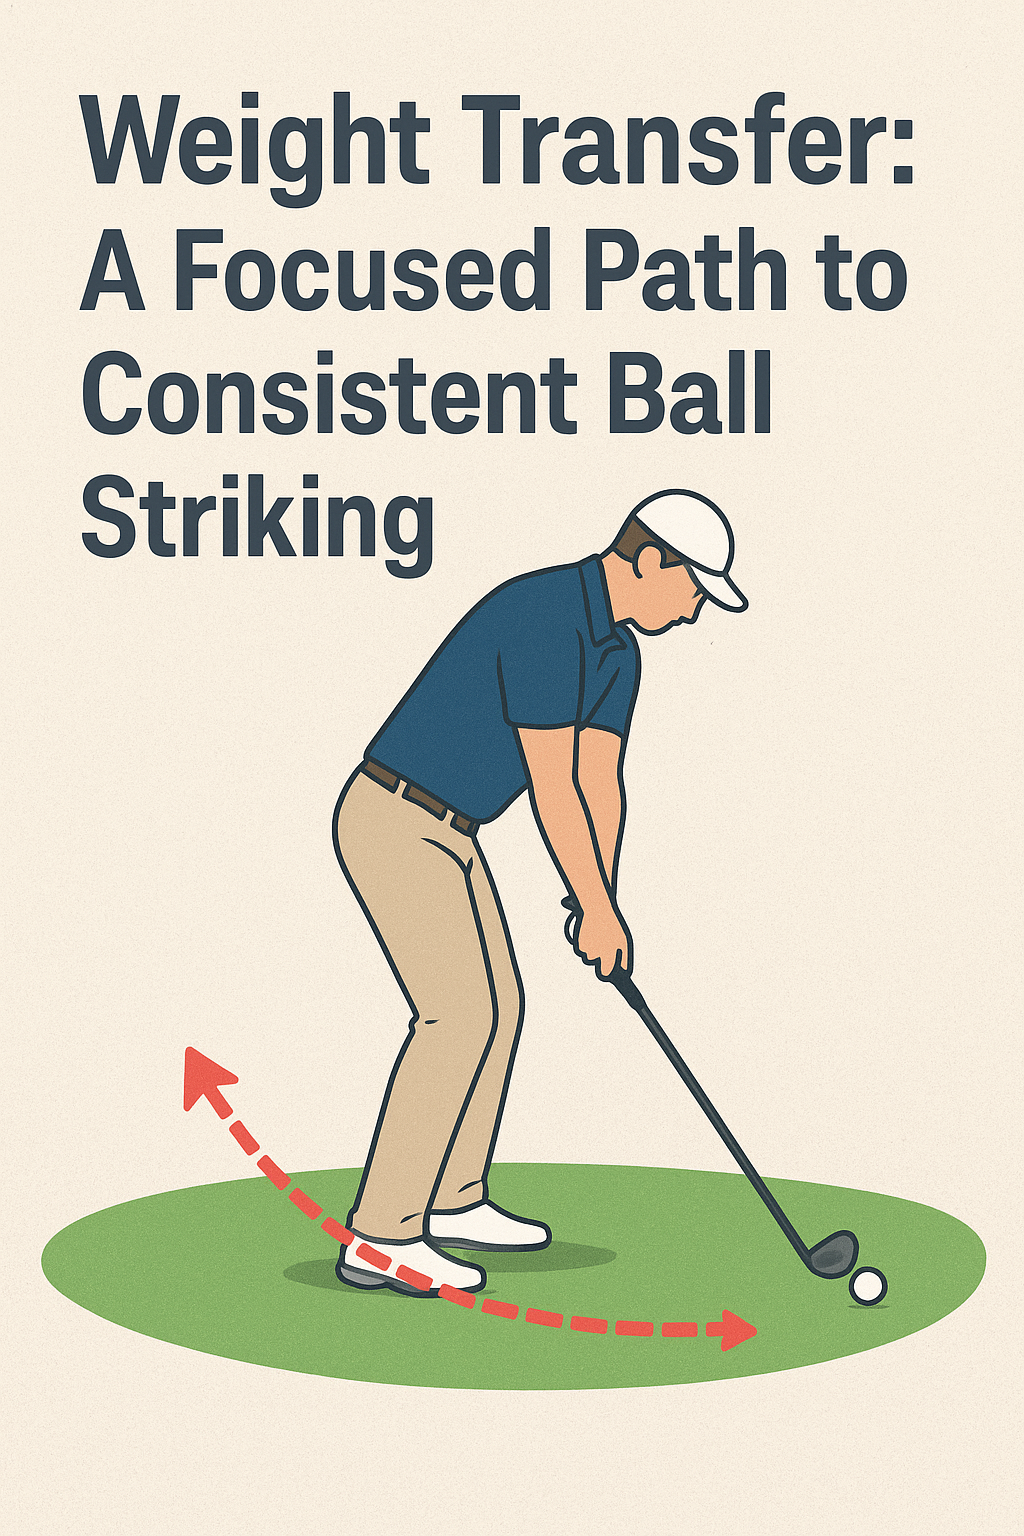
Weight Transfer: A Focused Path to Consistent Ball Striking
In this post we’ll zoom in on one critical element of the golf swing: weight transfer. For most players, getting the body’s weight moving from the back foot to the front foot through impact is what makes contact solid, direction stable, and distance reliable. I’m not teaching the entire swing here—just the essential work of shifting weight smoothly and purposefully.
What the concept is
Weight transfer is the deliberate movement of your center of gravity from the trail (back) foot toward the lead (front) foot as you move from the backswing into the downswing and through impact. In a right-handed swing, this means feeling your weight slide from the right foot to the left foot as you strike the ball and complete the swing. It’s not a big jump or a jerky move—it’s a coordinated progression that helps your hands deliver the clubface to the ball with solid contact and the correct direction.
Why it matters to the golf swing
- Solid contact: As you transfer weight, you compress and connect the club with the ball at the right moment. This reduces fat (hitting behind the ball) and thin (hitting too low on the face) shots.
- Direction control: Proper weight shift helps keep the body and club on the intended arc, which improves accuracy and consistency.
- Power and balance: A smooth transfer loads the body correctly, enabling you to generate clubhead speed without losing balance or control.
What the golfer should feel when doing it correctly
- Light sensation of shifting weight toward the lead side as you start the downswing.
- Push off the trail foot with the lead foot becoming the primary base at impact.
- Chest and hips turning toward the target in sequence, with the hips initiating the movement before the arms release.
- Finish with most of your weight on the lead foot and the trail foot comfortably released off the ground.
2–3 common mistakes golfers make with this concept
- Mistake 1: Staying back on the trail foot through impact. The body doesn’t rotate and the hands can lag, leading to fat or weak fades and loss of distance.
- Mistake 2: Early weight shift to the lead foot before impact. If you sit into the lead side too soon, you can “flip” the wrists or jump at the ball, reducing control.
- Mistake 3: Uneven weight transfer or wiggling during the swing. Slipping or swaying stalls your swing arc and makes contact inconsistent.
Simple, actionable fixes for each mistake
- Fix for Mistake 1: Practice feeling the weight move progressively from back to front during the downswing. A simple cue is to imagine you are brushing your back pocket toward the target with your belt buckle as you rotate.
- Fix for Mistake 2: Slow the transition and pause briefly at the start of the downswing with your weight slightly centered on the trail foot. Then move the weight forward as you rotate into impact. This helps you use your hips and torso in the correct order.
- Fix for Mistake 3: Build a stable base first. Keep your feet grounded lightly, avoid large lateral slides, and practice with a small step heel-to-toe as you shift—this trains a controlled transfer rather than a collapse or a slide.
One easy practice drill you can do at home or on the range
Step-Through Weight Transfer Drill (no heavy hitting needed)
- Stand with your feet close together and knees soft. Hold the club lightly as if you’re about to swing.
- Take a small backswing, then start your downswing. As you do, step your lead foot forward about a foot (or a comfortable distance) toward the target. Your weight should shift onto the lead foot as you complete the swing.
- Pause for a moment at impact with most of your weight on the lead foot, then finish normally. Repeat 8–12 times, focusing on a smooth, coordinated transfer rather than speed.
- Progress by adding a ball once the feel is comfortable, keeping the same weight-shift sensation through impact.
Closing notes
Weight transfer is a tangible, repeatable element of the golf motion that supports solid contact and reliable direction. Practice the feeling, not just the swing path. With patience, the transfer becomes a natural part of your rhythm, helping you hit more consistently with less effort.
Weight Transfer: A Focused Path to Consistent Ball Striking
weight transfer is one of the most reliable levers for improving ball-striking consistency across sports. Whether you’re swinging a golf club,stroking a tennis ball,or driving a baseball,how you move your weight from one foot to the other directly shapes contact quality,power,and accuracy. In this article, you’ll find a clear, sport-spanning guide to understanding weight transfer, the biomechanics behind it, practical drills you can implement today, and real-world examples that show how small changes can yield big gains.
What is weight transfer and why it matters for ball striking
Weight transfer refers to the intentional movement of your body weight from one side of your base (usually the trailing leg) to the other (the leading leg) during the execution of a ball-striking action. In most swinging sports, you start with a load on the back foot, then shift weight toward the front foot through the impact zone. When done correctly, weight transfer helps you:
- Maintain balance and control through the central axis of your body
- Increase contact quality by aligning the body’s momentum with the clubface or racquet face
- Maximize power generation by loading and releasing the kinetic chain efficiently
- Aid consistency by reducing compensations in the swing or stroke
- Improve shot trajectory and depth by modulating the amount of forward momentum at impact
effective weight transfer is not about rushing to the front foot; it’s about a controlled, timed shift that coincides with the point of contact and the follow-through. When the transfer is too early or too late, contact quality frequently enough suffers, leading to mishits, off-center strikes, or inconsistent ball flight. The goal is to choreograph a smooth, repeatable sequence that aligns your hips, torso, and limbs with the target.
Biomechanics of weight transfer: phases and cues
understanding the phases helps you train more accurately. In most weight-transfer models, three core phases describe the movement: loading, transition, and release. Each phase has practical cues you can use during practice:
Phase 1 — Loading (back foot to ready position)
- Cues: “Set the hips, brace the core, feel the ground under the back foot.”
- What happens: The majority of initial load shifts to the back foot,storing potential energy for the swing or stroke.
Phase 2 — Transition (weight moves toward the front foot)
- Cues: “Stabilize the pelvis, rotate the hips, and step into the front foot.”
- What happens: The hips and torso rotate, guiding the center of mass toward the target line for consistent impact.
Phase 3 — Release and post-impact (front foot and finish)
- Cues: “Finish tall, stay connected, and allow the weight to flow onto the front foot.”
- What happens: The body’s momentum transfers through the lead leg, guiding the final position and stabilizing balance after contact.
Biomechanics emphasize that hips play a pivotal role. Efficient weight transfer begins with pelvic stability and ends with a well-timed hip rotation that drives the body toward the target. A common pitfall is over-rotating the upper body while the hips lag, which muddies contact. Conversely, too much upper-body hesitation can stall momentum and degrade contact quality.
Benefits of proper weight transfer for consistent ball striking
- Increased contact quality: The center of the clubface or racquet face meets the ball more consistently.
- Better power transfer: Efficient energy flow from legs through the torso to the implement yields stronger, more repeatable shots.
- Enhanced balance: Shifting weight with control reduces wobble and off-center strikes.
- Improved accuracy and trajectory control: Proper transfer aligns your body’s momentum with your intended path.
- Injury prevention: Balanced loading and unloading reduces stress on joints and promotes safer mechanics.
Practical tips to cultivate reliable weight transfer
- Start with a solid stance: A stable base supports controlled weight shift. Your balance should feel natural from the feet up, not forced.
- Use ground contact cues: Feel the pressure shift from the heel toward the ball of the lead foot as you approach impact.
- maintain a quite head position: Let the trunk rotate while keeping the head steady to preserve line of sight and timing.
- Sync breath with transfer: A controlled exhale during impact can help you maintain rhythm and reduce tension.
- Incorporate tempo: Practice at a slower tempo to internalize the correct transfer sequence before increasing speed.
Drills and routines to master weight transfer
Below are sport-spanning drills designed to reinforce the weight-transfer pattern. Start with slow, purposeful reps and gradually add speed while maintaining form.
1) Wall lean drill (fundamental transfer awareness)
Stand about 6–8 inches from a wall with your back foot slightly behind your front foot. Lean slightly into the wall with your lead foot while keeping your weight anchored on the back foot. Then shift weight forward into the lead foot as you simulate impact. This drill helps you feel the loading and transition without the ball.
2) Step-through rhythm drill
Start with a modest stance. Step toward the target with your front foot as you rotate your hips and transfer weight forward. Finish on your lead foot with a controlled, balanced finish. This drill reinforces the sequencing of loading, transitioning, and releasing weight.
3) Slow-motion swing or stroke (quality over speed)
Perform the entire swing or stroke in slow motion, counting phases: load, transition, release. Focus on how the weight moves from the back foot to the front foot and how the hips drive the movement.This drill is excellent for building kinesthetic awareness and muscle memory.
4) Mini-ladder footwork (timing the transfer)
Use a speed ladder or just lay out lines on the ground. move through each square with a controlled weight shift from back foot to front foot, aligning with the cue that you’re “stepping into the shot.” It trains the lower body to coordinate with the upper body during the transfer.
5) Release cue drill (finishing solidly)
With a light grip and relaxed shoulders, practice finishing with weight fully on the lead foot. This trains the brain to associate forward weight transfer with a stable, balanced finish.
| Drill | Focus Area | How to Perform | Common Cue |
|---|---|---|---|
| Wall lean drill | Load and transfer | Stand 6–8 inches from wall, lean into back foot, then shift forward into lead foot | “Load, shift, finish” |
| Step-through rhythm | Sequenced transfer | Step forward with lead foot while rotating hips | “Step and rotate” |
| Slow-motion swing | Kinesthetic feedback | Perform full motion slowly, pause after impact | “Feel the timing” |
| Mini-ladder footwork | Footwork coordination | Move through ladder lines with weight shift | “Step, shift, land softly” |
Progression and tracking
Track your progress by recording a few key metrics: contact location (center of the face), balance at impact, and finish position. Use a simple rating scale (1–5) for each metric after every session. Review weekly to identify patterns and adjust drills accordingly. The goal is consistent scores across sessions, not perfect scores every time.
Case studies and first-hand experiences: real-world outcomes
Case study: Golf—feeding the kinetic chain
A 42-year-old golfer who struggled with an inconsistent driver found stability by emphasizing weight transfer during the backswing and through the ball. After eight weeks of targeted drills (wall lean,slow-motion swings,and step-through rhythm),average fairways hit improved by 12%,with a noticeable reduction in pushes to the right. The key was learning to load on the right leg during the backswing, then quietly release weight into the front foot at impact, aligning hips with the target.
Case study: Tennis—optimizing groundstrokes
In tennis, weight transfer translates to steadier groundstrokes and more consistent depth control. A player with a habit of late weight shift saw improved stability by integrating a deliberate pause during the transition phase and rotating the hips to create a forward momentum that lined up with the ball’s contact point. Over a three-month period, winners-per-set increased by a meaningful margin, evidenced by a higher rate of clean contact and fewer off-center hits.
Case study: Baseball—timing the swing through the legs
In baseball, the issue frequently enough comes down to over-rotation or collapsing into the front side. A coaching plan focusing on leg-driven transfer—back-to-front load, then a controlled forward shift into the front foot—helped a youth batter achieve more consistent line drives. The batter reported less shoulder drag and a more repeatable swing path, translating into a higher on-base percentage during practice games.
Common mistakes and how to fix them
- Over-rotating the upper body without sufficient hip action: Train hip rotation first with drill progressions before adding upper-body speed.
- Rushing weight transfer: Slow down the transition phase during practice and use a tempo cue to time impact.
- Maintaining tension in the hands and arms: Focus on a relaxed grip and a smooth chain from legs to torso to implement weight transfer without adding tension.
- Losing balance during impact: Improve balance with single-leg drills and core stabilization workouts; ensure a stable finish on the lead foot.
A sport-spanning guide: adapting weight transfer to your discipline
Whether you’re chasing distance in golf,rhythm in tennis,or timing in baseball,the same core principle applies: a deliberate,well-timed transfer of weight from the back foot to the front foot. Use sport-specific cues to tailor the transfer without losing the underlying biomechanics. For instance, golf players ofen benefit from a slightly longer lower-body connection during the backswing, while tennis players may focus on a quick, compact transfer to generate pace without sacrificing control. Baseball players can benefit from a compact loading sequence that translates into a clean, direct path to contact.
Quick-start plan: 7-day scaffold to build weight-transfer confidence
- Day 1–2: Static stance and weight-shift awareness. Practice transferring weight from back foot to front foot while standing still, focusing on balance and perception of shift.
- day 3–4: Wall and mirror drills. Use the wall lean drill and slow-motion practice to reinforce the transfer sequence.
- Day 5–6: Step-through rhythm with light motion. Add a light swing or stroke to connect the transfer with a real motion.
- day 7: Full routine with a ball (or substitute). Perform drills in a controlled surroundings, then test with real targets or balls.
Progress gradually. If you feel any discomfort or loss of balance,slow down and re-align your cues. The goal is repeatable contact, not speed at the cost of form.
Putting it all together: a cohesive practice approach
The most consistent ball strikers treat weight transfer as a deliberate, repeatable sequence rather than a byproduct of effort. By integrating the phases of loading, transition, and release with clear cues, you can improve accuracy, power, and consistency across sports. Remember to combine these drills with a solid warm-up, a balanced grip, and an adaptable mindset. Regularly reassess your form using simple metrics like contact quality, balance at impact, and finish position. With time and mindful practice, weight transfer becomes an automatic part of your athletic toolkit, helping you hit the ball with precision and confidence.
Key takeaway
- Master the three phases of weight transfer: loading on the back foot,transitioning weight through the hips,and releasing into the front foot.
- Pair biomechanical awareness with sport-specific cues to optimize performance.
- Use progressive drills and track your progress to build repeatable, confident ball-striking.