
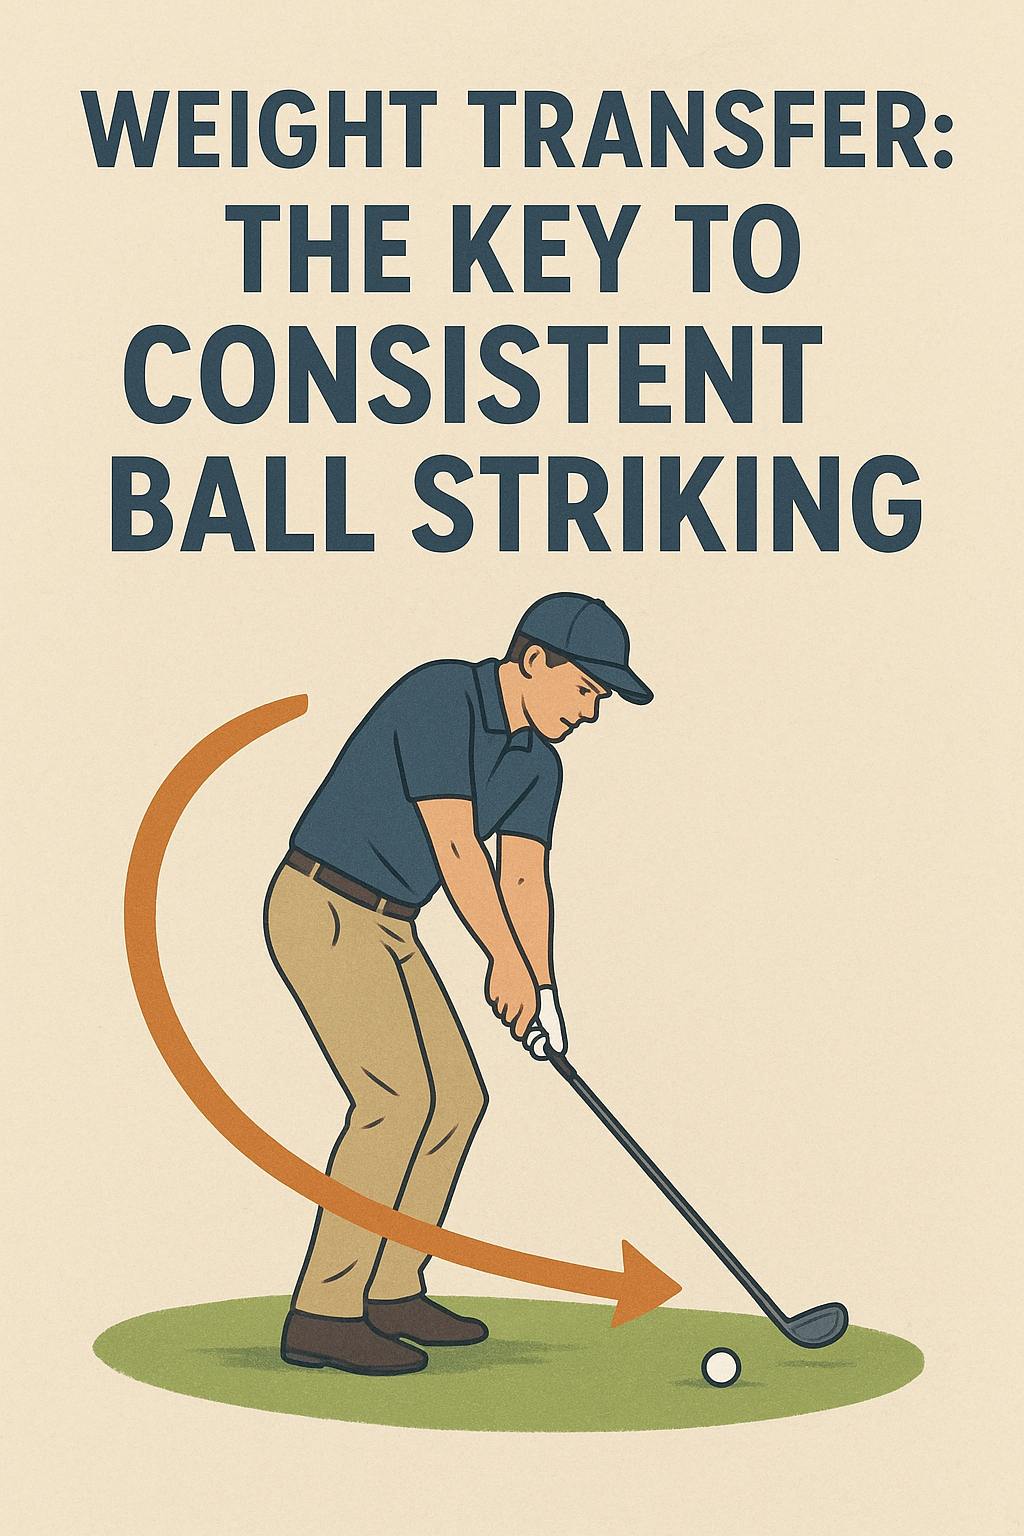
Weight Transfer: The Key to Consistent Ball Striking
What the concept is
Weight transfer in the golf swing means moving your body’s pressure from the trail side toward the lead side as you swing from backswing to impact and through to the finish. For a right-handed golfer, that means shifting from the right foot toward the left foot as you strike the ball and then finish with most of your weight on the lead foot. It’s a controlled, rotated rotation around your center, not a big slide or a hard lean.
Why it matters to the swing
Proper weight transfer helps you:
– Deliver the club to the ball with solid contact and consistent compression.
– Maintain balance through impact, producing cleaner strikes and straighter shots.
– Use the ground as a source of power (ground reaction forces) instead of relying solely on arm speed.
– Prevent common faults like fat shots, thin shots, or excessive swaying.
What you should feel when doing it correctly
– At setup: your weight is roughly balanced, with a light, athletic feel in the arches of your feet.
- During the backswing: you should feel a light load into the trail leg (right leg for a right-hander) while staying in your posture.
- Transition to downswing: your hips rotate and your weight begins to move toward the lead foot. You should feel the center of gravity shift forward.
- At impact: the majority of your weight is on the lead foot, with the trail foot preparing to release its pressure off the ground.
- Through the finish: you finish balanced with most weight on the lead foot and a tall, relaxed spine angle.
2–3 common mistakes and simple fixes
- Mistake 1: Staying back on the trail foot through impact
Fix: Feel your lead foot ground into the target line. Think “rotate and transfer” rather than “slide away.” A helpful cue is to imagine your hips turning toward the target while your upper body remains quiet until contact is made. - Mistake 2: Weight shift happens too early or too aggressively
Fix: Pause at the top for a brief moment, then sequence a smooth, downward shift into the lead foot as you rotate. Use a tempo you can control (roughly a 2–3 second downswing) to keep the transfer from rushing. - Mistake 3: Swaying or sliding instead of rotating
Fix: Keep your head fairly still and rotate your hips toward the target. A simple drill is to place a club or alignment stick along your spine/hip line to feel a fixed axis while you rotate. If you notice the trail knee collapsing inward, work on keeping a stable knee angle and leading with the hips.
One easy practice drill you can do at home or at the range
Step-Through Weight Transfer Drill
- Set up as you normally would with a short iron, feet close together to reduce balance distractions.
- Take a small backswing, then step forward with your lead foot toward the target as you swing through to finish. Your weight should visibly move from the trail foot to the lead foot during the step and through impact.
- Finish with a balanced, athletic pose and the lead knee slightly bent. Reset and repeat for 8–12 repetitions.
Tip: keep your head steady, and don’t rush the step. The goal is a smooth, coordinated transfer of weight that mirrors the rhythm of a good swing.
Weight Transfer: The key to Consistent Ball Striking
What is weight transfer in golf and why it matters for ball striking
Weight transfer refers to the deliberate movement of your body’s mass from the trail side to the lead side during the swing, especially from takeaway to impact. In golf, the goal is to coordinate this transfer with precise sequencing so that energy flows efficiently through the kinetic chain—from ground reaction forces up through the hips, torso, and arms into the clubhead. When executed well, weight transfer helps you maintain spine angle, control swing path, and deliver clean, solid contact with the ball.
In practical terms, effective weight transfer reduces the risk of thin or fat shots, promotes consistent ball speed, and improves trajectory control. It is not about “lifting” the ball or over-rotating; it’s about translating stable balance into dynamic energy transfer at impact.
Why weight transfer matters for consistent ball striking
- Improved contact: shifting weight to the lead side at the moment of impact helps compress the ball against the clubface for solid strikes.
- Better lag and release: Proper transfer supports a smooth release, maximizing clubhead speed without losing control.
- Consistent impact location: With a stable transfer pattern, the sweet spot is more often aligned with the ball, reducing mis-hits.
- Stability through rotation: Ground reaction forces drive efficient hip and torso rotation,preserving posture and swing plane.
- Injury prevention: Balanced loading reduces excessive passive movement, protecting the lower back and knees during the swing.
Think of weight transfer as the bridge between setup and impact. It ensures your body acts as a coordinated spring, storing energy in the legs and core and releasing it through the club with controlled timing.
Biomechanics and sequencing: how weight transfer happens
Effective weight transfer relies on a well-timed sequence of actions. The typical pattern in a full swing involves:
- Setup and trigger: Equal weight distribution is rarely perfect,but you should feel a slight,athletic bias into the mid-stance to promote a smooth turn.
- Takeaway initiation: The trail heel maintains contact with the ground to begin hip and torso rotation while the weight shifts toward the mid-stance.
- Coiled energy: the hips rotate mildly ahead of the torso, storing energy in the core and legs as balance remains stable.
- Transition and weight transfer: The hips rotate toward impact while pressure shifts to the lead foot, helping the torso and arms accelerate through the ball.
- Impact and release: Weight is predominantly on the lead leg; spine angle is preserved; the clubface meets the ball with solid contact and a controlled release.
Key cues for players: feel a steady pressure under the big toe of the lead foot as you approach impact; think “press and rise” rather than “lift.” This helps maintain balance while the energy moves forward.
Common faults and how to fix them
- Excessive weight on the trail foot at impact leading to fat or thin shots.
Fix: Practice drills that emphasize early pressure transfer to the lead foot without collapsing the knee.
- Fault: Early extension or standing up during the downswing.
Fix: Maintain spine angle by keeping your upper body connected to the lower body and rotating rather than standing up.
- Fault: Over-rotation of the hips without corresponding arm movement causing an outside-to-in path.
Fix: Work on shoulder and arm synchronization with the hips, using slow-motion drills to feel the proper sequencing.
- Fault: Rushing the transition leading to inconsistent contact.
Fix: Use tempo-focused practice with a metronome or a short pause at the top of the backswing to stabilize transition.
Tip: faults often stem from balance and rhythm issues. Start with slow-motion practice before building to full speed to engrain the correct weight transfer pattern.
Practical drills to optimize weight transfer
Below are progressive drills designed to develop awareness, rhythm, and control in weight transfer. Do them with a focus on maintaining balance and a stable spine angle.
Drill 1: Feet-Toot-toe Transfer Drill
Purpose: Feel the transfer from trail to lead while maintaining balance.
- Stand with a normal golf stance, but only 60% of your weight on the lead foot.
- Slowly swing back and through while focusing on gradually increasing pressure under the lead foot at impact.
- Pause briefly at impact to confirm weight is forward, then finish with a balanced, athletic finish.
Drill 2: Wall-Pressure Drill
Purpose: Create a tactile cue for proper weight transfer and balance.
- Place a small panel or wall mat just inside and behind your lead foot in address position.
- During the swing, aim to press against the wall mat with the lead foot at impact while maintaining spine angle.
- This creates a feedback loop for forward pressure without leaning or losing posture.
Drill 3: Slow-Motion sequencing
- Take unusually slow tempo: one-quarter speed back,one-quarter forward,pause at the top,then execute impact.
- Focus on the order: hips first, then torso, then arms, ensuring weight shifts toward the lead leg early in downswing.
Drill 4: Medicine Ball Shadow Swings
Purpose: Build core-hip linkage and proprioception for weight transfer.
- Hold a light medicine ball (2–4 lbs) close to the chest and perform swing-like motions without a club.
- During the drill, emphasize rotating the hips toward the lead side while keeping the ball compact and stable.
Drill 5: Weight-Shifting Mirrors
Purpose: Visual feedback for weight distribution throughout the swing.
- Use a mirror or video to observe how weight shifts before, during, and after impact.
- Look for a smooth transfer to the lead foot at impact, with a slight forward tilt of the pelvis and preserved spine angle.
Speedy reference: cues and feedback table
| Cue | What to Feel | Feedback |
|---|---|---|
| Lead-foot pressure | Pressure under the lead foot increases just before impact | positive: consistent contact; Negative: late or early pressure shift |
| Spine angle | Maintain angle from address to impact | Positive: solid contact; Negative: over-rotation or back bends |
| Hip rotation | Hips rotate ahead of arms, driving shift to the lead side | Positive: smooth transition; Negative: early extension or sway |
| Footwork | Balanced, controlled weight transfer with minimal lateral slide | Positive: stable base; Negative: wobble or spin out |
Note: The table provides quick feedback cues. Use video analysis or a mirror to verify these cues during practice sessions.
Case studies: real-world improvements from weight transfer focus
Case Study A — Amateur golfer with inconsistent contact
A 38-year-old amateur reported frequent fat shots and a rightward swing path. After a 6-week program focusing on weight transfer drills, he reported more consistent contact, a higher number of center strikes, and improved distance control. The key change was early, deliberate pressure transfer to the lead foot during downswing, paired with hip-led sequencing.
Case Study B — Competitive junior player seeking tempo
A junior player with rapid tempo and occasional loss of balance during tournament swings benefited from slow-motion sequencing drills. over eight weeks, the player developed a repeatable timing pattern, resulting in fewer mis-hits and more accurate ball flight. Emphasis was on maintaining spine angle and a forward shift of weight at impact.
Case Study C — Senior player managing back pain
A senior golfer with mild back discomfort struggled with weight transfer due to limited hip rotation.A tailored approach incorporating core activation, posture awareness, and controlled hip rotation allowed the player to transfer weight without excessive twisting. The result was reduced spinal loading and more consistent ball striking.
First-hand experience: a coach’s outlook on mastering weight transfer
From coaching hundreds of golfers, I’ve learned that weight transfer is less about a single move and more about reliable patterns. The most repeatable players exhibit a consistent feeling: the trail heel loosens just enough to allow the hips to turn, the torso follows in sequence, and the lead foot becomes firmly planted as the clubface meets the ball. In practice,I often start with the slow-motion sequencing drill to ingrain the feeling before stepping up to full-speed swings. The goal is not to “force” a move but to cultivate a natural, repeatable pattern that moves energy efficiently from the ground up to the clubhead.
Practical tips and quick tricks for daily practice
- Tempo over power: Prioritize timing and balance; speed will follow as you refine transfer patterns.
- On-course cues: Use a reminder, such as a small sticker under the lead foot, to remind you to press forward at impact.
- video feedback: Record a few swings from face-on and down-the-line angles to visualize weight transfer and spine angle.
- Consistency habit: Practice the drills at 50–60% speed first, then graduate to full speed as you feel more stable.
Benefits of mastering weight transfer for ball striking
- Higher center contact accuracy and more consistent ball flight.
- Improved clubhead speed without compromising control due to better sequencing.
- Enhanced stability through the swing,reducing energy leaks and fatigue.
- Reduced risk of common swing faults that degrade contact and distance.
- Greater confidence in pressure situations,such as windy days or fast greens.
FAQ about weight transfer and ball striking
- Is weight transfer only about shifting weight to the lead foot?
- Not exactly. It’s about coordinated movement: a controlled shift of balance, hips rotating, and the torso sequencing to deliver the clubhead to the ball with solid contact while preserving posture.
- How do I know if I’m transferring weight correctly?
- Use a mirror or video to verify: pressure under the lead foot at impact, preserved spine angle, and a forward, balanced finish. Drills that emphasize slow, deliberate sequencing can reveal whether you’re on the right track.
- Can weight transfer help with short game?
- Yes. While the mechanics differ slightly, the principles of balance, pressure shift, and efficient energy transfer apply to chips and pitches, leading to more predictable distances and better control around the greens.