
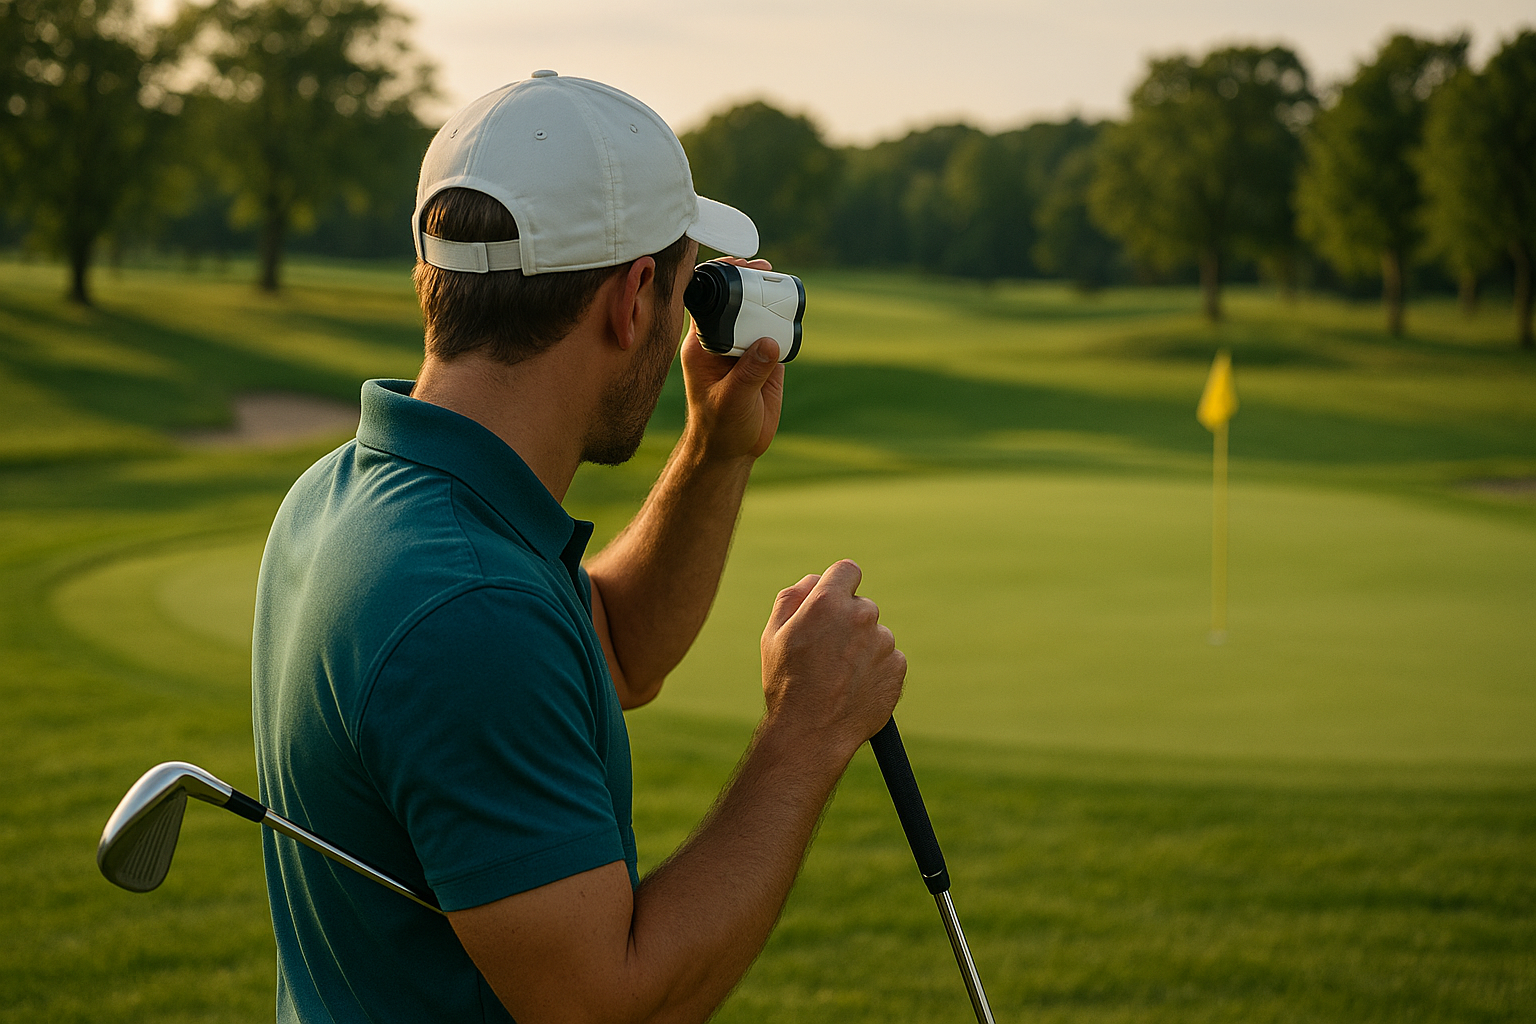
Your Rangefinder Says 150 Yards—But Which Number Should You Trust?
You hit your approach shot perfectly—or at least you thought you did. The rangefinder showed 150 yards, you chose the club that normally carries 150, and the ball finished 15 yards short.
That frustrating result often has nothing to do with a poor swing. The problem may be that you trusted the wrong number.
Golfers commonly confuse pin distance with the distance the ball needs to fly. Those are not always the same thing, especially when the flag is near the front or back of the green.
Pin Distance Is Only Part of the Decision
Imagine your ball is 150 yards from the flag. The green is 35 yards deep, and the pin is only five yards from the front edge.
A shot directly at the flag may be 150 yards, but a shot that carries 145 yards could still finish safely on the green. If you choose a club based only on the flag distance and hit it slightly short, you may find the front bunker or fringe.
Now imagine the pin is five yards from the back edge. In that case, flying the ball exactly 150 yards may leave very little room for error. A slightly long shot could roll off the green or leave a difficult downhill chip.
The better question is not simply, “How far is the pin?” Ask:
- How far is it to the front of the green?
- How far is it to the back?
- Where is the safest part of the putting surface?
- How much does the slope, wind, or lie affect the shot?
Use the Green’s Front and Back Numbers
Many golf carts, GPS watches, and rangefinders provide front, middle, and back distances. Use all three numbers before choosing a club.
For example:
- Front: 142 yards
- Middle: 153 yards
- Back: 164 yards
- Pin: 148 yards
This tells you the flag is close to the front half of the green. You do not necessarily need to carry the ball 148 yards to have a makeable putt, but you should make sure your shot carries the front safely.
If your normal 7-iron carries 150 yards, it may be the obvious choice. But if you are hitting from a poor lie, into a strong wind, or with trouble short, you might choose a club that carries a little farther and aim toward the center of the green.
Choose a Target, Not Just a Club
Once you know the distances, pick a specific target. “The green” is too vague. Your target might be:
- The center of the green
- The middle of the safe side away from water
- A point 10 yards beyond the front edge
- The area that leaves an uphill putt
Then choose the club that reaches that target—not necessarily the flag.
This is especially important when the flag is near a dangerous edge. If the pin is tucked beside a bunker, water, or a steep slope, play toward the larger part of the green. A two-putt from 30 feet is usually much better than a short-sided chip or a penalty stroke.
Do Not Forget Carry Distance
Your club’s total distance is not the same as its carry distance. Carry distance is how far the ball travels through the air before landing. Total distance includes the roll after it lands.
When hitting into a green, carry is usually the more important number. A shot that carries 145 yards and rolls to 155 may not help if the front of the green begins at 148 yards.
If you do not know your carry distances, use a launch monitor at a golf shop or practice facility, or carefully track several shots on the course. Ignore your best-ever strike. Use the distance you produce consistently.
Try This: The Three-Number Club Test
During your next practice session, choose one club and hit 10 shots toward a target. Record the approximate carry distance of each shot. Then identify:
- Your average carry distance
- Your shortest reasonably solid carry
- Your longest carry that you can produce without forcing the swing
Use the shortest number when trouble is short and the longest number only when the extra distance is necessary. This gives you a more realistic club-selection range than relying on one perfect shot.
One Thing to Remember
Do not choose a club for the flag until you know where the safe part of the green begins and ends. Pick a landing area first, then choose the club that carries that area comfortably.