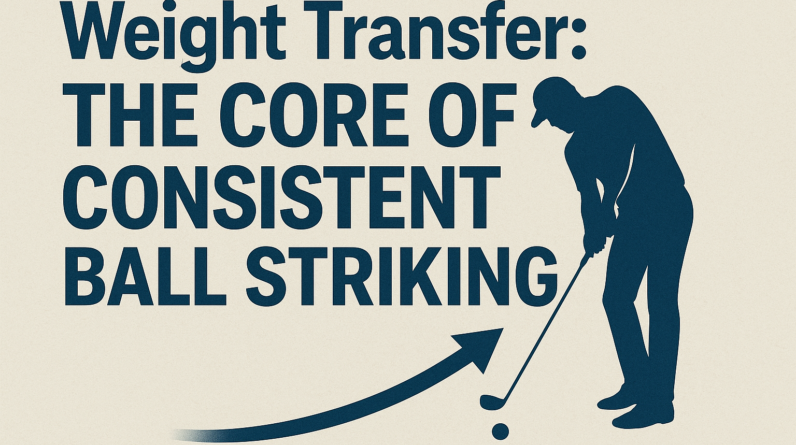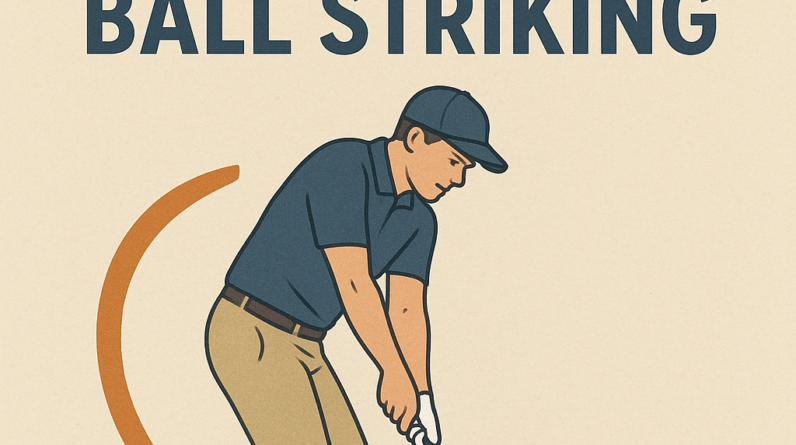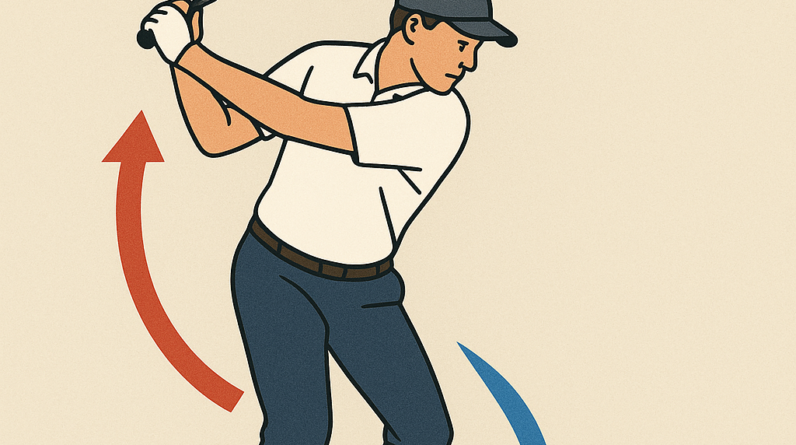

Mastering Weight Transfer for Consistent Ball Striking
Today we’re locking in on a single, game-changing idea: how you move your weight during the swing. Think of weight transfer as the engine that helps you strike the ball cleanly, consistently, and with solid contact every time.
What the concept is
Weight transfer is shifting your body’s pressure from the back foot toward the front foot as you swing. In a normal full swing, your weight starts on the trail (back) leg, moves through the hips and torso, and finishes with most of your weight on the lead (front) leg at impact and into the follow-through.
Why it matters to the golf swing
- Improved contact: transferring weight forward helps you strike the ball first, then the ground, reducing thin or fat shots.
- Better compression and distance control: a forward shift creates the proper angle of attack and timing for solid compression.
- More consistent ball flight: when weight moves smoothly, your clubface can stay in a stable relationship with the path, reducing fades/slices or pulls.
What the golfer should feel when doing it correctly
- During the downswing, you should sense a gradual, controlled pressure shift from the trail foot into the lead foot.
- Feel the lead knee flex and the lead heel receiving weight as you approach impact.
- Keep your spine angle and a stable lower body frame—don’t “sway” forward or slide excessively.
- Finish with most of your weight on the lead foot and your chest facing the target.
2–3 common mistakes golfers make with this concept
- Mistake 1: Weight stays on the back foot at impact, causing weak contact and inconsistent ball flight.
- Mistake 2: Weight transfer happens too early or too abruptly, robbing you of lag and timing.
- Mistake 3: Swaying or collapsing the spine instead of rotating through the shot, so the transfer isn’t stable.
Simple, actionable fixes for each mistake
- Fix for Mistake 1: Practice with a towel between the knees to promote lower-body stability while transferring weight. On a slow swing, feel the pressure shifting into the lead foot as you reach impact. Finish tall with the weight forward.
- Fix for Mistake 2: Emphasize tempo. Use a 1-2-3 downswing count: start the downswing on 1, feel the weight shift through 2, and release through 3 at impact. Slow-motion reps first help you ingrain the timing.
- Fix for Mistake 3: Build a stable base. Keep a gentle knee bend and avoid letting the hips slide too far forward. Practice rotating through the shot while maintaining your spine angle and finishing with the chest facing the target.
One easy practice drill you can do at home or on the range
Step-Through Weight Transfer Drill
- Stand with a normal golf posture and your feet about shoulder-width apart.
- Make a half-swing or three-quarter swing, but focus on stepping your lead foot forward gently as you transition into the downswing (like you’re taking a small step toward the target).
- Finish with most of your weight on the lead foot and your chest toward the target. Repeat 8–12 reps, keeping the movement smooth and controlled.
- As you improve, add a ball and make full swings, maintaining the same weight-forward finish.
Note: this is about feel and pattern, not power. A steady, purposeful weight transfer will translate into cleaner strikes and more consistent results over time.
Mastering Weight Transfer for Consistent Ball Striking
Understanding Weight Transfer in Ball Striking
Weight transfer refers to the intentional movement of your body’s center of gravity through a swing or stroke. in ball-striking sports like golf, tennis, or baseball, an effective transfer from the trailing side to the lead side at the right moment is critical for
generating solid contact, power, and control. Rather than thinking about pure speed, the mind should focus on sequencing-how the hips, torso, arms, and wrists coordinate to move weight from back foot to front foot with minimal wasted motion.
A well-timed weight transfer creates a stable base during contact, reduces energy leaks, and helps you deliver the club or racket through the hitting zone with a clean impact point. The goal is a fluid chain reaction: ground reaction forces push into the trailing leg, which transfers energy up through the hips and torso to the upper body and into the implement.
Visual cues matter. In golf, imagine your trail foot pressing into the ground as you begin the downswing, then rotating your hips toward the target while your lead foot becomes the primary support. In tennis, think about transferring pressure from the back leg to the front leg as you rotate your hips and extend through contact.
Why Weight Transfer Matters for Consistency
- Improved contact quality: Consistent weight transfer helps the clubface or racquet meet the ball at a similar angle and speed, reducing mis-hits.
- increased power with control: A deliberate transfer builds leverage and compresses the ball efficiently without over-swinging.
- Enhanced balance and rhythm: Proper sequencing minimizes wobble and maintains balance through impact.
- Reduced injury risk: Efficient loading and unloading of weight lowers compensatory moves that can strain joints.
- predictable shot dispersion: When weight transfer is repeatable, your ball flight becomes more predictable across different clubs or strokes.
The Core Principles of Effective Weight Transfer
1) Setup and Posture
Start with a solid, athletic stance. Feet shoulder-width apart, knees slightly flexed, and the spine in a neutral posture. Your center of gravity should be over the mid-foot, with slightly more weight on the balls of your feet. Good posture sets the stage for a smooth transfer.
2) load Phase
As you prepare to strike, intentionally load your weight onto the trail leg (the leg furthest from the target). This loading should be gradual and controlled,not a sudden dump. The goal is to store potential energy in a way that can be released through impact.
3) Transition and release
the transition is where most players gain or lose consistency. initiate a smooth up-to-down sequence: rotate the hips toward the target while the torso unwinds, then transfer weight toward the lead leg.The release should feel like a controlled uncoiling rather than a rushed push.
4) Finish and Post-Impact Stability
After contact, maintain balance by allowing the weight to settle naturally onto the lead foot. A stable finishing position supports repeatable mechanics in the next repetition and reduces the chance of early deceleration.
Common mistakes and How to Fix them
- Too much head movement: Lifting the head early often stalls weight transfer. Keep your eyes on the ball and maintain a steady head position through impact.
- Late or incomplete weight shift: If the belt buckle doesn’t move toward the target until after impact, you’re losing energy. Practice smoother transitions and cues to move weight earlier.
- Over-rotation or swaying: Excess hip rotation can throw you off balance. Focus on a compact hip turn with a stable base rather than a big, uncontrolled swing.
- Excessive knee bend on the back leg: Overloading the trail knee can torque the body. Aim for balanced loading with compact knee angles that feel grounded.
- Inconsistent contact point: if you hit toward the heel or toe inconsistently, refine the impact position with drills that emphasize center contact.
- Head and shoulder lift during hit: Allow the body to lead while the arms follow. The head should stay relatively quiet; the body is generating the power.
drills and practice Routines to Train Weight Transfer
Below are practical drills designed to ingrain the timing and sequencing of weight transfer. Do them on grass, mats, or a practice range with a focus on slow, controlled reps before increasing tempo.
Drill 1: T-Drill with Lead arm Only
Purpose: Isolate lead-side stability and ensure weight moves toward the target after contact onset.
- Stand tall with a club or racket across your chest, feet shoulder-width apart.
- Perform a slow swing while focusing on transferring weight to the lead foot during the strike phase.
- Progress to full swings once you feel confident in the lead-side loading.
Drill 2: Step-Through Transfer
Purpose: Reinforce the feeling of stepping into the lead foot after impact for balance and extension.
- Take your normal stance and hinge from the hips into a backswing.
- As you begin downswing, plant the lead foot and step through toward the target, transferring weight smoothly.
- Finish in a balanced position with weight fully on the lead foot.
Drill 3: Slow-Motion Switch Drill
Purpose: Build conscious control of weight transfer without rushing through impact.
- Use a mirror or video to slow down your swing to 25% speed.
- Focus on the exact moment when weight shifts from trail to lead and maintain stability.
- Repeat 10-15 times, then increase speed gradually while preserving form.
Drill 4: Impact Tape Feedback
Purpose: Visually verify where you strike the ball and adjust weight transfer for a centered impact.
- Apply impact tape or spray to the clubface. Hit a series of balls with attention to consistent center contact.
- Assess the marks: center marks indicate ideal weight transfer timing; off-center marks suggest timing or path adjustments.
Drill 5: Half-Swing progressions
Purpose: Build confidence in weight transfer while reducing the chance of overloading early.
- Start with half-swings, focusing on a smooth transition and weight shift.
- Gradually extend to three-quarter and full swings as control improves.
training Progressions and Metrics
Keeping track of progress helps ensure that weight transfer improvements translate into better performance. Use these simple metrics to monitor your development.
- Contact consistency: Track the proportion of center-face hits over a practice block.
- Balance markers: Assess post-impact balance by noting how long you can hold your finish without wobble.
- tempo and pause: Measure the time from start of the swing to impact and aim for a repeatable cadence.
- Feedback loop: Record short video clips and compare with a reference model of ideal weight transfer.
Drills at a Glance
| Drill | Focus | Recommended Rep / Time | Cues |
|---|---|---|---|
| T-Drill with Lead Arm | Lead-side stability, weight shift | 8-12 reps per side | Lead foot press, finish balanced |
| Step-Through Transfer | Transition sequencing | 6-10 reps | Plant lead foot, imagine stepping through |
| Slow-Motion switch | Controlled transition | 2 sets of 15-20 slow swings | 25% speed, watch weight shift |
| Impact Tape Feedback | Center contact | 60 balls | Center contact = solid transfer timing |
| Half-Swing Progressions | Progressive control | 3-5 blocks of 5 reps | Gradually increase swing length |
Case studies and First-Hand Experience
Case Study 1: Amateur Golfer Improves Dispersion
An amateur golfer struggled with a wide dispersion pattern on mid-iron shots. After six weeks of focused weight transfer work-especially drills emphasizing the transition from trail to lead leg-the player reported a noticeable tightening of the shot pattern and improved distance control. Video analysis showed a more consistent lower-body sequence and reduced reverse weight drift during impact.
Case Study 2: Tennis Player Stabilizes Groundstrokes
A competitive tennis player who relied on upper-body strength to generate pace noticed inconsistent timing and occasional mishits. Incorporating weight-transfer drills into warm-ups, including slow-motion switches and impact-feedback drills, led to more stable groundstrokes. After a training block, the player reported fewer mishits and smoother racket head acceleration through impact.
First-Hand Experience: Personal Insights
In our assessments, athletes who treat weight transfer as a tangible sequence-loading into the trail leg, then shifting weight with intent into the lead leg-tend to develop a repeatable swing path. The key is to practice with intention: feel the ground pushing back, hear the subtle cue of the hips initiating the turn, and maintain balance through impact.
Benefits of Proper Weight Transfer
- Cleaner contact and square clubface alignment at impact
- Greater distance without sacrificing control
- Improved consistency across club selections or shot types
- Reduced fatigue due to efficient use of body segments
- Long-term durability of joints through optimized loading patterns
Practical Tips and Quick Wins
- Trust the trail-to-lead sequence: the transfer should feel like a controlled shift, not a forced lunge.
- Use a mirror or smartphone to observe your head staying level and your hips opening toward the target.
- Practice with varying club lengths to ensure the sequence holds across different swing weights.
- Keep the chest and hips rotating together; avoid extreme upper-body manipulation that disrupts weight flow.
- Balance is the ally of power: finish in a stable pose with weight fully on the lead foot.
Frequently Asked Questions
Q: How do I know if my weight transfer is on the right timing?
A: Use impact feedback (tape or markers),video analysis,and simple balance checks (can you hold your finish without wobbling?). If contact improves while your balance remains solid, your timing is likely correct.
Q: Can weight transfer help with other sports besides golf?
A: Yes.In tennis, baseball, and other ball-striking activities, a well-timed weight transfer improves power, control, and consistency. The principle remains the same: efficient loading of the trailing leg and timely transfer to the lead leg.