Clubface control at impact for eliminating weak fades
If you’re a golfer who battles a consistent weak fade, you’re not alone. A subtle, persistent fade that lacks punch can rob distance, reduce accuracy, and leave you frustrated on the tee. The core solution is not more swing speed or fancy equipment, but precise clubface control at impact. By understanding how the clubface behaves at the moment of contact and training your brain and body to deliver a square, stable face relative to your path, you can transform a weak fade into a controlled, neutral or even draw-biased ball flight. This guide breaks down the concepts, drills, and practice plans you need to eliminate weak fades and improve overall consistency.
Understanding the clubface at impact
The clubface position at the moment of impact is the primary driver of your ball flight. While many players focus on swing path, the face angle relative to the path and target determines the start line and curvature. Key ideas include:
- Face-to-path relationship: If the face is open relative to the swing path, you’ll typically see a fade or slice. If the face is closed relative to the path, you can see a draw or hooked shot. For a neutral ball flight, aim to align the face square to the intended target line at impact.
- Impact orientation: The position of the hands, wrists, and arms as they meet the ball defines the face angle. A late release can leave the face open longer, contributing to a weak fade.
- Dynamic vs. static alignment: Good alignment on the range is a starting point, but the real test is dynamic, impact-based alignment—does the face stay square through the strike?
- Shot shaping through feel: Small adjustments in grip pressure, wrist hinge, and body rotation can dramatically shift the face at impact without changing your swing’s tempo.
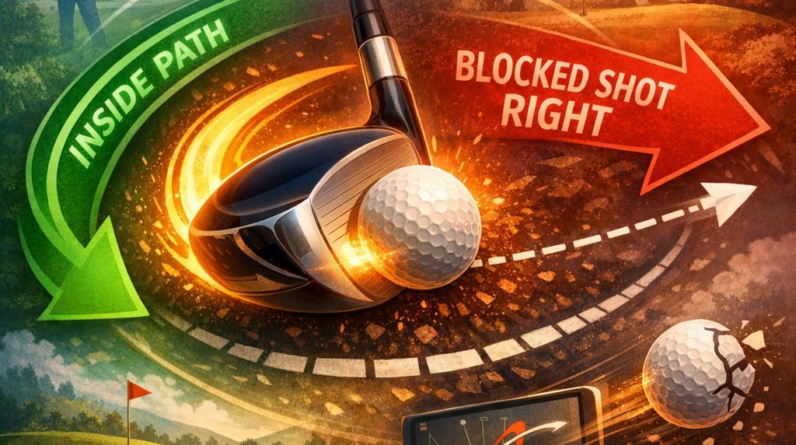
What is a weak fade and why it happens
A fade is a left-to-right ball flight (for right-handed golfers). A weak fade is a fade with a relatively gentle curvature and a start line that’s not aggressively traveling toward the target. It can feel non-threatening but frequently enough indicates suboptimal clubface control at impact. Common culprits include:
- Face slightly open to the path at impact
- Path too far from neutral with the face not compensating fully
- Inadequate wrist release causing the face to remain open as you strike the ball
- Grip and setup drift leading to subtle misalignment that compounds through impact
Understanding these factors helps you design a practice plan that targets clubface control first, before chasing swing path changes.The goal is a consistent, repeatable face angle at impact, irrespective of minor changes in swing path.
Key concepts for clubface control at impact
To eliminate weak fades, you need a clear mental model of how the face behaves at impact.Here are the essential concepts to adopt in your practice and on-course routines:
- Neutral grip and setup: A grip that supports a square clubface at impact is foundational. Too strong or too weak a grip can bias the face open or closed during contact.
- Square at impact, not just address: Don’t rely solely on your address alignment. Train to return the face to square relative to your target in the moment of impact.
- Wrist hinge management: The amount and timing of wrist hinge influence face orientation. A controlled, slight release helps keep the face square when you strike through the ball.
- Release vs. rollover: A smooth, timed release that reduces residual face openness after impact is critical for eliminating weak fades.
- Path awareness: While face control is primary, awareness of swing path helps you avoid compensations that create inconsistent flight
- Tempo and rhythm: A steady tempo reduces the likelihood of compensations that open the face during impact.
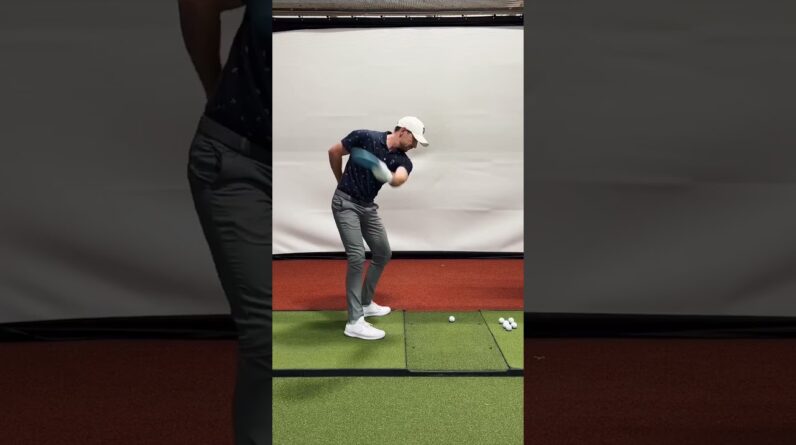
Drills and practice plan to improve clubface control at impact
Below is a practical, progressive practice plan designed to build consistent clubface control. Work through these drills over 4–6 weeks, adjusting based on progress. Each drill emphasizes face alignment, impact position, or release timing without requiring an overhaul of your entire swing.
Drill 1: Face alignment with the target
Address the ball with your usual grip. Take two practice swings focusing on returning the clubface to square to the target line at impact. Feel like the leading edge is slicing through the ball with the face square to the line.
Drill 2: Impact tape feedback
Aim for a centered strike with the face square to target at impact. If the tape shows the tape mark is off-center or the face angles away from square, adjust grip pressure and release timing accordingly.
Drill 3: One-handed release (left hand for RH players)
The goal is a confident, controlled release that keeps the face square to the target line.
Drill 4: Path-aware gate drill
Drill 5: Grip and stance reset routine
Rinse and repeat: grip check, stance check, swing, and assess impact alignment using a mirror or video feedback on your phone.
Benefits of improved clubface control at impact
- Better accuracy: Reducing unpredictable face angles at impact leads to tighter shot dispersion and fewer weak fades off the target line.
- Increased distance consistency: When your face is square at impact, your ball speed and direction are more predictable, helping you maximize carry and roll.
- More confidence on the tee: Knowing you can deliver a square face through impact gives you the mental steadiness to commit to your shots.
- Versatility in shot shaping: With refined face control, you can adjust path or impart a controlled spin for a drawing or fading shot on command.
- Lower scores: Consistency around the greens and fairways translates to lower scores over a round as you avoid weak fades that miss your intended target.
Case studies: real-world applications
These brief case studies illustrate how players benefited from targeted clubface control work. names are fictional to protect privacy, but the lessons are practical for any golfer who struggles with a weak fade.
Case Study 1: The weekend Warrior
Background: A right-handed golfer who consistently parked the ball in the right rough with a mild fade, averaging 240 yards off the tee. The fade was predictable but unreliable, and he often missed to the right after a few holes.
Intervention: Implemented the face alignment and impact tape drills, plus the grip/reset routine. Focused on returning the face square to the target at impact rather than chasing swing path changes.
Results: After 6 weeks,his fairway hit rate improved by 18%,the dispersion narrowed significantly,and he gained additional confidence on short par 4s where precision mattered most. The weak fade became a more controlled fade or straight shot with practice.
Case Study 2: The Competitive Amateur
Background: A mid-amateur player with a reliable fade that sometimes blossomed into a full slice. The distance was solid, but the lack of control off the tee limited scoring opportunities on tougher courses.
Intervention: Combined drills 2 and 4 (impact tape feedback and path-aware gate) with a neutral grip check. The player added a pre-shot routine that emphasized square face alignment at impact and a smooth release.
Results: Within eight weeks, the player reported a more stable ball flight, with fewer off-target misses. The average dispersion on tee shots decreased by roughly 12 yards left-to-right, and the player began trusting the line on narrow fairways, leading to lower scores in tournament play.
First-hand experience: a coach’s perspective
As a golf coach, I’ve seen countless players wrestle with weak fades that sneak into the rough. The turning point almost always comes when players stop chasing a perfect swing path and start prioritizing clubface control at impact. In my coaching sessions, I use a simple hierarchy:
- establish a square face at impact with a neutral grip.
- Use impact feedback (tape, spray, or video) to confirm what’s happening at contact.
- Refine wrist release timing to prevent late faces opening through the ball.
- Integrate a consistent pre-shot routine that reinforces alignment and feel.
The advancement is not instantaneous, but the gains compound as players learn to trust the face at impact. The result is a more predictable, forgiving ball flight that reduces the frequency of weak fades and enhances overall scoring potential.
Practical tips for day-to-day practice
Make a habit of aligning your body and the clubface to your intended target before every swing, then check during impact with feedback aids like tape or video. Visual feedback helps you notice subtle changes in wrist hinge and face orientation that lead to a weak fade. Begin with drills that emphasize immediate impact feedback (Drills 1 and 2), then layer in path control (Drill 4) as you gain confidence. maintain a simple journal noting shot results, dispersion, and perceived face alignment to monitor improvement over weeks.
Incorporating this into your golf routine
To maximize benefits, integrate clubface control principles into your regular practice routine. A suggested weekly structure might look like this:
- 30 minutes of impact-focused drills (Drills 1–3).
- 20 minutes of feedback-driven practice (Drill 2 with tape or video).
- 20 minutes of path awareness work (Drill 4).
- 10 minutes of grip and pre-shot routine checks (Drill 5).
On course, use a simplified version: warm up with a few impact-focused swings, play your targets, and keep a mental note of face orientation through impact on each hole. Small, consistent adjustments beat big, sporadic efforts that disrupt your rhythm.
Table: Quick reference for drills and focus areas
| Drill | Focus | Setup | Reps |
|---|---|---|---|
| Face Alignment Drill | Square face at impact | Alignment sticks along target line | 3 sets of 8–10 swings |
| Impact Tape Feedback | Contact feedback and face angle | Apply tape to center of clubface | 4 sets of 6–8 balls |
| One-Hand Release Drill | Feel square face through impact | Left hand only (RH players) | 2–3 sets of 12–15 swings |
| Path gate Drill | Path awareness with face control | Two ground sticks forming a small gate | 3–4 sets of 8 swings |
| Grip/Stance Reset | Repeatable starting point | Pre-shot alignment and grip check | 5 sets of 5–6 swings |
Conclusion
Eliminating a weak fade starts with the most reliable variable you have on the course: the clubface at impact.By prioritizing face control, employing targeted drills, and building a consistent pre-shot routine, you create a foundation for more predictable ball flight, better direction, and improved scoring potential. The path to a stronger, more accurate fade—or a perfectly neutral ball flight—begins with a square face at impact, a repeatable release, and practicing with intention.Commit to the process, track your progress, and enjoy the confidence that comes with tighter, more consistent control over your golf ball.