
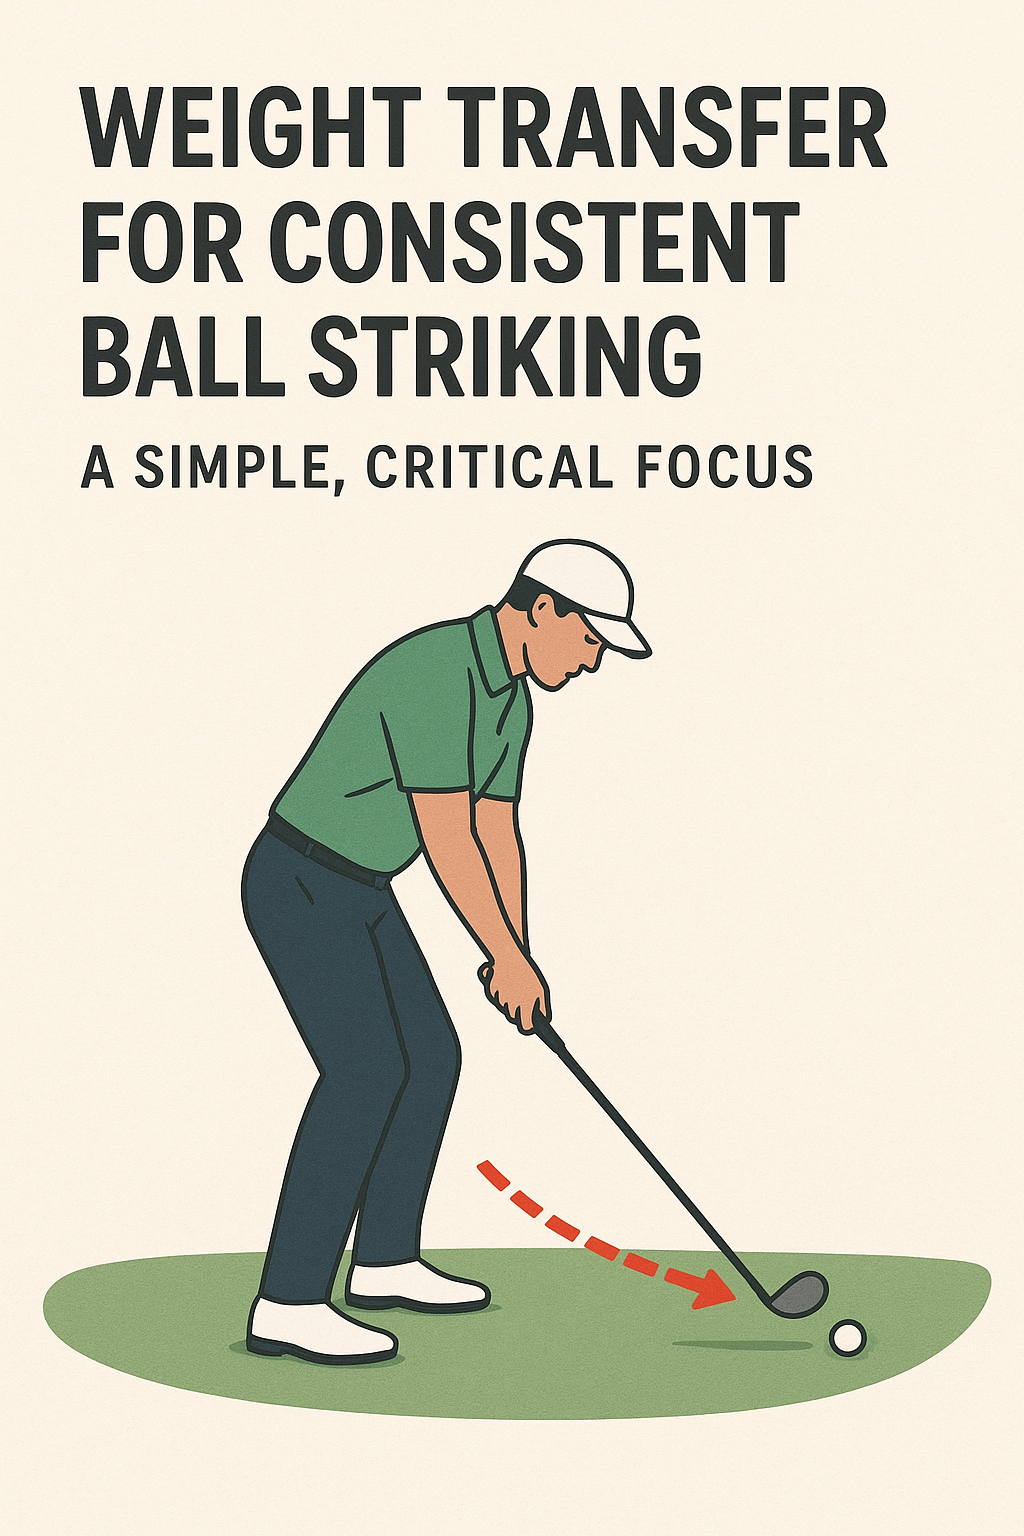
Weight Transfer for Consistent Ball Striking: A Simple, Critical Focus
Single-topic coaching helps you build repeatable results. This post focuses on one essential concept: weight transfer from the trail foot to the lead foot through impact. Think of it as a controlled forward shift that starts with the hips and finishes with the torso and arms guiding the club to the ball.
What the concept is
Weight transfer is the deliberate movement of your center of gravity from your back foot toward your front foot as you swing. In a typical full swing for a right-handed player, you start with more weight on the right (trail) foot at address, and by the time you strike the ball, a healthy transfer leaves you with more weight on the left (lead) foot. The goal isn’t a wild shuffle; it’s a smooth, coordinated shift that connects the backswing, downswing, and impact with the ground beneath you.
Why it matters to the swing
- Improved contact: Proper transfer helps you reach the ball with the correct low point and angle of attack, reducing fat or thin shots.
- Better consistency: When weight shifts predictably, your strike location and ball flight become more repeatable across clubs and days.
- Distance control: Efficient transfer lets you maintain rhythm and compression, optimizing ball speed without over-swinging.
- Spine and balance health: A controlled shift keeps your spine angle and balance intact, making it easier to finish smoothly.
What the golfer should feel when doing it correctly
- On the downswing, you should feel the trail knee bending slightly and the weight moving toward the lead foot.
- Your belt buckle and chest should progressively face the target as you approach impact.
- Light pressure shifts in the arches of both feet, with more feel in the front half of your lead foot as you contact the ball.
- At the moment of impact, you should sense a stable base under your lead foot, not a sinking or percussive shove off the back foot.
2–3 common mistakes and simple fixes
- Mistake 1: Weight stays on the trail foot too long or at impact.
Fix: Practice a measured forward shift. Pause briefly at impact in a slow-motion or staged swing, giving your lead foot a moment to feel the weight transition. Drill idea: swing slowly from top to contact, then step forward with your lead foot and finish normally to reinforce the feel of forward transfer. - Mistake 2: Hips slide rather than rotate.
Fix: Focus on a rotation-first sequence. Think “rotate hips toward target, then allow the shoulders and arms to follow.” Drill idea: place a towel under your arms to prevent excessive upper-body movement and practice turning your hips to face the target while keeping your spine angle steady. - Mistake 3: Early weight transfer with loss of balance or an over-early release.
Fix: Tempo and timing cue. Keep a smooth, even tempo so the transfer happens just as you reach the ball, not before. Drill idea: slow down the downswing and feel your weight gradually shift forward rather than jumping onto the lead foot.
One easy practice drill you can do at home or on the range
- Step-Through Transfer Drill (great for all levels):
- Address your ball with your feet close together (about shoulder-width apart).
- Take a short backswing, then begin the downswing with a clear intention to shift weight toward your lead foot as you reach impact.
- After contact, step forward with your lead foot into a balanced finish. The step helps you feel the forward weight transfer without losing balance.
- Repeat slowly, focusing on letting the weight transfer happen smoothly in sync with your hips turning toward the target.
Tip: keep your cues simple. Think “rotate to transfer” and “finish balanced.” If you notice yourself popping off the back foot or losing contact, slow the tempo and exaggerate the feeling of moving weight forward in small, controlled increments.
By isolating weight transfer and training it with simple, repeatable cues, you’ll develop a reliable feel for when and how to move your weight through impact. This focus supports better contact, more consistent distances, and a steadier, more athletic finish on every shot.
Weight Transfer for Consistent Ball Striking: A Simple, Critical Focus
Why Weight Transfer Matters for Consistent Ball Striking
Whether you’re chasing distance on the golf course, aiming for clean contact in tennis, or driving a baseball off the bat, the fundamental idea is the same: your body must move energy from the ground, through your body, and into the ball with a precise, repeatable sequence. Weight transfer is the bridge between setup and impact. When executed smoothly, it unlocks a reliable striking pattern, reduces off-center contact, and increases control over ball flight.
Think of weight transfer as the intentional shift of your center of mass from your rear foot to your lead foot at the optimal moment. This transfer is not a single motion; it’s a coordinated chain reaction that involves grounding, hip rotation, trunk engagement, and coordinated arm timing. If any link in that chain is late, early, or misdirected, contact becomes inconsistent and power leaks away.
Key ideas driving weight transfer
- Ground reaction forces provide the energy. Your legs and feet act as springs that store energy during the loading phase and release it through the hips and torso into the arms and club or paddle.
- The sequencing matters. The hips initiate the transfer,followed by trunk rotation,then shoulder and arm action.The ball meets contact when the transfer is near its peak efficiency.
- Balance under load is essential. A well-balanced transfer avoids abrupt deceleration of the swing and helps maintain a stable swing plane.
Key Components of Effective Weight Transfer
Understanding the elements that contribute to a clean weight transfer helps coaches and players diagnose issues quickly. Here are the core components to monitor during practice and competition:
- A athletic base with knees slightly bent, spine neutral, and hips aligned with the target line. This creates a movable center of gravity rather than a rigid platform.
- During the set and backswing or readiness phase, a controlled loading of the back foot stores energy. Avoid excessive squat or vertical collapse; aim for a cozy load that feels ready to move.
- The hips should turn open toward the target while the core stabilizes the torso. This helps deliver torque efficiently without collapsing the spine.
- From back foot to lead foot, then through the torso and arms, the order should feel natural and well-timed to meet the ball with forward momentum.
- The moment of impact should coincide with your weight being more on the lead foot and the hips slightly ahead of the hands, ensuring a square and compact strike.
- After contact,your weight should finish over the lead foot with minimal wobble,preserving control and allowing for a smooth follow-through.
How to Develop Proper Weight Transfer: Step-by-Step
Use these step-by-step cues to build a repeatable weight-transfer pattern. Start slowly, then gradually increase speed as the mechanics become ingrained.
- stand with feet shoulder-width apart, knees lightly bent, and weight evenly distributed. Keep the spine tall and the chin level. Visualize a straight line from your back heel to the front foot’s ankle.
- Shift a small percentage of weight toward the back foot while maintaining knee bend and balanced posture. This is not a squat; it’s a controlled loading to prepare the chain for the forward transfer.
- Initiate a controlled hips-to-target rotation as you prepare to swing. The back hip begins the turn, not the hands alone. Feel the hip crease open and guide energy toward the front side.
- As the backswing or preparation finishes, transfer weight progressively to the lead foot. The ankle and knee on the lead side should feel connected to the ground and ready to accept energy from the hips.
- Allow the torso to rotate through the line of the ball while the arms follow. The hands should meet the ball with surfaces aligned (face-on in golf, racket-face square in tennis, or bat face square in baseball).
- At contact, the majority of your weight should be feel-forward, but not overextended. A slight forward tilt from the hips can definitely help maintain a strong, centered strike without tipping forward or losing balance.
- Finish with a controlled, balanced stance. The weight should settle over the lead foot, and the torso should remain within the swing plane to prevent rebound or misalignment.
common cues to reinforce the pattern
- “Load, then drive.”
- “Hip turn leads the way.”
- “Shift, not slam.”
- “Contact over the middle of the stance.”
drills to Train Weight Transfer
Drills help you translate the theory into feel. The following exercises emphasize timing, balance, and the correct sequence of loading and unloading energy. Practice these with a mirror or video to validate form.
1) Heel-to-Toe Weight Shift Drill
Purpose: Teach the body to transfer weight from the back foot to the lead foot with stable balance.
- Setup a narrow stance or use a line on the ground as a guide.
- Begin with your weight toward the back foot. Slowly roll weight forward, finishing with most of the weight on the lead foot.
- Focus on keeping the knee tracking over the lead toe and maintaining a tall spine throughout the transfer.
2) Split-Stance Swing Drill
Purpose: Improve transfer timing when one foot is forward, mimicking a real contact stance in many sports.
- Place the lead foot forward about 12 inches and the trailing foot back 18–22 inches.
- Perform slow swings or strokes, emphasizing a deliberate transfer of weight from the back foot to the front foot during the swing’s downswing phase.
- Gradually increase speed while maintaining control and balance.
3) Wall Drill with Torso Rotation
Purpose: Isolate the torso-hip sequence and ensure the hips drive the rotation, not the arms alone.
- Stand a short distance from a wall with your back to it, hips square to the wall.
- Rotate hips and torso toward the wall without losing posture, then move through to the front side as you would in a strike.
- Keep the weight transfer smooth and controlled, avoiding abrupt shifts.
4) Cadence Swings with metronome
Purpose: Build timing consistency in weight transfer and contact.
- Set a metronome to a comfortable tempo (start around 60–70 BPM).
- Perform swings on a fixed cadence,ensuring the transfer from back foot to lead foot aligns with the beat.
- Increase tempo gradually as coordination improves.
Practical Tips and Common Mistakes to Avoid
Even small deviations can dampen weight transfer efficiency. Here are practical tips and frequent missteps to look for during practice sessions:
- Early extension of the back leg or hips,causing timing issues. Cue: Keep the spine tall and maintain soft knees to allow a natural, forward transfer.
- Mistake: Over-rotation of the torso without proper hip sequencing.Cue: Let the hips drive first,then the torso,so energy isn’t wasted in the wrong segment.
- Mistake: Collapsing onto the lead leg after contact. Cue: Finish tall with balance and a stable weight distribution over the lead foot.
- Mistake: Poor foot-ground contact, such as sliding feet or losing contact with the ground. Cue: Think “grip the ground” with the lead foot during impact to preserve control.
- Mistake: Inconsistent tempo. Cue: Use a metronome or count in threes (load, transfer, strike) to stabilize timing.
First-Hand Experience: Real-World Insights
Coaches across sports report tangible improvements when athletes focus on weight transfer as a deliberate part of their routine.For example, a college tennis program implemented a weekly weight-transfer protocol: dedicated drills, video feedback, and a cadence-based swing routine. after eight weeks, players demonstrated more stable contact points, reduced off-center shots, and smoother pace control. The underlying message was clear: when athletes internalize the feeling of the back-to-front energy shift and couple it with hip-driven propulsion, ball striking becomes more repeatable, regardless of changing ball speeds or court surfaces.
Benefits of Proper Weight Transfer
- Improved contact quality and on-center hits leading to more predictable ball flight.
- Enhanced power without sacrificing control due to efficient energy transfer.
- Better balance and stability, reducing the risk of over-rotating or losing posture during impact.
- Consistent swing plane and timing across varying shot types and conditions.
- Adaptability across different sports where weight transfer is a component of the stroke or swing.
Case Studies: How It Plays Out in Different Sports
While the principle remains the same, the submission differs slightly by sport. Here are concise examples to illustrate versatility:
- Players learn to start the downswing with hip rotation,sending energy from the back foot through the torso to the lead foot,delivering a square clubface at impact.
- Tennis: Groundstrokes benefit from a deliberate shift of weight to the front foot as the racket makes contact, promoting depth and consistency on both forehands and backhands.
- Baseball: Bat speed and contact quality improve when the weight transfer occurs as the swing arc begins, ensuring the barrel meets the ball in a strong, stable position.
Quick Reference Checklist for Weight Transfer
- neutral spine with soft knees and athletic stance
- controlled loading to the back foot during preparation
- Hip-led sequencing: hips initiate the transfer,then torso,then arms
- Weight gradually shifts to the lead foot as impact approaches
- Stable contact with the ball and a balanced finish over the lead foot
- Drills spaced across a week to reinforce sensation and timing
Table: Drills at a Glance
| Drill | Focus | Setup | Progression |
|---|---|---|---|
| Heel-to-Toe Weight Shift | Back-to-front weight transfer with balance | Line on ground or narrow stance | Slow to fast swings; add a light contact with a ball |
| Split-Stance Swing | Timing of transfer with a forward stance | Lead foot forward,rear foot back | Progress to full swings while maintaining balance |
| Wall Drill with Hip drive | Hip-driven sequencing | Back to wall,rotate hips toward target | From slow to full swing while keeping spine tall |
Implementation Tips for Coaches and Players
- Record short video clips from multiple angles to analyse weight transfer in real-time.
- Incorporate feedback cues that stress timing and sequencing rather than purely mechanical positions.
- Balance is a foundation—start with static drills before dynamic swings, to ensure proper control.
- Adjust drills for the specific sport and player anthropometrics; what works for golf might need modification for tennis or baseball.
Common Questions About Weight transfer
Here are answers to questions players frequently ask when focusing on this aspect of their game:
- How soon should weight transfer begin in a swing?
- A: Begin the transfer as you approach contact, with a load-to-drive pattern that peaks just before impact for maximum efficiency.
- Q: Can weight transfer fix a swing path problem?
- A: It helps, but it’s not a standalone fix. Weight transfer complements swing path work by supplying a stable base and allowing the body to deliver energy consistently.
- Q: How long does it take to see improvements?
- A: Depending on practice frequency and prior technique, noticeable improvements can occur in 4–8 weeks with deliberate drills and feedback.
Final Thoughts: A Simple, Critical Focus
Weight transfer is a simple concept with a powerful impact on ball striking. By building a repeatable sequence—load on the back foot, hip-initiated rotation, forward weight shift, and a balanced finish—you create a robust foundation for power, contact, and control across sports. The beauty of this focus is that it translates across athletes, routines, and even varying equipment.With clear cues, practical drills, and consistent feedback, weight transfer becomes less of a mystery and more of a reliable, trainable skill.