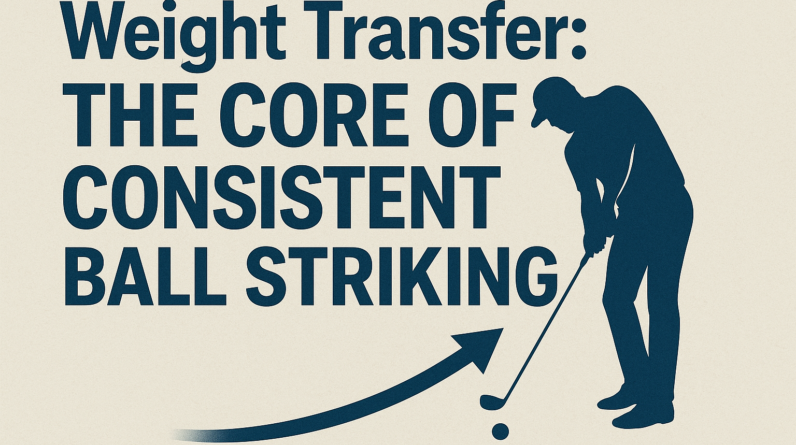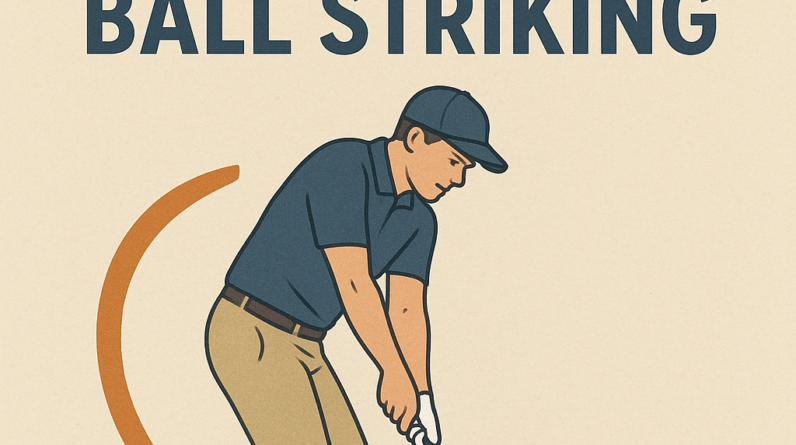

Mastering Weight Transfer for Consistent Ball Striking
In the golf swing, weight transfer is the steady shift of your balance from your trailing foot toward your lead foot as you move through the ball. For most players, especially beginners to intermediates, getting this rotation and forward shift right is the difference between fat shots, thin shots, and solid, compressive contact.
What weight transfer is
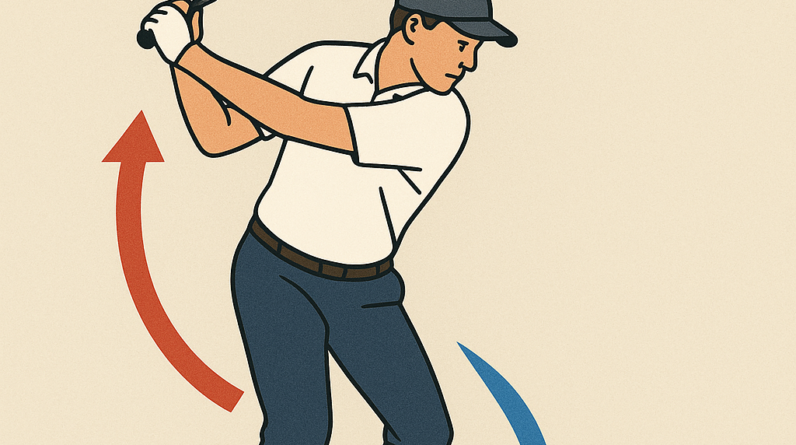
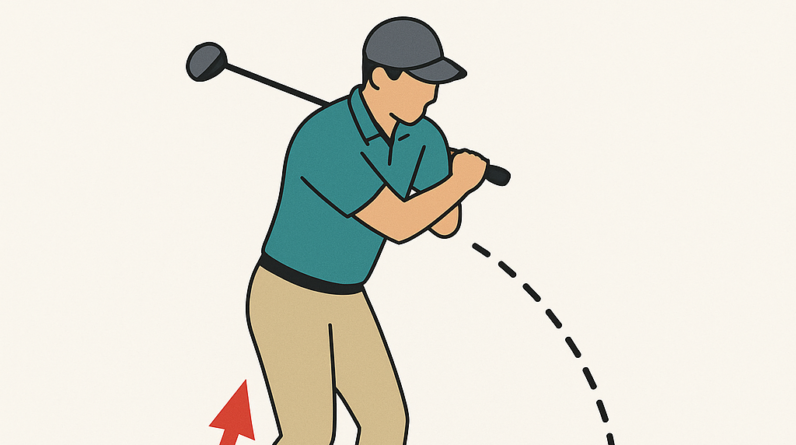
Weight transfer means loading your back side during the backswing and then moving that weight toward the front side (the lead foot) as you swing through impact and into the finish. Think of your hips and torso turning as a unit, with your center of gravity gradually sliding from the right heel (for right-handed players) toward the left foot through impact.
Why it matters to the golf swing
- Solid contact: Forward weight helps compress the ball and strike the sweet spot more often.
- Control and consistency: A predictable shift reduces mishits and inconsistencies between clubs.
- Power and distance: Transferring weight efficiently releases stored energy into the ball.
- Better direction: Proper sequencing keeps the clubface square to the target at impact.
What you should feel when doing it correctly
- Setup: Weight is balanced roughly 50/50 between feet.
- Top of backswing: More weight on the trail foot (right foot for a right-hander) as you coil against the turn.
- Downswing to impact: A gradual, smooth move of weight toward the lead foot; you should feel your lead knee flexing slightly and your torso beginning to square up to the ball.
- Through impact: Most of your weight should be on the lead foot, with the chest slightly over that lead leg and the head over the center of gravity.
- Finish: Balance finished with weight comfortably over the lead foot and a solid chest-to-target feeling.
2–3 common mistakes and simple fixes
-
Mistake: Staying back over the trail foot at impact, leading to thin or fat shots.
Fix: Start the downswing with your hips turning toward the target and your chest rotating. Think “catch up” with your lead foot as you strike. Cue: “hips to target first.”
Tip for practice: Practice half-swings with a narrow focus on transferring weight forward before the arms engage. -
Mistake: Over-shifting weight too early, rushing the weight transfer before proper sequencing.
Fix: Delay the weight transfer until you feel the hips and torso turning into the downswing. Cue: “turn, then shift.”
Tip for practice: Do slow-motion reps, counting to two from the start of the downswing to ensure you’re not rushing the transfer. -
Mistake: Lateral swaying instead of turning, which can throw off balance and timing.
Fix: Focus on rotating around a relatively steady spine and letting the weight shift naturally. Cue: “rotate, don’t slide.”
Tip for practice: Stand with your back against a wall, hips and shoulders lightly touching; swing keeping your spine position constant while allowing a deliberate weight shift.
One easy drill to practice at home or at the range
Step-Through Weight Transfer Drill
- Address the ball with a short iron so you can feel a compact motion.
- On the backswing, hold your finish position briefly and feel weight starting to load on your trail foot.
- During the downswing, take a small, controlled step toward the target with your lead foot as you strike the ball. The step should be smooth and aligned with your hips turning first.
- Finish with most of your weight on the lead foot and your chest facing the target. Repeat 8–12 times, focusing on balance and a clean contact.
- Progress by increasing speed gradually, keeping the same sequence and feel.
Mastering Weight Transfer for Consistent Ball Striking
Overview: Why Weight Transfer Matters for Consistent Ball Striking
Weight transfer, sometimes called weight shift, is the deliberate movement of your body’s weight from the
back foot to the front foot during the swing or shot. In golf, tennis, and similar ball-striking sports, this
sequencing powers control, distance, and accuracy. Proper weight transfer helps you maintain balance,
square the clubface or racket face at impact, and optimize energy transfer from the ground through your kinetic
chain (feet, legs, hips, torso, arms) into the ball.
This article delivers a practical, drill-driven approach to mastering weight transfer. You’ll learn the biomechanics,
proven drills, common mistakes, and a structured practice plan. The goal is a repeatable movement pattern that
you can trust under pressure-whether you’re pounding drives on the course or hitting fast shots in a match.
biomechanics of Weight Transfer in Ball Striking
Weight transfer is a dynamic, multi-segment process. The key ideas:
- Ground contact drives momentum: The transfer begins with your feet pushing into the ground, creating forces that travel up through the legs and torso.
- Kinetic chain activation: From the ground up, the hips, torso, shoulders, and arms coordinate to transfer energy toward the ball.
- Backswing to downswing sequencing: A controlled shift to the back foot in the backswing sets up a powerful, forward-downward weight shift into impact.
- Balance and posture: Maintaining spine angle and posture during the transition prevents early means of misalignment (e.g., swaying, slide).
- Impact condition: At impact, weight is roughly balanced between the mid-foot and lead foot, with a slight bias toward the lead side for most players.
While the exact distribution varies by sport and individual, the principle remains the same: successful ball striking
requires efficient transfer of ground reaction forces into the ball through a stable, repeatable sequence.
Three-Phase Framework for weight Transfer
- Pre-Impact Position (Setup): Set your posture with slight knee flex, hips hinged, and weight balanced over the arches of both feet. This is the platform for an efficient transfer.
- Transition (Backswing to Downswing): From the back foot, shift weight toward the middle of the stance and then onto the lead foot as you rotate hips and torso toward the ball.
- impact and Follow-Through: Complete the transfer by releasing energy into the ball, maintaining balance, and finishing with the chest facing the target and the trail-side foot planted or lightly released for momentum transfer.
Practically, this means your weight should steadily migrate from the inside of the back foot to the inside of the front foot
through the swing. Timing is essential; rushing the transfer can cause loss of control, while a well-timed shift improves both
distance and accuracy.
Drills to Master Weight Transfer
Use these drills to ingrain the feel of a proper weight transfer. Do them on a flat range or practice area with a
club you’re comfortable with. Start slowly, then increase tempo as your control improves.
- Toe-to-Toe Drill: Stand with feet together, then take a small step forward with the lead foot and shift weight toward the lead foot as you swing. Focus on keeping the trail heel grounded during the transition.
- Step-Through Drill: Start with a narrow stance. take a small step toward your target during swing, letting the step mirror the transfer from back to front foot. This helps with balance and sequencing.
- pump Drill: Perform three short, controlled pump motions in the backswing and transition, pausing at impact to feel the weight settling into the front foot.
- Wide-to-Compact Drill: Start with a slightly wider stance, then narrow as you rotate into impact. This trains the body to transfer weight efficiently regardless of stance width.
- Ground Contact Visualization: Imagine driving energy from the ground up, feeling your feet press into the turf, and allow that sensation to guide weight shift.
Pro tip: Pair drills with a mirror or video feedback. Observing your hip and shoulder rotation, knee flex, and foot pressure can help you adjust tiny timing errors.
Drill Progression: From Fundamentals to Consistency
| Progression | Focus | How to Perform | Common Cues |
|---|---|---|---|
| Foundational Stance | Balanced weight distribution | Feet hip-width apart, slight knee flex, weight centered. | “Feel grounded,” “soft knees,” “equal weight.” |
| Back Foot Push | Initiate transfer from the ground | Push into the ground with the back foot while maintaining spine angle. | “Push into the heel of the back foot,” “don’t sway.” |
| Lead Foot Engagement | Forward shift and hip rotation | As you rotate, feel weight move toward the lead foot. | “Drive weight to lead foot,” “lead heel stays grounded.” |
| Impact Alignment | stable impact position | Hold a moment at impact to feel front- foot weight and balanced torso. | “Solid through impact,” “balanced finish.” |
| Dynamic Range | Apply transfer under increasing tempo | Gradually add tempo and distance while preserving mechanics. | “Smooth but fast,” “tempo under control.” |
Benefits of Proper Weight Transfer
- Consistency: A repeatable transfer sequence reduces variation in strike quality.
- Power without sacrifice: Energy generated from the ground translates into distance with control.
- accuracy: Proper transfer aligns the body to the target line, improving clubface or racket-face control.
- Injury prevention: Balanced loading reduces excessive stress on the back and knees.
- Versatility across sports: The same principles apply to golf, tennis, pickleball, and racket-based sports.
Practical Tips for Everyday practice
- Slow practice first: Master the feeling of weight transfer at a slow tempo before adding speed.
- Use a training aid: A lightweight squat board or balance disc can help you feel the correct weight shift.
- Monitor foot pressure: Focus on maintaining pressure under the mid-foot to front foot during impact.
- video feedback: Record from different angles to confirm hip-brace and spine angle maintenance.
- Match tempo to outcome: If distance is lacking, refine transfer timing; if accuracy deteriorates, revisit balance and posture.
Case Studies: Real-World Outcomes
Case studies illustrate how deliberate weight transfer improvements translate into measurable results. The following
summaries are generalized examples based on typical coaching experiences.
- amateur golfer: After six weeks of daily 15-minute weight-transfer drills, a player increased carry distance by 12-18 yards and improved fairways hit rate by 8% in tournaments.
- Club tennis player: A player with inconsistent contact saw a 40% reduction in mishits after drills emphasizing transfer timing and balance during the groundstroke.
- recreational pickleball: Improved shot consistency and control by focusing on a stable transfer during serve and return, resulting in fewer net errors.
First-hand Experience: A Coach’s perspective
I recall one player who struggled with late-weight transfer, often reaching with the arms and losing balance. We started
with the Toe-to-Toe and Step-Through drills, emphasizing staying centered over the mid-foot through impact. After four
weeks, the player reported feeling more grounded, with a noticeable enhancement in accuracy and control during windy practice rounds.
Common mistakes and How to Fix Them
- Early weight shift: Weight moves too quickly to the front foot before rotation. Fix by slowing the transition and emphasizing hip turn first.
- Swaying off the ball: Lateral movement disrupts balance. Keep head centered and rotate around a stable axis.
- Over-rotation without posture: excess hip turn without spine angle control leads to inconsistent contact.Maintain a quiet spine angle through impact.
- Weight staying on the back foot too long: This robs you of power. Focus on a clear progression from back foot to lead foot on the downswing.
FAQ: Quick Answers on Weight Transfer
Q: How do I know I’m transferring weight correctly?
A: You should feel pressure shift from the back foot toward the mid-foot and front foot, with your hips rotating toward the target and your spine maintaining its angle.
Q: Can I practice weight transfer without a ball?
A: Yes. Mirror work and dry swings with cues like “drive into the lead foot” help develop the feel without hitting a ball.
Structured Training Plan (4 Weeks)
Use this plan to integrate weight transfer drills into your routine. Adjust the pace based on your progress and compression of tempo.
Foundational stance, Toe-to-Toe and Pump drills (15 minutes per session, 3-5 sessions). - Week 2: Add Step-Through drill; focus on timing and balance (20 minutes, 3-4 sessions).
- Week 3: Introduce Ground Contact Visualization; start short-range shots focusing on transfer (25 minutes, 3-5 sessions).
- Week 4: Combine all drills with increased tempo; monitor results with video feedback (30-40 minutes, 4-5 sessions).
Notes for Coaches and Players
Remember, weight transfer is sport-specific and person-specific. Use data-driven feedback (video, swing metrics, ball flight) to tailor the approach.
Ready to Start Transferring Your Power?
Use these drills and guidelines as a foundation. For a personalized plan, consider a short coaching session to tailor
weight transfer cues to your swing type, body type, and sport.