
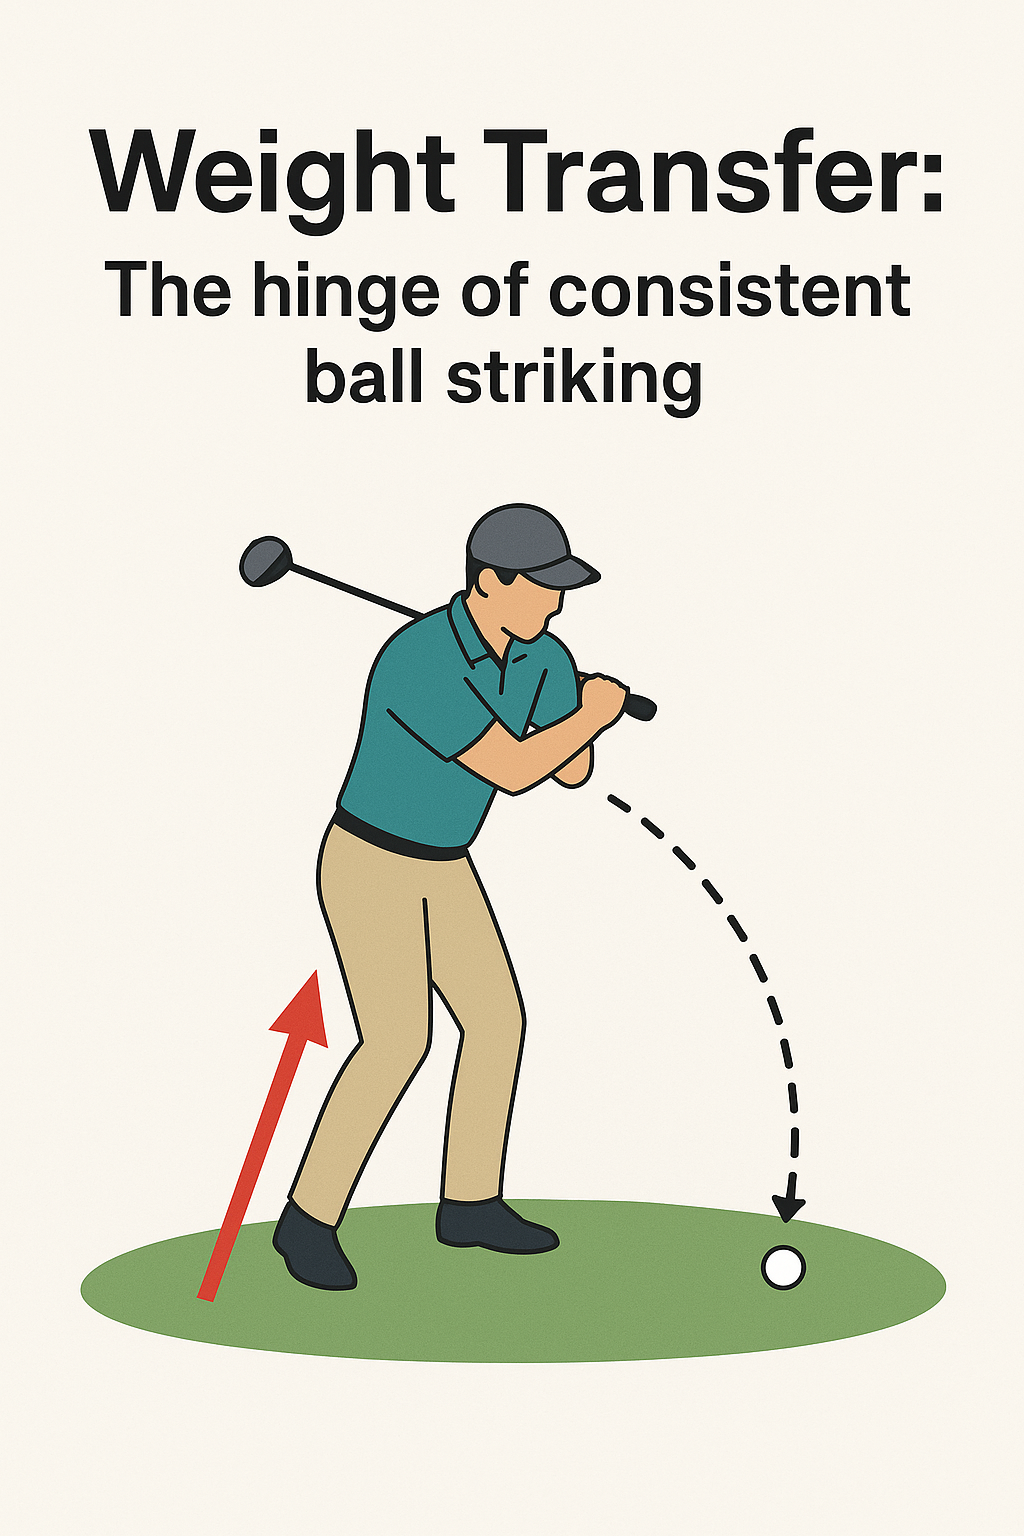
Weight Transfer: The hinge of consistent ball striking
As a PGA professional, I focus on one critical concept that often separates inconsistent hitters from players who strike it solidly: weight transfer. This is the smooth move of shifting pressure from the trail foot to the lead foot during the swing. When done well, it helps you compress the ball consistently, maintain balance, and control the clubface.
What the concept is
Weight transfer means moving your body’s weight from the right side (for right-handed golfers) to the left side as you swing through the ball. The shift starts in the downswing and continues into the follow-through, finishing with most of your weight on the lead foot. It isn’t a big jump or a lunge; it’s a controlled, athletic transfer that preserves your posture and spine angle.
Why it matters to the golf swing
- Helps you compress the ball and create solid contact.
- Promotes proper sequencing: hips rotate toward the target while the arms swing through, reducing fat or thin shots.
- Improves balance through impact, which stabilizes the clubface and flight direction.
What the golfer should feel when doing it correctly
- Pressure gradually shifts from the trail foot to the lead foot as you swing.
- Your hips rotate toward the target while your torso stays relatively centered over the midline.
- At impact, most of your weight is on the lead foot, yet you still maintain some subtle bend in the lead knee.
- Momentum feels like you’re “grounding” into the lead leg, not collapsing onto it.
2–3 common mistakes golfers make with this concept
- Weight stays on the back foot through impact.
- Why it’s a problem: You’ll often hit behind the ball or top it, and the clubface may wander open.
- Fix: Rehearse a deliberate, gradual shift forward after the midpoint of the downswing. Feel the lead-side press into the ground while your trail knee releases slightly.
- Swaying laterally instead of rotating around a stable axis.
- Why it’s a problem: The angle between your upper body and hips changes too much, leading to inconsistent contact.
- Fix: Practice rotating the hips toward the target while keeping your spine angle relatively constant. Use a wall drill or alignment sticks to feel a stable base.
- Too quick or abrupt weight transfer, causing early release or loss of lag.
- Why it’s a problem: You miss the optimal compression window and often mis-hits.
- Fix: Slow the transition slightly and allow the hips to lead the downswing with controlled rotation. Maintain finger/hand connection longer to preserve lag.
One easy practice drill you can do at home or at the range
Step-Through Weight-Shift Drill
- Set up with a light stance and a short backswing.
- Swirl your weight from the trail foot to the lead foot as you swing through, finishing with your chest facing the target and most weight on the left foot.
- After each swing, step your lead foot forward into a balanced finish (almost like a “step-through” finish) to reinforce the forward transfer.
- Do 2 sets of 10–15 half-swings, focusing on a smooth, gradual weight transfer rather than a quick lunge.
Tip: Practice this drill with a mirror or on video to confirm you’re not swaying or lifting out of posture. Keep your head steady and your spine angle intact as you transfer weight.
Focusing on weight transfer won’t overhaul your entire swing overnight, but it builds a reliable foundation for solid contact and consistent ball flight. Use the drill to cement a smooth, athletic transfer, and you’ll notice cleaner strikes and improved balance on every shot.
Weight Transfer: The hinge of consistent ball striking
Weight transfer is the deliberate shifting of your body’s load from the back foot toward the front foot during the moment of ball contact and through the follow-through. Across sports—from golf and tennis to baseball and cricket—this hinge of movement separates good players from great performers.If your weight transfer is inconsistent, even the cleanest technique can produce shots that veer off line, lose pace, or lack control.The good news: weight transfer is teachable, debatable, and highly coachable when you understand the physics, the sequencing, and the practical cues that make it repeatable.
Why weight transfer matters
In any ball-striking action, power is produced through a kinetic chain: ground reaction forces move up through the legs, hips, core, and finally to the striking implement. When weight shifts appropriately, you store and release energy efficiently, increasing ball speed without sacrificing control. Conversely, poor weight transfer can flatten the impact impulse, reduce speed, and invite mishits. Here are the core benefits:
- Increased shot speed without over-reliance on arm strength
- Improved shot accuracy through better alignment and sequencing
- Enhanced balance and stability during the swing or strike
- Better control of center of gravity, reducing over-rotation and fatigue
The physics behind weight transfer
To optimize weight transfer, it helps to visualize three interconnected concepts: center of gravity (CoG), ground reaction force (GRF), and the kinetic chain.
- A moving point inside your body where your weight is concentrated. Proper weight transfer keeps your CoG directed through the strike zone, maintaining balance and momentum.
- The force your feet exert against the ground, which pushes your body upward and forward. The way you load your weight influences the direction and magnitude of GRF during impact.
- Efficient energy transfer relies on a sequence: from feet to legs, through hips and core, to the arms or racket/bat, and finally to the ball.A mis-timed transfer disrupts this chain and reduces ball speed or accuracy.
In practice, you want a smooth, forward-downward transfer that loads energy in the trail leg, then releases it through the lead side at impact. The best performers don’t “hit with their arms”—they project energy from the ground up,with weight displacement driving the strike.
Weight transfer in practice: phase-by-phase breakdown
think of a typical swing or contact-based hit as a five-phase process. The cues below are generic across sports but tailored for practical coaching and self-assessment.
Remember: timing and feel trump strict posture. Use these cues to build “feel” for the transfer, not to force rigid positions.
1) Setup and stance (Pre-load)
- Distribute weight evenly or slightly toward the center of gravity,with a pleasant knee bend.
- Maintain a stable spine angle and a quiet upper body to resist early shoulder collapse.
- Feel the back foot loaded enough to allow a natural hip hinge without lifting the heel excessively.
2) Load and coil (Backswing or planning)
- Shift a portion of weight toward the trail leg (the leg furthest from the hitting surface).
- Let hips rotate while maintaining a stable lower body and steady head position.
- Keep the arms connected to the torso, allowing a natural lag between hips and shoulders.
3) Transition and load transfer (Getting into the forward path)
- Begin the forward shift by pushing off the trail foot and rotating toward the lead side.
- Feel the weight moving toward the lead foot while the hips open toward the target.
- Keep the core braced and the upper body relaxed to avoid early over-rotation.
4) Impact phase (Dynamic transfer to the lead foot)
- At contact, most of the weight lands through the lead foot, with the trail foot lightly connected or off the ground depending on sport.
- Maintain a stable torso and a forward-tilting posture that helps direct the energy into the ball.
- Let the hips and trunk unleash energy through the strike path, not the arms alone.
5) Follow-through (Momentum and balance)
- Continue the forward momentum past impact, allowing the weight to finish toward the lead side.
- Finish with balance and a stable head position to ensure consistent contact in future attempts.
drills and cues to reinforce clean weight transfer
Implement these drills to build reliable weight transfer patterns. Start slowly, then increase pace as the movement becomes more automatic.
Drill 1: Step-Through Transfer
- Stand with feet shoulder-width apart. Take a small step toward the target with the lead foot just before impact.
- As you step, shift weight from the trail foot to the lead foot, coordinating with a controlled hip rotation.
- Perform 6–12 reps, focusing on timing and balance rather than pace.
Drill 2: Band-Resisted Transfer
- Anchor a resistance band around your waist or hips. Stand with a slight stagger and hold tension as you practice the strike.
- Feel the belt-line load shift from back to front, with the band creating a subtle resistance to forward motion.
- Complete 8–12 controlled reps, maintaining a quiet upper body.
Drill 3: split-Step Weight shift
- In a tennis or similar setup, perform fast split-steps to simulate footwork that drives weight toward the forward foot on contact.
- Ensure the first contact with the ground is through the intended lead foot during the swing path.
- Do 10–15 reps per side, focusing on a clean transfer rather than power alone.
Common mistakes and how to fix them
- Early weight transfer to the lead foot before contact.Fix: Pause the forward shift slightly until the moment of impact; keep the trail knee flexed for stability.
- Mistake: Over-rotation of the hips causing the spine to tilt and lose balance. Fix: Maintain a stable spine and rotate the torso first, then allow hips to follow.
- Mistake: Weight staying on the trail foot too long or not returning to center. Fix: Train the sensation of pressing off the trail foot into the lead side with a smooth transfer.
- Mistake: Jerky or forced movements. Fix: Emphasize rhythm, tempo, and breathing; a smooth transfer beats a rushed one.
Benefits and practical tips
- Better ball striking consistency with reliable contact point.
- Higher accuracy as weight transfer aligns with the intended path and face/face-angle control.
- Increased power through the efficient use of ground reaction forces.
- Reduced stress on the arms and shoulders by leveraging the legs and hips.
Practical tips you can apply today
- Film your swing or stroke from the side to observe when the weight shifts and where it lands at impact.
- Practice slow-motion transitions to feel the sequence from load to release.
- Wear lightweight footwear that provides stable grip and a solid base for balance drills.
- Keep the head steady and eyes on the ball (or target) to prevent compensations during weight transfer.
Case studies and firsthand experiences
Case study examples help connect theory to real-world results. Here are concise, anonymized notes from players who focused on weight transfer as a hinge for better ball striking.
Case 1: A collegiate golfer reduced mishits by 40% after three weeks of step-through transfer drills. He reported that the “feel” of loading into the trail leg and releasing into the lead foot improved shot consistency, especially under pressure.
Case 2: A tennis player improved serve placement and return accuracy after integrating band-resisted transfer into practice. The program helped synchronize leg drive with trunk rotation, translating into cleaner contact and more consistent pace control.
case 3: A baseball player who struggled with line drives found more consistent contact by emphasizing a forward weight transfer during the swing, reducing the tendency to “barrel through” with the upper body alone.
Quick-reference table: Weight transfer cues by phase
The following compact table summarizes the most actionable cues for each phase of weight transfer. It’s designed for quick coaching notes or on-field reminders.
| Phase | Key cues | Common fault | Simple drill cue |
|---|---|---|---|
| Setup | Balanced stance; slight knee bend; spine angle maintained | Standing tall with flat feet | “Feel the center line” |
| Load (back swing) | Weight shifts toward the trail leg; hips rotate | Early weight shift to lead or flat hips | “Load back and coil” |
| Transition | Forward shift to lead foot; hips open toward target | Stalling energy in the back leg | “Push off trail foot” |
| Impact | Lead foot bears the majority of weight; trunk stable | Collision of upper body with the ball; off-center contact | “Impact through lead foot” |
| Follow-through | Energy continues forward; balanced finish | Reverse weight or collapse toward the back foot | “Finish with balance” |
Implementation plan for a 4-week progression
- Master setup and load cues. Focus on comfortable balance, minimal extraneous movement, and a quiet upper body.
- Week 2: Add controlled transition drills and a simple step-through progression to train forward weight transfer.
- Week 3: Introduce resistance bands and light loads to increase awareness of the ground reaction forces without sacrificing technique.
- Week 4: Combine drills with live ball striking, focusing on repeatable transfer patterns under pressure.
A note on individual differences and adaptation
While the core principles of weight transfer remain consistent, people differ in anthropometrics, flexibility, and prior injuries. Use the cues that fit your body, and consult a qualified coach if you need a personalized plan. The goal is repeatable, efficient transfer that stays safe and sustainable over time.