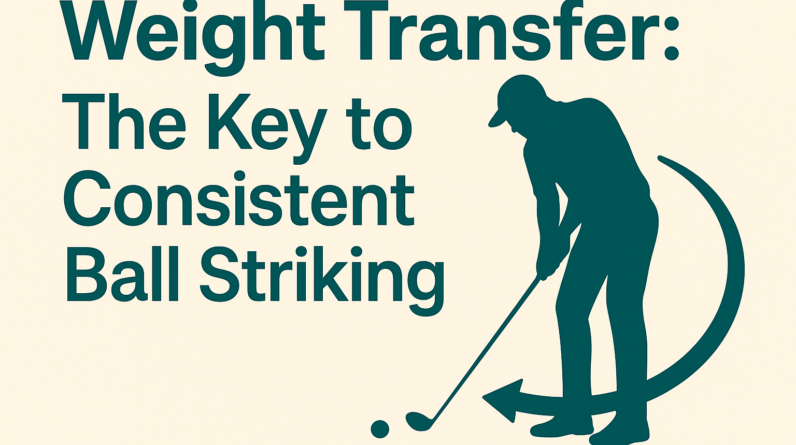
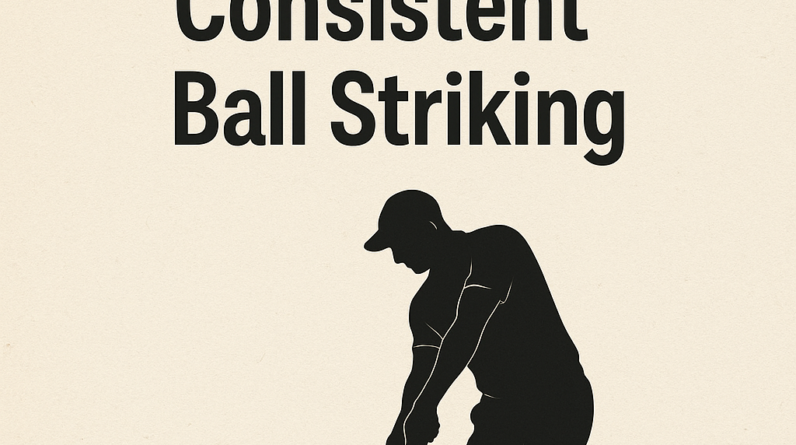
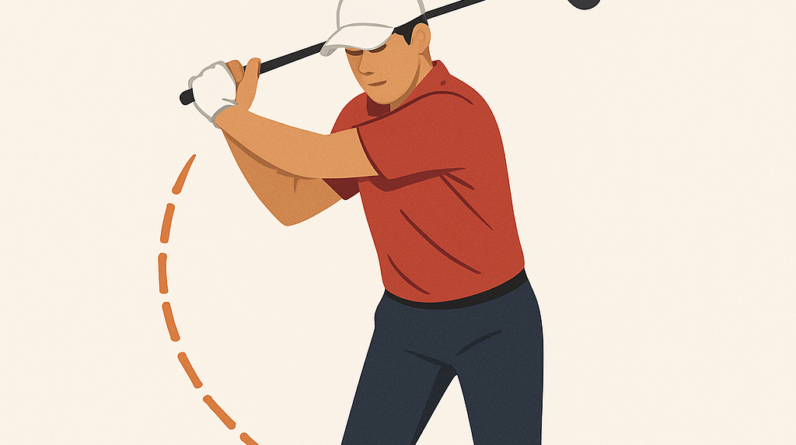
Weight Transfer: The Foundation of Consistent Ball Striking
Weight transfer is the deliberate, fluid move of your body’s center of gravity from the back foot to the front foot as you deliver the club to the ball. It’s not a dramatic lunge or a slide; it’s a controlled shift that happens as your hips rotate and your chest faces the target. When done well, it helps you strike the ball on the sweet spot, stay balanced, and control the flight much more reliably.
What the concept is
- Start with most of your weight on the back foot at address to load the trail side.
- A coordinated shift during the downswing moves weight toward the front foot as the hips rotate and the arms accelerate into impact.
- By impact, your weight should be largely on the lead foot, with your chest and hips guiding the club through the ball toward the target.
- Finish with a balanced pose on the lead side, not hanging back or falling away.
Why it matters to the golf swing
- Creates solid contact by promoting a downward, into-the-ball strike on the center of the face.
- Improves consistency of ball flight and distance by reducing early/late clubface closure or open-ness caused by imbalanced weight.
- Supports better sequencing: the hips lead the way, the arms follow, and the clubface returns square to the ball.
What you should feel when doing it correctly
- During the downswing, you should feel pressure building into the lead foot as the weight shifts forward.
- Your trail knee and hip should load slightly, then unwind as you rotate toward the target.
- You feel a smooth, rhythmic transfer rather than a swift, abrupt move or a slide away from the target line.
- At impact, the chest is square to the target and the majority of your weight sits on the lead foot, with a stable lower body and a balanced finish.
2–3 common mistakes and simple fixes
-
Mistake 1: Weight stays on the back foot through impact.
- Why it happens: The hands take over or the hips don’t rotate enough, so contact is made while still loaded on the trail side.
- Fix: Feel you “step” into the lead foot through impact. Practice with slow swings focusing on finishing with most weight on the lead foot.
-
Mistake 2: Weight shifts too early or too quickly, sacrificing balance.
- Why it happens: Overemphasis on a big hip bump or a strong lateral move before the ball is struck.
- Fix: Use a slow tempo cue: start the downswing by rotating the hips first, then allow the weight transfer to follow naturally. Practice with a 50% speed to feel the timing.
-
Mistake 3: Lateral slide or head movement off the target line.
- Why it happens: The body slides sideways to chase the ball, causing off-center contact.
- Fix: Keep the spine angle steady and let the hips rotate. A simple cue is to imagine your belt buckle pointing at your target throughout the swing, not chasing the ball sideways.
One easy practice drill you can do at home or the range
Step-Through Weight Transfer Drill
- Set up with a mid-iron and feet comfortably close together to feel the balance of weight.
- Take a half-swing, focusing on loading onto the trail foot during the backswing, then actively shifting weight into the lead foot as you approach impact.
- As you strike the ball, imagine stepping forward with the lead foot after contact. Hold the finish with your chest squared to the target and most of your weight on the lead foot.
- Repeat 8–12 reps, keeping the tempo smooth and the movement feeling like a steady, forward-winding of your weight toward the target.
Tip: start slowly, then build to full speed as you feel the transfer becoming more natural. If you struggle, pause at impact and reset the stance, reinforcing the feeling of finishing on the lead side.
Weight Transfer: The Foundation of Consistent ball Striking
In any precision sport that involves striking a ball,the way you move your weight through the swing is the difference between an average shot and a great one. Weight transfer is not a single move but a sequence of coordinated actions that engages your legs, hips, core, and upper body. When executed smoothly, it creates solid contact, improves distance control, and reduces the inconsistency that can derail your rounds.This article dives deep into the science,the mechanics,and practical steps to harness weight transfer for consistently improved ball striking.
Understanding Weight Transfer in Golf
Weight transfer refers to how the body’s center of pressure shifts from one part of the foot to another during the swing. In golf, the goal is a purposeful, controlled transfer from the initial setup, through the backswing, into the downswing and impact, and finally into the follow-through. The timing, amount, and direction of this transfer influence the quality of contact, ball flight, and distance.
Key concepts behind weight transfer
- Kinetic chain: The swing is a chain of linked movements that starts at the ground. Ground reaction forces travel from the feet up through the legs and hips and into the torso and arms.A well-timed transfer allows energy to flow efficiently to the clubface at impact.
- Center of gravity: Your body’s balance point should move predictably toward the target as you strike the ball. Over-rotation or bunched weight can rob you of power and accuracy.
- Ground forces: The ground is your ally. Proper weight transfer uses ground reaction forces to enhance speed and control,rather than fighting against stability.
- Sequencing: The order in which limbs and the torso contribute to the swing matters. Poor sequencing often shows up as late hips, early arms, or a stall in the hips that disrupts weight transfer.
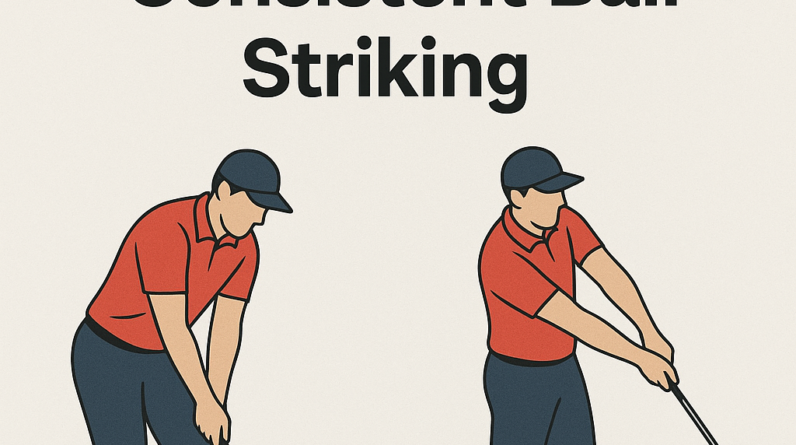
Core mechanics of Proper Weight Transfer
Understanding the core mechanics helps you feel,not just know,what needs to happen. The following sections break down the stages of the swing and the precise weight shifts involved.
Setup and pre-swing balance
- Distribute your weight evenly or slightly toward the mid-foot to create a stable base that allows for a smooth shift.
- Maintain a slight knee flex and a comfortable spine angle. The posture should support rotation without leaning excessively toward either foot.
- Keep the chest tall and the arms relaxed. A tense setup can hinder fluid transfer during the swing.
Backswing: loading the trail side
- As you take the club back, a portion of your weight should stay on the trail (rear) foot to load the hips and torso.
- The hips rotate slightly away from the target, and the upper body coils. The weight gradually begins to shift toward the trail foot’s inner edge, preparing for the transition.
- Avoid a late, abrupt shift.Smooth loading fosters better timing at the moment of transition.
Transition and early downswing: initiating the move toward the front side
- Transition is the pivotal moment when your weight begins moving toward the lead (front) foot.
- Hips start to open, the torso unwinds, and the lower body leads the clubhead into the ball.
- The trail foot may begin to lift slightly, and pressure shifts toward the lead foot’s big toe side to set up a powerful impact.
Downswing and impact: reaching max efficiency
- At impact, most of your weight should be on the lead foot, with the trail foot finishing its role as a stabilizer. This creates a solid base for the clubface to strike the ball cleanly.
- A slight forward press of the hands and a forward shaft lean can help deliver the center of percussion to the ball,enhancing contact quality.
- Be mindful of over-rotating or hanging back, which can cause pushes, pulls, or topped shots.
Release and follow-through: continuing the momentum
- After impact, continue the weight transfer toward the lead side and into the finish. A balanced finish position signals that the transfer happened as intended.
- Maintaining balance through the follow-through helps ensure the swing’s energy is carried toward the target and reduces post-impact mishits.
Benefits of Proper Weight Transfer
- Improved contact quality: More center-face strikes reduce mishits and produce consistent ball speed.
- Increased distance control: Efficient energy transfer translates into more predictable ball flight and stopping power on approach shots.
- Enhanced consistency: Reproducible weight shifts reduce variability shot to shot.
- Better dispersion: Controlled weight transfer helps tighten shot patterns,especially under pressure.
- Lower risk of injury: Proper sequencing reduces undue stress on the lower back and hips by distributing load across the kinetic chain.
practical Drills and Cues to Build Consistent Weight Transfer
Below are drills designed to feel the correct weight movements, with simple cues you can apply on the range or at home. Start slowly, then build speed as your body internalizes the sequence.
1) Step-Through Drill
- Take a normal address position with a mid-iron. Step into a straight-ahead step with your lead foot on the ball’s line as you swing back, then step toward the target on the downswing.This drill emphasizes a forward weight shift and rotation timing.
- Focus cue: “Step and go” – feel the weight move to the lead side as you step through.
2) Toe-Tap drill
- Address the ball with light contact,then during the backswing,tap your lead toe lightly to remind yourself of the transition direction. In the downswing, your weight should shift toward the lead foot while your hips open.
- Focus cue: ”Tap to transition” to keep transition smooth and controlled.
3) Slow-Motion Box Drill
- Set up a small square with four markers. Perform a slow, deliberate swing within the box, tracking your weight shift from the trail foot to the lead foot. This drill trains timing and sequencing without speed pressure.
- Focus cue: ”feel the pressure move forward on impact.”
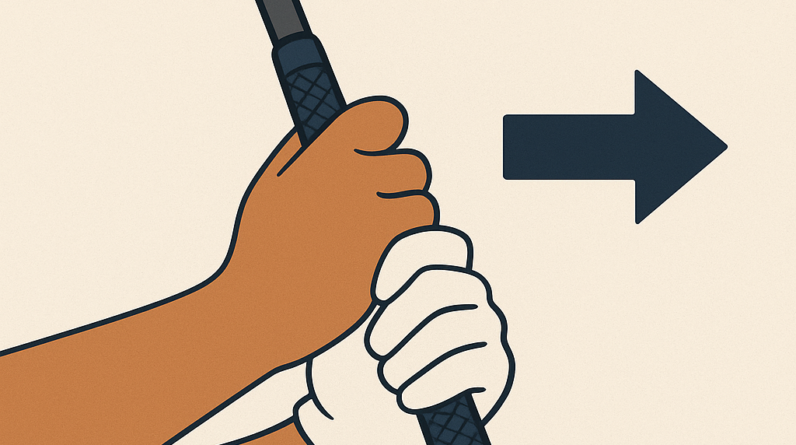
4) Alignment Stick Feedback
- Place an alignment stick along your lead leg or across your hips to monitor whether your hips and torso are rotating correctly. During the downswing, ensure the stick’s movement aligns with the direction of your weight transfer.
- Focus cue: “Lead with ground, not with hands.”
5) Ground-Action drill with a Foam Roller
- Stand with a foam roller under your lead foot. As you swing, press into the roller with your lead leg during impact, simulating the driving force of weight transfer to the front. This creates a tactile cue for leg drive and balance.
- Focus cue: “Push through the floor; let the hips rotate.”
Common Mistakes and How to Fix Them
- Mistake: Hanging back or flipping the hands at impact.
Fix: Focus on keeping a steady, forward weight shift with less wrist hinge at the moment of contact. Practice with slow speed and a slightly stronger weight on the lead foot. - Mistake: Jumping forward or early extension.
Fix: Maintain a stable knee flex and rotate the hips rather than leaning forward. Use a video drill to monitor the pelvis angle through impact. - Mistake: Over-rotating the upper body while the hips remain closed.
Fix: Improve sequencing by initiating the downswing with the hips and torso unwinding together, allowing the weight transfer to lead the hands. - Mistake: Inconsistent weight distribution between shots.
Fix: Build a consistent pre-shot routine that aligns your weight distribution with your target and swing type.
Case Studies and First-hand Experiences
Real players improve when thay understand weight transfer at a practical level—and not just as a theoretical concept. Here are concise, anonymized case summaries that illustrate how weight transfer changes outcomes on the course.
Case Study A: The 6-Year Struggle, shorter Irons
A male golfer in his 40s struggled with short iron consistency. After focusing on a steady transition and ensuring pressure moved toward the lead foot at impact, he noticed a 8-12 yard improvement in carry and more consistent carry distance. the routine included daily 10-minute drills focused on weight transfer, video analysis, and a simple cue: “Feel the floor push you forward.”
Case Study B: the Mid-Wrist Fault
A college player habitually cast the hands too early, causing inconsistent strike quality. After implementing slow-motion downswing drills and a lead-foot emphasis, his ball-striking became more centralized, with reduced dispersion. The key change was teaching the hips to trigger the transfer before the hands arrived at the ball.
Case Study C: The Senior Player Seeking Consistency
A senior player with back issues found that a stable weight transfer reduced the need for aggressive hip rotation. By focusing on maintaining balance and a controlled weight shift rather than brute force, his scores stabilized, and contact improved without added strain.
Measuring Progress: Tools and Techniques
Tracking progress helps you stay motivated and ensures your training translates to on-course performance. Here are practical, reader-friendly ways to monitor weight transfer improvements without expensive equipment.
- Video analysis: Record from the front and the side. Look for a smooth transfer of weight, a slight front-foot pressure at impact, and balanced follow-through.
- Touch cues: Use a simple pressure sensor pad or your own foot awareness to feel when weight shifts to the lead foot. You should feel a moment of light pressure on the lead foot at impact, not a collapse.
- Tempo tracking: Use a metronome or a swing tempo app to maintain a consistent swing pace. A stable tempo supports reliable weight transfer.
- Feedback drills: regularly run the Step-Through and Slow-Motion Box drills to confirm the transfer sequence is repeating.
Quick Reference: Cues for Weight Transfer (Table)
| Cue | What It Moves | Common Faults It Corrects | When to Use |
|---|---|---|---|
| Step and Go | Weight toward lead side during step-through | Early extension; hanging back | during slow practice; transition emphasis |
| Feel the floor Push | Ground reaction forces from the lead foot | Late weight shift; loss of balance | Impact-focused drills |
| Tap to Transition | lead-side loading and weight transfer timing | Over-rotation with poor sequencing | Backswing to downswing timing |
| Push Through the lead Foot | forward pelvis rotation and energy transfer | Hanging back; fade or push shots | Downswing practice; power development |
FAQs: Weight Transfer and Ball Striking
- Q: Should I always transfer weight fully to the lead foot at impact?
- A: Most players benefit from a forward-weight emphasis at impact, but the exact distribution varies by swing type and physical condition. The goal is a controlled transfer that promotes solid contact, not a full sprint to the lead foot that destabilizes balance.
- Q: can weight transfer help with different clubs?
- A: yes. With longer clubs, you frequently enough feel more weight shift due to increased swing length. Shorter clubs require a slightly different sequencing to maintain control and contact.
- Q: How long should I practice weight transfer drills?
- A: Start with 10–15 minutes of focused drills per practice session, 3–4 times per week. Gradually increase to 20–30 minutes when you can perform the movements comfortably with good balance and tempo.
- Q: what if I have back pain when transferring weight?
- A: Prioritize proper posture, core engagement, and a gradual increase in loading. If pain persists, consult a healthcare professional or coach to adapt the technique for your body.
Final Thoughts: Building a Reproducible weight Transfer Routine
Consistency in ball striking starts with disciplined weight transfer. By understanding the sequence, integrating practical drills, and using repeatable cues, you can create a robust foundation for your swing. Remember, the goal isn’t to freeze the body into a rigid position but to foster a dynamic, balanced transfer that partners with your natural rhythm and power.Use the drills, cues, and feedback methods outlined here to develop a repeatable pattern you can rely on on every shot.
Notes on Integration with Your Practice Plan
- Warm up focusing on balance and footwork before attempting weighted drills.
- Mix weight-transfer drills with full swings to ensure the changes transfer to actual ball striking.
- Record a short weekly video to track progression and adjust cues as needed.
- Combine drills with physical conditioning aimed at hip mobility, ankle stability, and core strength to support a resilient weight transfer.
Key Takeaways
- Weight transfer is a coordinated movement from the trail foot to the lead foot, driven by hips and core, ending with a balanced finish.
- A well-timed transfer improves contact quality, distance control, and consistency.
- Drills like Step-Through, Toe-Tap, and Slow-Motion Box help embed the correct sequence.
Measurement Tools
- Smartphone video (front and side)
- basic pressure mat or foot-feel awareness
- Tempo app or metronome
by treating weight transfer as a repeatable process rather than an abstract idea, you can transform your ball striking into a reliable, repeatable skill. Practice with intention, monitor your progress, and adjust your cues to fit your body and swing style. The foundation is simple: let the ground push you forward, and let your hips and torso guide the energy to the clubface. With time, consistency follows quiet confidence on every shot.