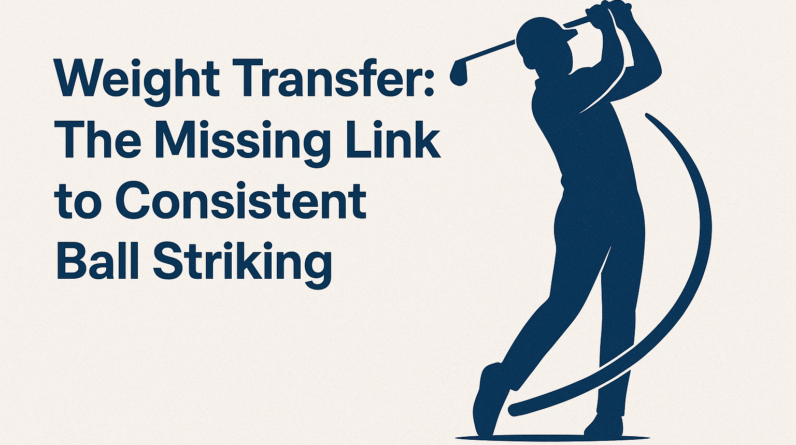

Weight Transfer: Mastering the Ground Connection for Consistent Ball Striking
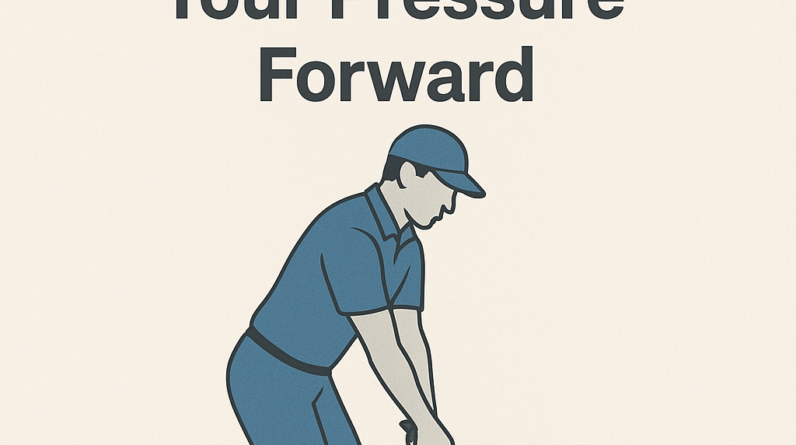
If you want more solid contact and more consistent direction, focus on oneElement: weight transfer. This is the way your body moves its weight from the back foot to the front foot during the swing. Done well, it creates a stable base, better contact, and cleaner ball flight—without needing to swing harder.
What the concept is
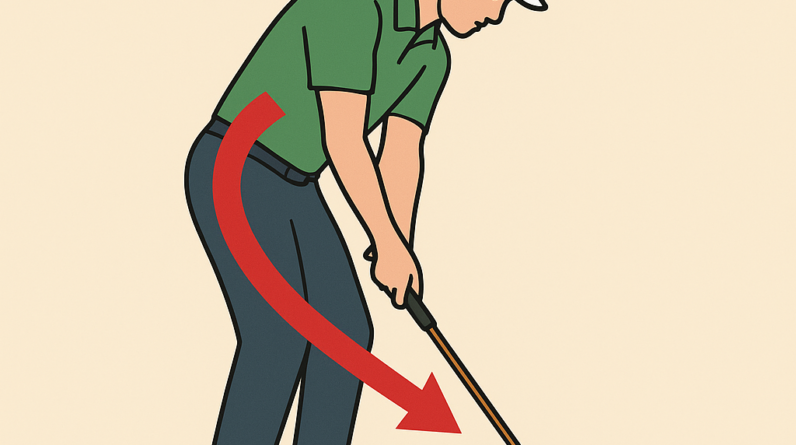
Weight transfer is the deliberate shift of your center of gravity from the trail (back) foot to the lead (front) foot from takeaway through impact and into follow-through. Think of it as a controlled “loading” of the ground and a timed unloading into the ball. A good transfer keeps your spine angle steady and allows the arms and club to meet the ball with a square, solid face.
Why it matters to the golf swing
- Solid contact: When your weight is properly forward at impact, you compress the ball consistently instead of fatting (hitting the ground first) or topping it.
- Direction control: A stable base helps the clubface square to the target at impact, reducing wild misses caused by slipping or hanging back.
- Power with control: You generate more clubhead speed through a coordinated shift of weight, not by thrusting your hips or arms alone.
What the golfer should feel when doing it correctly
- Load onto the trail foot during the backswing and begin the shift toward the lead foot as you start the downswing.
- By impact, feel most of your weight on the lead foot, with the trail knee beginning to straighten and the lead knee flexed for balance.
- Your chest and torso stay over the ball longer, and your head stays relatively still over the target line.
- Ground pressure rises through the lead foot at impact, like you’re pushing into the ground to drive the shot.
2–3 common mistakes golfers make with this concept and fixes
- Mistake 1: Weight stays on the trail foot too long or even reverses early (delivery is late). Fix: Think of “loading” the trail foot briefly, then actively driving weight toward the lead foot as you start the downswing. Practice with slow tempo and pause at the moment weight shifts so you can feel the transfer happen before contact.
- Mistake 2: Swaying or sliding laterally instead of rotating (you move your hips and torso off the ball). Fix: Keep your feet grounded and use your hips to rotate around a stable spine. Practice against a wall or with a towel under your feet to cue minimal side-to-side movement while you rotate.
- Mistake 3: Finishing with most weight on the trail foot or losing balance after contact. Fix: Finish with the chest facing the target and the majority of weight on the lead foot. Pause for a moment in the finish to check balance.
One easy practice drill you can do at home or at the range
Pump Drill for Weight Transfer
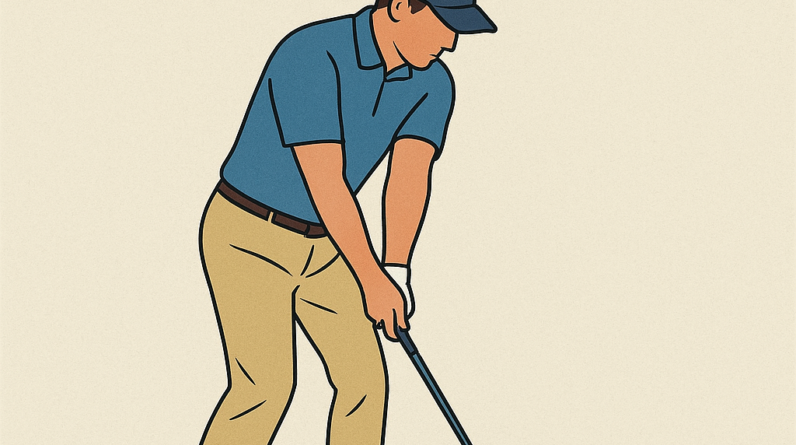
- Set up in your normal address position with a comfortable athletic stance.
- Take a small backswing (about 1/4 to 1/3 swing) and pause at the top for 1–2 seconds. Feel the weight loading onto your trail foot.
- From the paused position, start the downswing and drive the weight forward to your lead foot through impact. Allow a smooth, controlled finish with most weight on the lead foot.
- Hold the finish for 2 seconds, then reset to address and repeat for 8–12 reps.
Progression: Do the drill slowly first, then gradually increase to full-speed swings while maintaining the same feeling of forward weight transfer. Use a mirror or record yourself to verify you’re not swaying and that your hips are rotating while your upper body stays over the ball.
Quick reminder: this focus is about the timing and direction of your weight shift, not extra hip torque or arm strength. When you train the transfer with intention, your ball striking becomes more repeatable—and your scores can follow.
Weight Transfer: Mastering the Ground Connection for Consistent Ball Striking
Why weight transfer matters in ball striking
Weight transfer is the purposeful movement of your body weight from one part of your stance to another during the swing or contact phase. Done well, it creates a stable base, optimizes energy transfer through the kinetic chain, and yields cleaner contact with higher ball speed and improved accuracy. Poor weight transfer disrupts balance, reduces clubhead speed, and frequently enough leads to mishits, hooks, slices, or off-centre contact.
In essence, weight transfer acts as the bridge between setup and impact. The ground becomes an active partner, providing the reaction forces that propel the swing forward. When your weight shifts correctly—from the rear foot toward the lead foot in the downswing or stride-based sports,or from one side to the other in racket sports—you harness ground reaction forces (GRFs) that enhance stability and power without overloading the joints.
Key benefits of mastering weight transfer include:
- Increased consistency of contact point on the clubface or paddle
- Higher energy transfer from ground up through the hips and torso
- Improved balance through the entire swing, reducing off-center misses
- Better timing and sequencing of the lower body with the upper body
- Reduced strain on the lower back and shoulders through efficient mechanics
The kinetic chain: connecting the ground to the ball
A smooth weight transfer is the result of a well-coordinated kinetic chain: feet, ankles, knees, hips, torso, shoulders, arms, and hands communicating with the ground. The chain starts with ground contact and ends at impact with the ball. Each link must load, transfer, and release energy in a controlled sequence.
In practical terms, the process often involves:
- Setting the feet and distributing weight evenly at address
- Slightly loading the trail side (rear) before initiating the forward motion
- Shifting weight progressively toward the lead side through the downswing
- Maintaining spine angle and posture to prevent early extension or slide
- Finishing with balanced finish position, ready for the next repetition
The stance and setup: laying a solid foundation
The ground connection begins well before the swing starts. A stable, athletic setup reduces the load on the upper body and makes weight transfer more repeatable. consider these setup cues:
- Feet shoulder-width apart with a slight knee flex and athletic posture
- Center of gravity slightly toward the balls of the feet for rapid pressure shifts
- Balanced weight distribution between both feet, with a touch more pressure on the trail foot at address for many players
- Neutral spine and relaxed shoulders to promote seamless sequencing
Posture and footwork cues
Optimizing ground connection also involves how you use your feet and ankles:
- Feel the pressure move from the inside of the trail foot toward the inside edge of the lead foot as you begin the swing
- Let the ankles subtly grip the ground to prevent slipping, especially during the transition
- A light toe-press on the lead foot can definitely help maintain forefoot stability during impact
- Avoid excessive knee collapse or over-rotation that disrupts the base
Practical drills for mastering weight transfer
The following drills are designed to reinforce the sensation of loading the ground, sequencing weight transfer, and maintaining balance through impact. Practice them slowly at first, then progressively increase speed while preserving form.
- Tee-to-toe balance drill — Place a small tee or alignment stick under the lead foot’s toes. From a relaxed stance,shift weight back to the trail foot,then transfer forward to the lead foot,maintaining slight traction on the ground and a steady knee. This trains accurate weight placement and controlled transfer.
- Heel-toe rock drill — With a light grip on the club, rock your weight from heel (trail side) to toe (lead side) while maintaining a quiet head and steady spine. This improves shoe-ground interaction and helps you feel the subtle sequencing of weight transfer.
- Step-through drill — Start with a slight step behind the ball (for a forward-press style). Step into the lead foot during the downswing and feel the weight shift from the trail hip toward the lead hip, finishing with a balanced finish. this drill emphasizes ground reaction force and forward momentum.
- Pause at impact drill — Slow the swing to the moment of impact and pause briefly, ensuring the momentary weight split mirrors the target pattern. This helps you sense where your weight is at the instant of contact and teaches control over the ground connection.
- medicine ball diagonal toss — For a golfer or racket player, throw a light medicine ball diagonally across your body from the trail side to the lead side while maintaining posture. This builds rotational sequencing and strengthens the link from ground to arms.
- Impact bag feedback drill — practice with an impact bag or pad and focus on a small, centered contact. The feedback from the bag helps you refine the timing and transfer of weight into the hitting zone.
Common faults and fixes for weight transfer
Even experienced players struggle with weight transfer at times. Here are common faults, their telltale signs, and practical fixes to implement in practice sessions:
- Late or inadequate weight shift — Symptom: Top or hosel hits, low compression; Fix: Emphasize a longer, deliberate transition of weight from trail to lead in the downswing, with cues like “drive the hips toward the target.”
- Over-rotation causing balance loss — Symptom: Leaning back or swaying; Fix: Maintain a stable spine angle and practice keeping the head from drifting while the hips rotate through impact.
- Excess weight on the lead heel at impact — Symptom: Toe-up or fat slices; Fix: Feel a smooth, even pressure transfer across the midfoot and lead foot, avoiding a forward-lean that destabilizes contact.
- Ball shots that feel “off-center” — Symptom: Misses left or right; Fix: Use the “pause at impact” drill to confirm you’re making contact with the intended portion of the face and that weight is centered over the target side.
- Feet sliding on the ground — Symptom: Inconsistent ball flight; Fix: Develop a grounded stance with your weight distributed through the arch and inner foot,keeping the feet connected to the ground during the swing arc.
Case studies and firsthand experiences
Case study 1: A slicer learns to sequence weight transfer
A college golfer with a consistent slice discovered that the misalignment during the downswing originated from a late and inconsistent weight transfer. After two weeks of focused drills—heel-toe rock, pause at impact, and step-through—the golfer reported:
- Reduced left-to-right spin and more neutral ball flight
- better balance through impact and a more stable finish
- Cleaner contact and increased clubhead speed from improved ground reaction forces
Case study 2: Tennis player transforms ground contact and boundary shots
A competitive tennis player struggled with long, inconsistent groundstrokes, particularly on returns. The coach introduced grip-agnostic weight transfer cues and a series of weight-shift drills with a focus on pushing into the lead foot during the forward swing.After a four-week period:
- Return depth and consistency improved significantly
- Groundstrokes gained more pace due to efficient energy transfer
- Footing became more stable during quick rallies, reducing misreads on fast serves
Benefits of improved weight transfer
When you master weight transfer, you unlock a cascade of performance benefits across ball-striking sports:
- Increased shot power without sacrificing control
- Enhanced balance and stability during aggressive swings
- More consistent contact and better toe/heel management on impact
- Reduced energy waste by minimizing late or early body movement
- Improved endurance during long practice sessions or matches
Drill framework: quick reference for coaches and players
| Drill | Objective | How to Perform | key cues |
|---|---|---|---|
| Tee-to-toe balance | Develop precision in weight placement | Maintain a light stance; shift weight from trail to lead foot in a controlled arc | “Grip the ground; lead foot first” |
| Heel-toe rock | Feel the ground reaction forces | Rock heel-to-toe through the stance while keeping head steady | “Stable spine, soft ankles” |
| Step-through | Coordinate lower body sequencing | Small step with the trail foot, then transfer weight forward | “Drive hips toward target” |
| Pause at impact | Sense weight at contact | Slow swing to impact and hold briefly | “Feel the center over the ball” |
| Impact bag drill | Feedback on contact quality | Hit a bag with a quiet, centered strike | “Centered, balanced, controlled” |
progression and a practical training plan
A practical plan helps you build a robust ground connection over time. Here’s a straightforward four-week progression you can adapt to your sport and schedule:
- Weeks 1-2: Foundation — Focus on stance, posture, and basic weight transfer drills (heel-toe rock, tee-toes balance). Practice at slow tempo to engrain the sensation of moving weight without losing balance.
- Weeks 3-4: Sequencing — Add step-through and pause-at-impact drills.Begin integrating these cues into your normal practice swings at moderate speed, then gradually increase tempo while maintaining control.
- Weeks 5-6: speed and consistency — Introduce sport-specific shots (drills with a ball, light contact pads) to simulate real performance. Prioritize repeatability over raw power.
- Weeks 7+: Evaluation and refinement — Use video analysis or feedback from a coach to fine-tune weight transfer timing and balance. Continue drills that address your unique faults.
First-hand tips from coaches and players
Seasoned players emphasize consistency and awareness as the cornerstones of effective weight transfer. A few practical tips that frequently appear in coaching clinics:
- Start with a comfortable stance and build your transfer in small,repeatable steps rather then chasing maximum speed from the outset.
- Visualize a straight line from your trail foot through your lead foot as you move weight forward.
- Use slower tempos in early practice and gradually progress to game-like speed to preserve form under pressure.
- Record yourself or use a mirror to verify your head position and spine angle remain stable through impact.
FAQ: weight transfer for different players and levels
Q: Is weight transfer different for beginners vs. advanced players?
A: The fundamentals are the same, but beginners often need to emphasize balance and sequencing first, while advanced players refine timing and feel for precise contact zones.
Q: How does weight transfer relate to shot accuracy?
A: Properly sequenced weight transfer stabilizes the base, reducing unwanted body movements that cause off-center contact and misdirection of the ball.
Closing thoughts: sustaining the ground connection in practice
A reliable ground connection is a learned skill, not a one-time adjustment. Regularly incorporate weight transfer drills into your routine,track your progress with metrics such as contact quality and ball flight consistency,and adjust cues to suit your body. With patience and deliberate practice, you’ll notice more consistent ball striking, improved balance through impact, and a more efficient swing that leverages the ground as a powerful ally.
additional resources: quick-reference tips
- Always begin with a solid, athletic setup to prime the ground connection.
- Use cues that resonate with your body—no single cue works for everyone.
- Balance and stability are the foundation; power is the byproduct of precision in weight transfer.