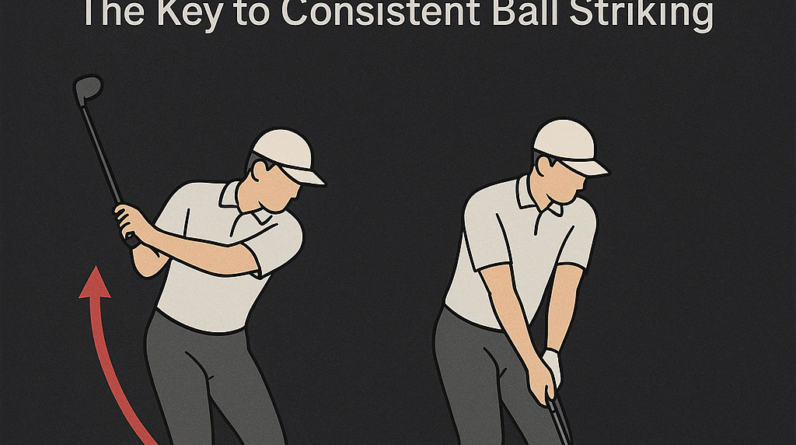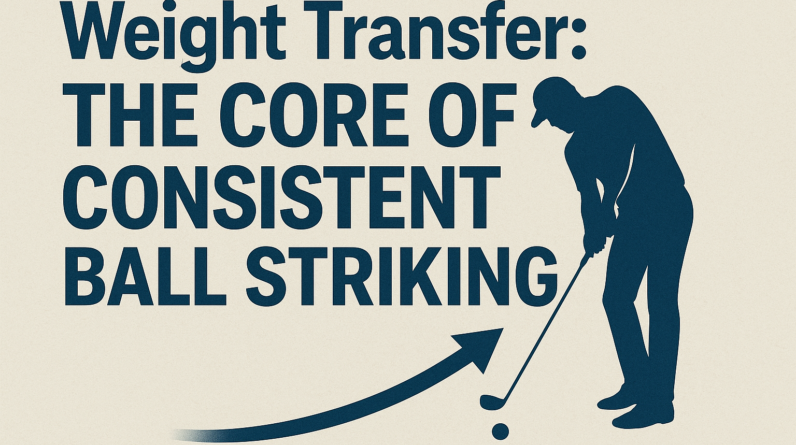

Weight Transfer: The Single Key to Consistent Ball Striking
Focusing on weight transfer gives your shot a reliable, repeatable feel. It’s the simple idea that the body moves as a sequence—trail foot to lead foot—so the clubface can strike the ball with solid contact and a consistent direction. Let’s lock in this one aspect and keep the rest of the swing in support of it.
What the concept is
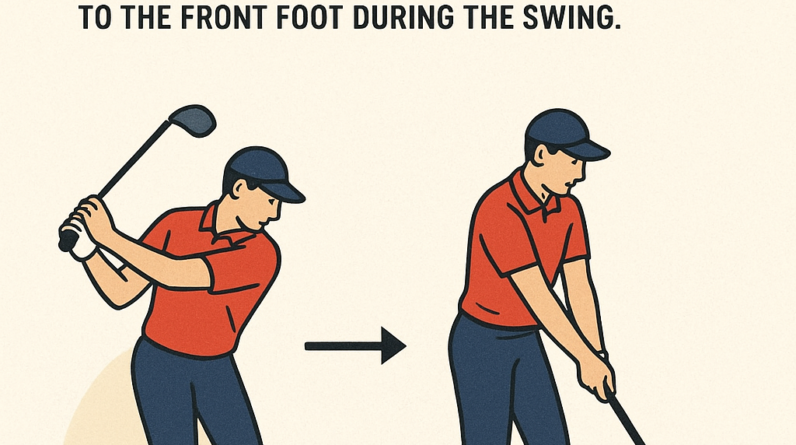
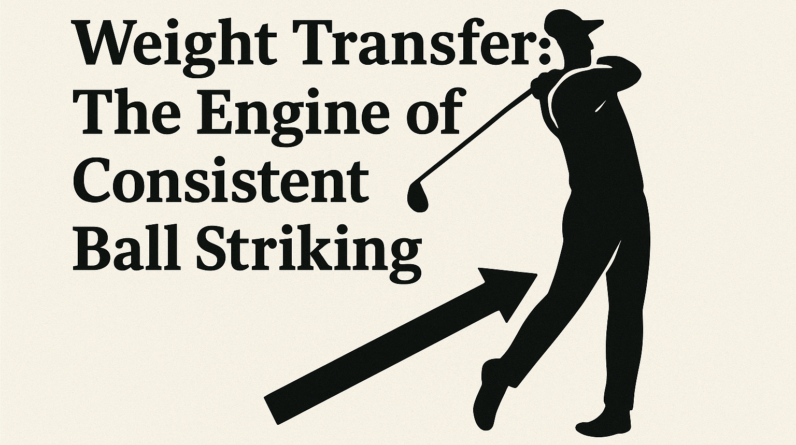
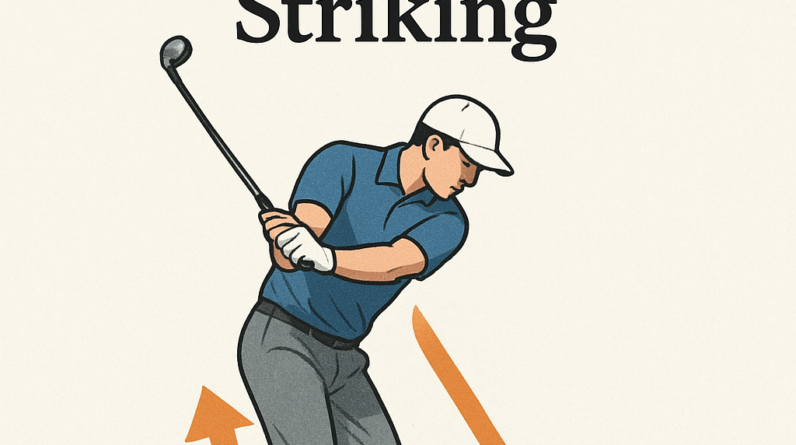
- The weight you start the swing with should move from your trail (back) foot toward your lead (front) foot as you transition into the downswing and through impact.
- Too little transfer = fat or thin strikes and inconsistent flights; too much or mistimed transfer = early loss of control and off-target shots.
- Good weight transfer helps the arms stay connected to the torso, maintains spine angle, and allows the hands to deliver the club at the right moment.
Why it matters to the golf swing
- Consistent contact: a smooth shift into the lead side promotes solid impact with the face square to the ball.
- Direction and distance control: where your weight finishes helps determine the ball’s start line and flight path.
- Balance and tempo: a deliberate transfer reduces wobble and keeps your body in a stable, athletic posture throughout the swing.
What the golfer should feel when doing it correctly
- In the downswing, you should feel the hips initiating the movement and guiding the weight toward the lead foot.
- As you strike, your lead foot should feel solid and connected to the ground while the trail foot relaxes and lightens its load.
- There is a gradual, controlled transfer—not a sudden lunge—so your head stays level and your balance remains centered.
2–3 common mistakes and simple fixes
- Mistake 1: Not moving enough weight onto the lead foot at impact. This leaves too much mass on the trail side, causing weak contact and push or pull off target.
- Fix: Feel a deliberate shift of weight to the lead foot during the downswing. Practice with a small count: at impact, feel “weight on the left foot” for a moment, then continue through the finish. A simple cue: “step into the lead foot” as you swing.
- Mistake 2: Swaying or sliding laterally instead of rotating and transferring weight. Excessive side-to-side movement destroys balance and timing.
- Fix: Keep your spine angle and practice rotating the hips toward the target rather than sliding the hips forward. A wall drill helps: stand with your back foot lightly touching a wall and make 6–8 half-swings, ensuring your head stays near the wall and your hips rotate rather than slide.
- Mistake 3: Weight leaves the trail foot too early, or shifts before you’ve started the downswing. This can cause early release and inconsistent timing.
- Fix: Start the downswing with hip rotation, not by pressing the arms. Pause a touch at the top, then initiate the downswing by rotating the hips toward the target. Drills that emphasize a controlled start help, such as a 1–2–3 tempo: 1) pause at the top, 2) shift weight to the lead foot, 3) finish balanced on the lead side.
One easy practice drill you can do at home or on the range
The Step-Through Weight-Shift Drill (no ball required, 5–10 minutes):
- Set up with a comfortable athletic stance. Maintain your spine angle as you start with a half swing.
- Slowly swing down, then as you approach impact, “step” your lead foot forward a small distance (like a short step) while keeping the pivot of your hips toward the target.
- Finish with most of your weight on the lead foot and a balanced, athletic finish. Do 8–12 reps slowly, focusing on feeling the weight moving smoothly from the trail heel to the lead foot.
- Progress to a light ball hit once you feel the transfer reliably in slow motion, then gradually increase speed while maintaining the same sequence.
Consistency comes from repeating the transfer in the same order each shot. Use these cues and drills to build a reliable pattern, and you’ll notice crisper contact and clearer ball flight over time.
Weight Transfer in Ball Striking: A Practical Guide for Consistency
Weight Transfer: The Single Key to Consistent Ball Striking
Weight transfer is the single most impactful factor behind how consistently you strike a ball. Whether you’re swinging a golf club, rallying a tennis ball, or taking a baseball pitch, the way you move your body’s weight from one side to the other during the motion determines energy transfer, contact quality, and ultimately your results. Mastering weight transfer isn’t about muscle isolation or brute force; it’s about timing, sequencing, and the integration of the feet, hips, core, and upper body into a smooth, controlled motion.
What is Weight Transfer and Why It Matters
Weight transfer is the deliberate shifting of your body’s center of gravity during the hitting action. In a well-timed transfer, your weight starts in a stable position, loads gradually onto the back side, and then shifts forward through impact to release energy into the ball. This sequence maximizes energy transfer with minimal wasted movement, helping you achieve:
- better contact quality (solid center contact or “pure” hits).
- Consistent ball speed and trajectory control.
- Improved power with reduced stress on the joints.
- Enhanced balance through and after impact, aiding follow-through.
Across sports, the core principle is the same: create a stable base, load the weight, and release it in a controlled forward direction at just the right moment. The difference lies in how the load and release are applied, depending on the sport’s demands and the blade, bat, or racket you’re using.
Weight Transfer Across Sports: Golf, Tennis, Baseball
Each sport has its own nuances, but the essential idea remains the same: you must move your mass efficiently to maximize impact energy while maintaining balance and control. Here’s a swift overview of how weight transfer typically looks in golf, tennis, and baseball:
- Golf: Weight starts on the back foot, loads into the trail hip during the backswing, and shifts to the lead foot through impact. the goal is a clean transfer that drives the clubhead toward the ball with minimal lateral sway.
- Tennis: Weight shifts from the back foot to the front foot during the forward swing and contact. On forehand shots, players often witness a pronounced transfer that powers through the ball; on backhands or serves, timing and torso rotation control the transfer for depth and spin.
- Baseball/Softball: The hips and legs fuel the swing by loading onto the back leg and then unleashing energy toward the ball as weight shifts forward. A well-timed transfer helps maximize bat speed and line drive potential while maintaining swing integrity.
In practice, you’ll notice that players who emphasize a deliberate weight shift tend to hit more consistently and feel less internal tension during the motion. The ball comes off the racket,bat,or club with a stable impact point and predictable flight path,which is exactly what “consistent ball striking” is all about.
The Biomechanical sequence of Weight Transfer: Feet, Hips, Core, Shoulders, Hands
Understanding the biomechanical sequence helps you diagnose and fix problems in your swing or stroke. The following progression is a practical mental model you can use on the practice court or field:
- Feet and Ground interaction: Create a stable base and maintain balanced contact with the ground. Ground reaction forces push you into the next phase rather than collapsing through the shot.
- Hip Load and Transfer: Initiate the shift by flexing the knees and loading the trail hip. This moves the center of gravity toward the back side and prepares the body to unleash energy forward.
- Core Activation and Rotation: The torso begins to rotate toward the target as the weight transfers, creating a stretch-shortening cycle in the core and hips that adds torque to the swing or stroke.
- Shoulders and Arm Path: the shoulders follow the rotation with a connected arm path. Proper sequencing minimizes early arm use, which often leads to inconsistent contact.
- hands and club/Bat/Racket at impact: The hands deliver the baton of energy to the implement at the exact moment when weight is fully loaded onto the lead side and released forward into the ball.
Timing is everything. If you’re late with the weight transfer, you’ll often see deceleration in the clubhead or bat, off-center hits, or a loss of power. If you’re early or overly aggressive, you risk over-rotating, losing balance, or hitting the ball fat or thin. The goal is a smooth, continuous sequence were each segment leads into the next with minimal wasted motion.
How to Train for Consistent Weight Transfer: Drills and Progressions
Developing a reliable weight transfer pattern takes focused practice. below are practical drills and progressions you can incorporate into your routine. Start easy, then build speed and complexity as you become more confident with the sequence.
Lie on your back with knees bent.Lift your hips to create a bridge,feeling how weight shifts from heel to midfoot as you “load” the posterior chain. Then lower with control. This helps you feel posterior weight transfer without the ball/club involved. - Wall Pressure Drill (Ground Reaction Cues): Stand with your back foot a few inches from a wall. As you move into your backswing or leg drive,press the back foot into the wall and feel the weight transfer toward the front. The wall provides feedback on pressure distribution and balance.
- Slow-Motion Swing with Contact Point Focus (Golf/tennis): Take slow, deliberate swings focusing on where your weight is at setup, at the top, and at impact. Stop at key moments and check your balance: Are you loaded on the back foot early enough? Is the weight now forward through impact?
- Medicine Ball Rotational Throws (Core Torque): Stand with feet shoulder-width apart, rotate hips and core to throw a light medicine ball against a wall or to a partner. this builds the rotational strength and timing necessary for efficient weight transfer.
- Step-Through Drill (Progression for Field Sports): Practice a step-through footwork pattern: back foot loads, front foot steps forward, then you strike, ensuring the weight is transferred through the shot. combine with a light arm carry for coordination.
- Mirror Feedback Session (Self-Check): Use a mirror to observe your stance, hip tilt, and torso angle during the movement. Confirm that the weight shift visually aligns with the target direction and swing path.
Incorporate these drills into short,focused practice blocks (15–25 minutes) several times a week. You’ll start noticing more consistent contact and a higher quality of ball flight as you refine the timing of your weight transfer.
Common Mistakes and Corrections
- Early Upper-Body Hinging: If the chest and arms push forward before the hips load, energy leaks through the shot. Correction: Pause at the top of the backswing or setup to confirm the hips have initiated the load before the arms swing.
- Excessive Lateral Shift: sliding your weight sideways rather than forward and through can throw off your path. Correction: Focus on a forward-directed shift with a stable base,maintaining a slight forward lean toward the target.
- Over-Rotation Without Control: Core rotation without alignment can cause a loss of balance. Correction: Train with slower tempos and emphasize a clean sequence: lower body load, then torso rotation, then arm path.
- Ball-Contact Timing Lapses: If contact is inconsistent, it’s often due to mistimed weight transfer. Correction: Use tempo-based drills and feel-based cues (e.g., “drive into the front foot at contact”) to reinforce timing.
- False Front-Weight in Setups: Starting with too much weight on the front foot can hinder the initial loading phase. Correction: Rebalance during setup so the weight is evenly distributed, with a slight bias to the back foot to enable loading.
Benefits of Mastering Weight Transfer
- Improved contact consistency across different swing speeds and ball positions.
- Increased power without extra muscle tension or arm-only reliance.
- Better balance during and after impact, aiding recovery and follow-through.
- Enhanced ability to adapt to changing ball speeds, spins, and trajectories.
- Greater confidence on the practice range,court,or field due to predictable results.
Case Studies and First-Hand Experience
Below are concise, practical narratives illustrating how weight transfer improvements translate into real-world performance.These are representative cases you might encounter in coaching sessions or on the field.
Case Study 1: Golf – From Inconsistent Contact to Solid Fades
A mid-amateur golfer struggled with fat shots and inconsistent distance. The coach focused on a clean weight transfer sequence: starting with a balanced setup, loading into the trail leg during the backswing, and delivering energy forward through impact. Within a four-week period, the golfer reported fewer mishits and a more stable ball flight.
- Observation: Inconsistent contact and a tendency to hit behind the ball.
- Adjustment: Emphasized shoulder and hip sequencing, with drills to feel the trail-side load and lead-side drive through impact.
- Result: More centered contact, improved carry distance, and a reliable swing path that reduced compensatory movements.
Case Study 2: Tennis – baseline Forehand with Forward Momentum
A competitive junior player had a powerful stroke but often lost control when rallying at high pace. The coach introduced weight transfer cues to maintain forward momentum: load the back foot during backswing, push into the lead foot during contact, and finish with a balanced posture. The player achieved steadier depth, greater spin control, and better endurance during long rallies.
- observation: Forward acceleration sometimes caused late footwork and inconsistent depth.
- Adjustment: Integrated a brief pause at the loading phase to ensure hips initiated the transfer before the arms engaged.
- Result: Consistent ball depth, improved shot selection, and higher rally stability under pressure.
Practical Tips: Quick Wins to Implement Today
- Start every drill with a moment of setup awareness: where is your weight? Are you balanced? visualize the transfer path before you move.
- Use a simple tempo cue: “Load, Drive, Finish.” This helps tempo consistency across drills and live play.
- During live play, focus on the moment of impact: is your weight fully forward at contact? If not, adjust your timing in the subsequent drill session.
- Record short videos from a few angles to observe weight shift and balance. Feedback from visual cues is a powerful learning tool.
Table: Phases of Weight Transfer and Key Cues
| Phase | Primary Movement | Key cues | Common Faults |
|---|---|---|---|
| Setup | Balanced stance with slight back-foot bias | Feel grounded, soft knees, light knee flex | early forward weight, stiff legs |
| Load (Back Side) | Hips load into the trail leg | Heel-to-midfoot grip, hip hinge | Over-rotation before loading, flat hips |
| Transition (Move forward) | weight shifts toward front foot | torso rotation continues, pelvis clears | Stutter step, late transfer |
| Impact | Lead foot plants, energy releases into ball | Forward lean, hips forward, core engaged | Head over-rotation, loss of balance |
| Finish | Weight fully forward, controlled follow-through | Balanced finish, neutral neck, relaxed grip | Over-rotation or abrupt stop |
First-Hand Experience: What It feels Like when Weight Transfer Clicks
When weight transfer becomes a natural part of the movement, you notice a few telltale sensations: the transition feels like a controlled “coil” releasing toward the target, the arms feel lighter relative to the legs and core, and the ball comes off the face or racquet with a reassuringly solid contact. Players frequently report a sense of increased confidence in pressure situations as the motion no longer relies on guesswork. Instead, the body follows a proven sequence that has been practiced and refined on the practice field or court.
SEO-Amiable Tips for Coaches and Players
- Always anchor your practice around a clear weight transfer sequence rather than isolated arm or shoulder movement.
- Incorporate sport-specific cues: golf emphasizes the trail-to-lead hip shift; tennis emphasizes transfer into the front foot while maintaining a smooth shoulder roll; baseball focuses on a clean hip rotation and forward drive through contact.
- Use multi-angle video feedback to quantify progress: track how quickly the weight moves, how the hips rotate, and whether the front foot lands with a stable base.
- Progress from slow-motion drills to full-speed practice as control improves,avoiding a quick jump to speed before the sequence is reliable.
- Pair physical drills with mental cues: focus on timing, rhythm, and body awareness to build consistency beyond pure strength.
Frequently Asked questions (FAQ)
- Is weight transfer the same for golf and tennis? The core concept is the same—loading and releasing energy through the body into the implement. The exact sequencing and timing adapt to the sport’s demands and the shot type.
- How long dose it take to master weight transfer? It varies by athlete and practice frequency. With 3–4 focused sessions per week for 4–6 weeks, many players report noticeable improvements in contact quality and consistency.
- Can strength training replace practice for weight transfer? Strength training supports stability and power, but the skill of sequencing weight transfer requires practice with the specific movement pattern and feedback from drills and coaching cues.
- What cues should beginners use? Simple cues like “Load, Drive, Finish” or “Back foot to front foot” can help beginners internalize the sequence without overthinking the mechanics.
With consistent attention to weight transfer, you’ll likely find that your ball striking becomes more repeatable in a variety of situations — from early rounds on the practice range to high-pressure match play. The single key to consistent ball striking isn’t more brute force; it’s better timing, cleaner sequencing, and a deliberate shift of weight through the hit.