
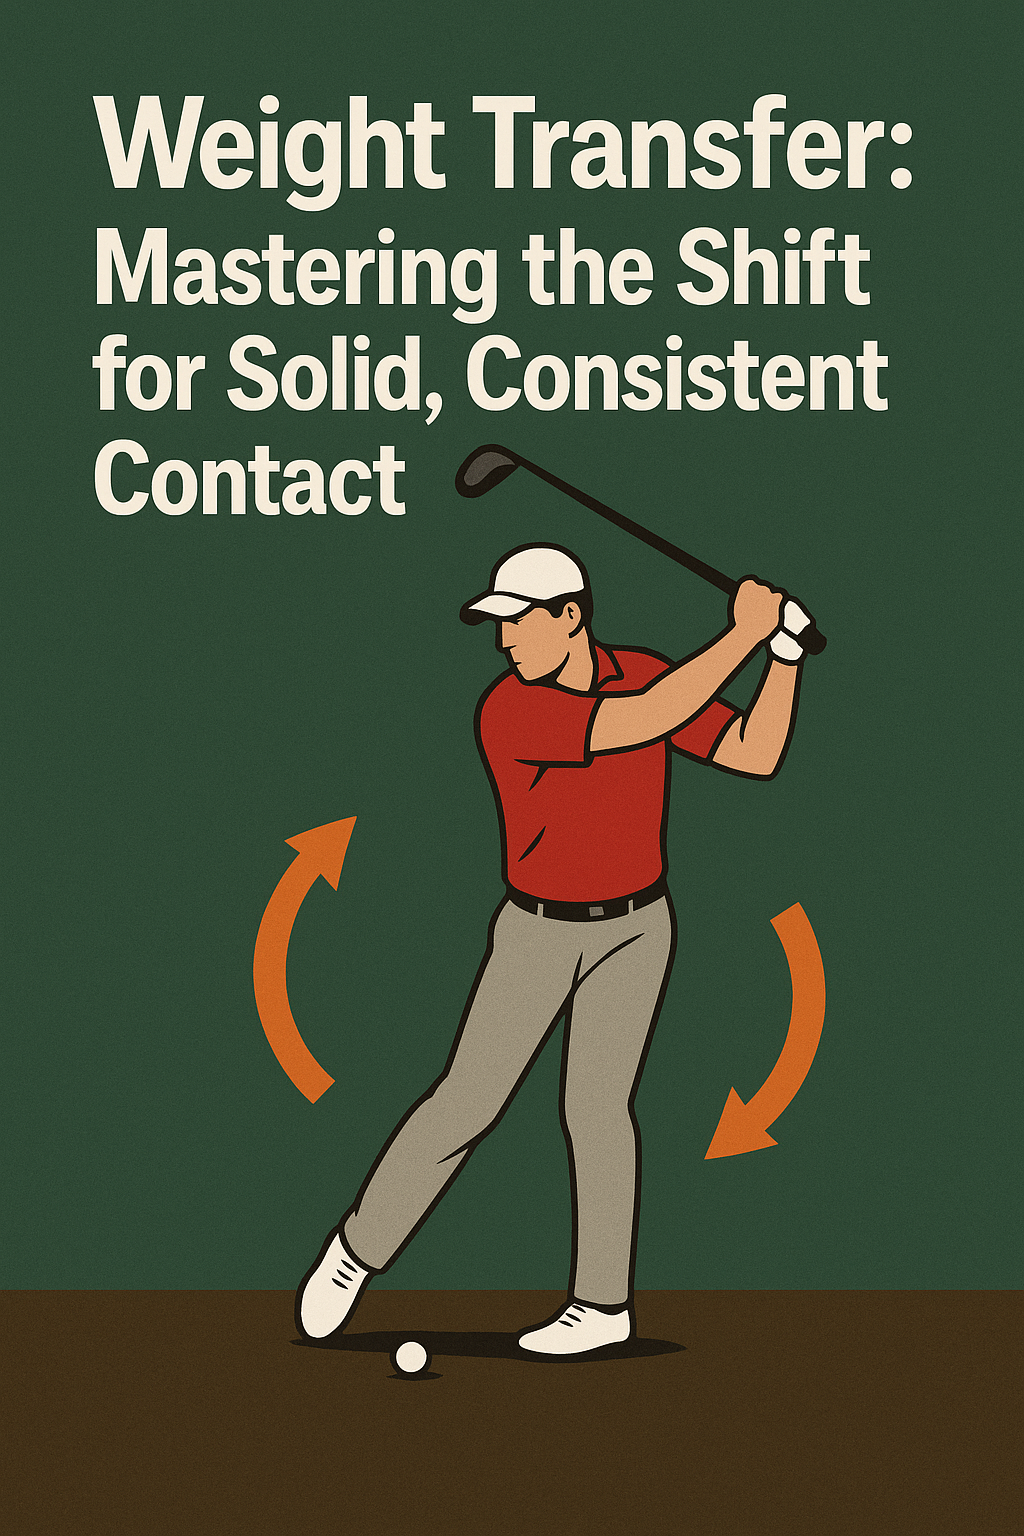
Weight Transfer: Mastering the Shift for Solid, Consistent Contact
As a PGA professional, I see countless golfers struggle with the same issue: the ball doesn’t compress cleanly because the body never fully shifts its weight through the strike. Focusing on weight transfer—the deliberate move of your center of gravity from the trail foot to the lead foot—can dramatically improve contact, distance control, and consistency. This post stays tightly on weight transfer, not the full swing.
What the concept is
- Weight transfer is the controlled move of pressure from your back (trail) leg toward your front (lead) leg as you swing through the ball.
- It’s not a big lunge or a “sway.” It’s a directional, rotating move that accelerates your body toward the target while staying centered over your feet.
- For most right-handed players, the goal is to finish with most of your weight on the lead foot after impact.
Why it matters to the golf swing
- Improves compression and ball striking by aligning the body with the clubhead through impact.
- Promotes solid contact, reducing fat (heavy) or thin (tingy) shots.
- Enhances consistency of distance and trajectory, because you’re generating and releasing energy in a controlled direction.
What you should feel when doing it correctly
- Backswing: the weight lightly loads onto the trail foot (right foot for a right-handed golfer).
- Downswing to impact: the hips and torso rotate toward the target, and the majority of your weight shifts onto the lead foot just as you strike the ball.
- At impact: you should feel sturdy on the lead foot with the trail foot just starting to release its pressure, and your spine angle maintained.
- Finish: your body is balanced, with most weight on the lead foot and your chest facing the target.
2–3 common mistakes with this concept
Mistake 1: Swaying or sliding instead of rotating
- Why it happens: you move your weight laterally rather than turning the hips and torso toward the target.
- Fix:
- Feel a hip-driven turn: rotate your beltline toward the target while keeping a subtle knee bend.
- Practice with feet together to minimize side-to-side movement; you’ll feel the weight shift as a consequence of rotation, not a deliberate step.
Mistake 2: Early weight transfer
- Why it happens: your weight hops onto the lead foot before you’ve made proper contact with the ball.
- Fix:
- Delay the shift until after the clubhead is sighting the ball; think “load, then unload” rather than “jump forward.”
- Pause the downswing slightly to let the hips initiate the turn before the weight shifts forward.
Mistake 3: Losing balance after impact
- Why it happens: you over-rotate and “spike” onto your lead toe, losing footing and control.
- Fix:
- Finish with a solid, balanced pose: weight primarily on the lead foot, chest facing the target.
- Keep your head steady and let the finish unwind naturally rather than forcing a hard, abrupt stop.
One practical drill to practice
The Step-Shift Drill — great for home or range practice. It teaches the feel of loading on the trail foot and shifting to the lead foot through impact.
- Set up in your normal stance, with most of your weight on the trail foot (for right-handed players, the right foot).
- Take a half to three-quarter swing and pause just after impact. Don’t let your weight rush forward yet.
- From the pause, rotate hips toward the target and step your lead foot forward to land lightly on the heel as you finish. Your weight should transfer smoothly onto the lead foot.
- Repeat 8–12 times, keeping your spine angle constant and focusing on a controlled, balanced finish.
Notes for left-handed players: mirror the steps with the opposite footwork.
Putting it into your practice plan
- Do the Step-Shift Drill 3–4 days this week for 5–10 minutes per session.
- Combine with your regular range session, focusing on the order: load on the trail foot, rotate hips, transfer weight to lead foot at impact, finish balanced.
- Track your progress by noting whether your contact feels crisper and your shots stay on target more consistently.
If you stay patient and train the weight shift with intention, you’ll notice more solid impact and reliable ball flight. Weight transfer is a single, powerful concept—master it, and your entire game benefits.
Weight Transfer in Sports: Mastering the Shift for Solid, Consistent Contact
Weight Transfer: Mastering the Shift for Solid, Consistent Contact
Why weight transfer matters
In virtually every sport that involves striking, swinging, or propelling an object, the quality of contact is driven by how well the body shifts weight through the sequence from stance to impact. Proper weight transfer is not just a feel-good cue; it is indeed a biomechanical principle that aligns your center of gravity with the direction of the intended motion. When you master this shift, you transfer force more efficiently, increase control, adn reduce the risk of over- or under-rotating during critical moments.
From baseball and softball to golf, tennis, and even martial arts footwork, the timing and magnitude of weight transfer influence how solid the contact point becomes. Small refinements in weight distribution can transform a marginal hit into a powerful, repeatable, and accurate strike. This section explores what weight transfer is in practical terms and why it matters for consistent contact under pressure.
Biomechanics of weight transfer
Weight transfer is a controlled change in how you load and unload your body’s weight along the kinetic chain—from feet through legs, hips, core, and torso to the upper limbs.Key concepts include:
- Center of gravity (CoG): The point around which your body’s mass is balanced. Effective transfers move the CoG toward the target direction just before contact.
- Ground reaction forces (GRFs): The interaction between your feet and the ground; you create force against the ground and directionally channel it toward the object you’re striking.
- Posture and alignment: A stable spine, engaged core, and neutral hips ensure efficient transmission of energy without wasteful lateral moves.
- Stance width and foot position: A stance that supports dynamic shifts without excessive collapse or over-rotation is essential for reliable contact.
- Timing and sequencing: The shift should occur in a deliberate sequence—load, shift, and then release into contact.
- Kinesthetic feedback: Your body’s internal sense of motion helps you calibrate the amount of shift needed for different targets and speeds.
From stance to contact: the transfer sequence
Understanding the typical sequence helps athletes reproduce solid contact under different loads and tempos. A practical model breaks the movement into five stages:
- Establish a balanced, athletic stance with knees lightly bent and weight distributed evenly across both feet. The torso is tall, shoulders relaxed, and eyes on the target.
- Slightly bias weight toward the rear foot to create potential energy, while maintaining a stable spine and even rise in the hips.
- Move weight from the back foot toward the front foot in a controlled arc,using hip rotation and ankle flexibility to guide the shift without collapsing the knee.
- As the object approaches the contact point, your body should align with the target so that force is directed through the center of mass along the intended line of travel.
- Allow a natural finish that maintains balance, with the weight fully loaded onto the lead foot after contact.
Benefits and practical tips
- Improved consistency in contact quality across varying speeds and distances.
- Enhanced power transfer without sacrificing control or accuracy.
- Reduced over-extension or early/late timing that leads to off-center hits.
- Better balance resilience when reacting to off-speed pitches, bounces, or mis-timed steps.
- Greater proprioceptive awareness: you feel the transfer rather than guess it.
Practical tip: Frame weight transfer as a coachable cue. Use simple phrases like “drive from the hips” or “shift through the toes” to create repeatable mental models for athletes.
Case studies
Case study 1: Baseball hitter improving line-drive contact
A high-school hitter who struggled with late hits and weak follow-through focused on a more deliberate back-to-front weight transfer. By adding a simple drill that emphasized a gradual load and a short, controlled shift toward the front foot just before contact, the hitter reported more consistent contact and a measurable increase in line-drive hits over a six-week period.
Case study 2: Tennis forehand consistency
A collegiate player faced inconsistent forehands when moving laterally.The coaching plan integrated hip rotation cues with a front-foot emphasis and a forward-to-backward transfer pattern. The result was steadier contact on wide balls and a more repeatable swing plane, even under higher pace from opponents.
First-hand experience
“When I finally felt my weight shift from the back foot through the hips and into the front foot, contact felt cleaner, and I could reproduce it under stress. It wasn’t a dramatic change—just a deliberate shift that aligned my feet, hips, and shoulders with the target.”
Coaches often notice the same pattern: athletes who learn to trust the transfer sequence, especially the load-to-shift phase, tend to execute more consistent strikes and maintain balance through contact. Real-world practice should blend feedback cues with live-action drills so the athlete internalizes the feeling of a successful transfer.
Drills to train weight transfer for solid contact
Incorporate these drills into practice sessions to cultivate a repeatable transfer pattern. Use slow motion first, then progressively add tempo as the body becomes more adept at sequencing.
- Stand with feet hip-width apart. Tap the floor with the back foot to initiate a small load, then shift weight to the front foot while maintaining knee flexion. Focus on keeping the torso stable and the hips square to the target.
- From a neutral stance, hinge at the hips to load the back leg, then drive forward through hip extension to transfer weight. Emphasize a smooth arc rather than a jerk or wobble.
- Practice a shadow swing toward a wall target, pausing briefly at contact position to feel the weight distribution through the lead foot.Use a cue like “heel to toe” or “hips drive forward.”
- start on one leg (back foot slightly off the ground for balance), then shift weight to both feet as you rotate hips toward the target.This drill builds stability in the critical transition phase.
- Stand on a balance board or foam pad and perform a controlled weight transfer. This reinforces neuromuscular timing and proprioception during the load-to-shift stage.
- Stand close to a wall with your back foot slightly toward the wall. Press into the wall with your chest while shifting weight forward, training the sense of forward drive without losing posture.
Weight transfer phases at a glance
The table summarizes the typical phases, the key moves, cues, and common errors to avoid during coaching and practice.
| Phase | what happens | Coaching cues | common mistakes |
|---|---|---|---|
| Setup | Balanced stance with even weight distribution | “grounded, tall, relaxed shoulders” | Over-leaning, locked knees, excessive weight on one foot |
| Load | Back foot loads energy for the shift | “Feel the load in the hips and arches” | Too much backward lean; losing posture |
| Shift | Weight moves toward the front foot; hip rotation channels energy | “Drive through the hips; stay connected” | Early/late shift; lateral collapse |
| Contact | Energy aligned with target; center of mass over contact point | “Hit the target with a clean line” | off-center contact; mishits due to misalignment |
| Finish | Natural follow-through and balanced finish | “Finish tall, feel the weight settle” | Loss of balance or over-rotation after impact |
Practical tips for trainers and athletes
- Use simple, repeatable cues that connect to the athlete’s sport.For example, “hips rotate, feet stay connected.”
- Start with slow tempo drills to ensure the sequencing is correct before increasing speed.
- Record short video clips from a few angles to analyse weight transfer without relying solely on feel.
- Encourage athletes to monitor balance with soft knees and a stable spine. A wobbling torso frequently enough signals an overemphasis on one component of the transfer.
- Integrate breath control to help timing. Inhale during setup/load, exhale through shift and contact, which can improve rhythm and focus.
Frequently asked questions
Q: Can weight transfer fix all contact issues?
A: It’s a powerful driver of improvement,but contact quality also depends on timing,grip,equipment,and the athlete’s overall mobility. Weight transfer should be integrated with other technique cues for best results.
Q: How long does it take to improve weight transfer?
A: With consistent practice, noticeable gains are possible in 4–6 weeks, especially when drills are targeted to the athlete’s sport and muscle memory is reinforced with feedback.
Q: Is weight transfer different for right-handed vs. left-handed athletes?
A: The physics are the same, but coaching cues and dominant-side training may vary. Ensure both sides are balanced during training to avoid asymmetries.
Q: Should I train weight transfer in season or only in the off-season?
A: Light, technique-focused work can be integrated during the season, but more intensive transfer work is best scheduled during the off-season or early season to build a solid base.
Additional resources and next steps
- Practice schedule: 2–3 short sessions per week focusing on weight transfer drills combined with light conditioning.
- Video library: Look for drills that emphasize the load-to-shift sequence and hip-led transfer.
- Coaching notes: Use a consistent set of cues across athletes for comparable progress tracking.
If you’re a coach, consider pairing weight transfer cues with sport-specific targets (e.g., a tee for golf, a hitting net for baseball, or a wall target for tennis) to reinforce direction and balance.
Progress checklist
- Can the athlete load the back foot without losing posture?
- Is the shift toward the front foot controlled and hip-initiated?
- Is contact consistently aligned with the target line?
- Does the finish maintain balance and natural energy release?
For coaches seeking a concise,sport-specific plan,download our Weight Transfer Practice Guide and tailor it to baseball,golf,tennis,or other precision-impact sports. Download Guide