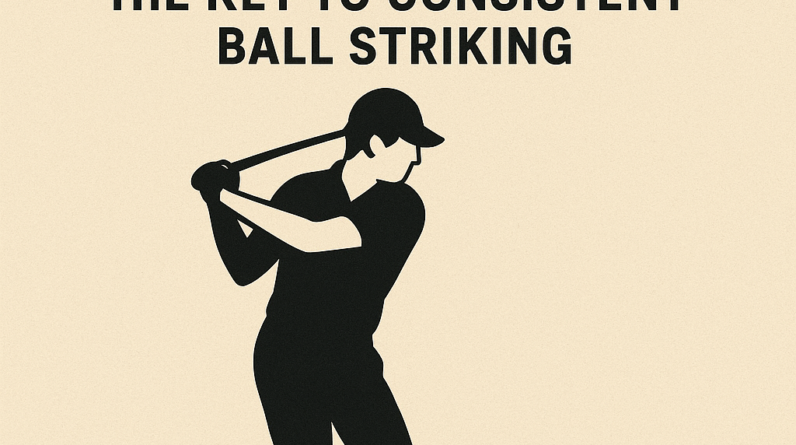
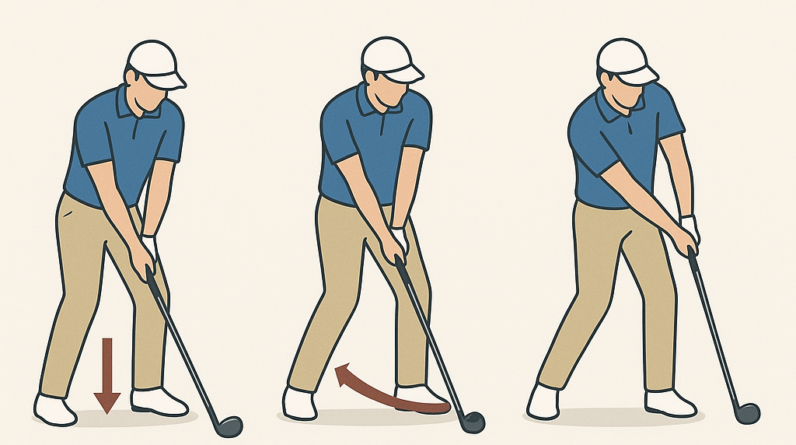
Weight Transfer: The Single Focus behind Consistent Ball Striking
When we talk about a solid golf swing, one simple concept often separates good players from great: weight transfer. This is the deliberate move of your body’s weight from the trail foot toward the lead foot as you swing. It isn’t about dancing legs or flailing hips—it’s about timing and control to create solid contact and efficient power.
What the concept is
- At setup, most of your weight sits on the trail (right) foot. As you begin the downswing, you progressively shift that weight onto the lead (left) foot. By impact, most of your weight should be on the lead side, with the hips rotating to keep the spine angle steady.
- Weight transfer is not a swing-wide jump; it’s a controlled, rotating action that starts at the hips and continues through impact into the follow-through.
Why it matters to the golf swing
- Creates solid contact. Peaking weight on the lead foot helps the clubface approach the ball with a stable base, reducing fat or thin shots.
- Grows consistency and distance. Proper transfer unlocks more compression on the ball and a smoother release.
- Improves balance and tempo. A controlled shift keeps your spine angle intact and your body from over-swinging or falling backward.
What the golfer should feel when doing it correctly
- Early in the downswing, you feel the belly of your right side “turning” toward the target as weight starts to move.
- In the second half of the downswing and at impact, you feel pressure building on the left foot (for right-handed players), with the left knee flexing slightly and the hips rotating toward the target.
- Finish with the majority of your weight on the left foot and a comfortable, balanced tall finish. You should feel solid through the whole swing, not toppled or off-balance.
2–3 common mistakes and simple fixes
- Mistake 1: Weight stays on the trail foot too long and you stall at impact.
Fix: Start the downswing with a small hip rotation to direct the weight forward. Think “load the right hip, unload to the left.” Practice by tracing a small arc with your hips during the downswing and pause briefly at impact to feel the shift onto the lead foot.
- Mistake 2: Swaying laterally instead of rotating around the spine.
Fix: Use a rotation-focused drill: keep your feet planted and rotate your hips and shoulders together so your spine stays tilted but centered. A simple cue is to imagine your spine as a fixed axis and your hips turning around it. If you notice your right foot sliding, pause and restart with a smaller backswing and a deliberate hip turn.
- Mistake 3: Not finishing with weight on the lead foot.
Fix: Hold your finish a beat longer and feel the weight settle on the left foot. A good checkpoint is to see a slight forward lean from the ankles, with the left foot bearing the load and the right foot lightly resting or off the ground.
One easy drill to practice at home or on the range
Drill: Slow-Motion Weight Shift with a Pause
- Take your normal stance with a club resting on your shoulders or hands gripping the club at chest height.
- Take a half or three-quarter backswing and pause at the top for 1–2 seconds, feeling the weight starting to move toward the lead foot.
- Begin the downswing with a controlled hip rotation, finishing with most of your weight on the lead foot. Hold the finish for 2–3 seconds to confirm balance.
- Repeat 6–10 times, first slowly, then gradually dialing up to a comfortable speed while maintaining control.
Tip: practice with a mirror or record a short video to confirm you’re rotating around a centered axis, not swaying. Keep the cue simple: lead with the hips, feel the weight move forward, and finish balanced on the lead foot.
Focusing on weight transfer will not overhaul your entire swing, but it will provide a stable, repeatable foundation for solid contact and consistent distance. Use the drill regularly, and you’ll notice fewer mis-hits and more confident ball striking on range days and the course.
Weight Transfer: The Single Focus behind Consistent Ball Striking
Why Weight Transfer Drives Consistency
In golf, tennis, or any sport that demands precise ball contact, the body’s center of mass and the way energy moves through the kinetic chain largely determines how well you strike the ball. Weight transfer—the purposeful forward movement of your body’s weight from the trail side to the lead side during the swing—acts as the single, unifying focus behind consistent ball striking. When you train weight transfer with intention, your arms, hands, and club face follow a predictable path, you reduce timing errors, and your contact becomes more solid, repeatable, and powerful.
The idea isn’t to crush the ball by muscling through impact. It’s to allow gravity, ground forces, and hip/torso rotation to do the work, channeling energy efficiently from the ground up. A well-timed weight transfer helps you meet the ball with the right body position, the right angle of attack, and the right clubface orientation. The payoff is cleaner strikes, better height control, and more consistent distance.
- Reduced fear of mishits as you build a reliable impact position.
- Better balance through the swing,especially on off-center hits.
- improved power transfer without compensatory upper-body swing changes.
The Science Behind Weight Transfer
Weight transfer is a biomechanical sequence that involves the entire lower body and core working in harmony. It is part of the kinetic chain—the connected system from the feet up through the hips, torso, arms, and club. When you initiate the transfer correctly, you convert static balance into dynamic energy, channeling it toward the ball at the moment of impact.
The Center of Gravity and Ground Reaction Forces
The center of gravity (COG) shifts in response to your movements. At address,your COG sits over the middle of your stance. As you start your backswing, your trail leg supports more weight. As you transition to the downswing, gravity plus muscular action push weight toward the lead foot. The ground reaction force (GRF) from the lead foot then helps store energy that you release into the ball at impact. This controlled transfer is what makes the club accelerate cleanly through the hitting zone.
Sequencing: From ground to Impact
Think of weight transfer as a sequence: lower body initiates, torso rotates, arms release, and hands release the club into the ball. If the lower body “drives” properly, the upper body follows with less friction, less compensatory movement, and a more consistent strike. Missing or delaying transfer frequently enough results in slices, hooks, fat shots, or thin shots.
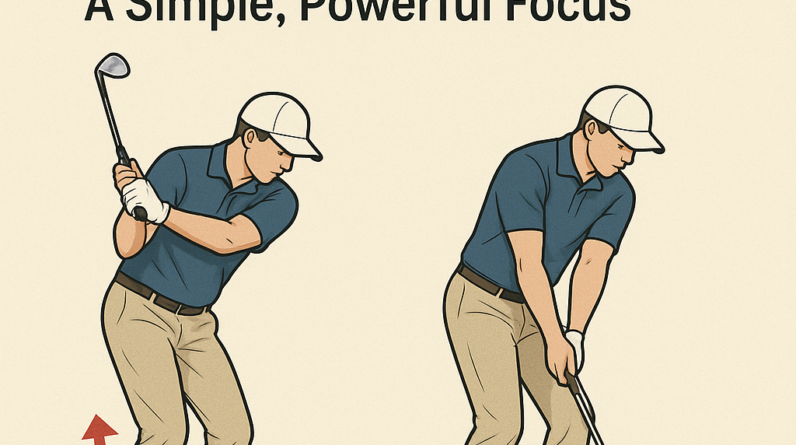
The Anatomy of a Perfect Transfer
- A controlled turn of the hips and torso sets up the space for the weight shift without flipping or sliding.
- Weight is predominantly on the lead foot as you meet the ball with a stable spine angle and a square, slightly athletic knee flex.
- Continued rotation and balance on the lead foot ensure the energy has traveled through the ball into the target line.
the perceived “magic” of good contact often comes down to timing and the crispness of the transfer. A smooth, deliberate transfer reduces compensations in the arms and wrists, leading to more consistent ball speed, launch, and spin around your target.
Practical Drills to Train Weight Transfer
Use these drills to reinforce the feel of transferring weight efficiently. Start slow, then increase tempo as your body locks in the sequence. Always emphasize balance and a quiet head position as you practice.
- Trail-to-Lead Drill (Step-Through):
- setup: Ball centered in a normal stance. Feet shoulder-width apart.Lightly bend knees.
- Action: Start with your weight slightly on the trail foot. As you swing,rotate hips and gradually move weight toward the lead foot,finishing with the majority of weight on the lead foot at impact.
- Cues: “hips to target, weight forward,” “stay connected,” “finish tall.”
- Slow-Motion transfer Practice:
- Setup: Use a half-speed swing. Use a towel or resistance band to cue correct posture.
- Action: Move through backswing and downswing as a single fluid chain, focusing on the moment your trail foot begins to unload and weight shifts laterally to the lead foot.
- cues: “load, shift, deliver.”
- Lead-Only Contact Drill:
- Setup: Tee up a ball and place a small alignment stick or club on your lead side near your lead foot.
- Action: Practice striking the ball with emphasis on the moment of impact were your weight is fully on the lead foot, avoiding excess sway or backward movement of the head.
- Cues: “hit the stick’s line,” “root-to-release.”
- Hip-Drive Drill:
- Setup: Feet shoulder-width apart, hands relaxed.
- Action: Initiate the downswing by rotating the hips toward the target while letting the weight flow onto the lead foot. Pause at impact with a solid, balanced finish.
- Cues: “hips first, arms follow.”
- Balance-Building Drill:
- Setup: Narrow stance and slightly wider than shoulder-width; place a small towel under the trail foot.
- Action: swing with the trail foot lightly on the towel to feel how the weight transfer should happen without sliding. Remove the towel as you gain consistency.
- Cues: “no sliding, pure transfer.”
Common Mistakes and Fixes
- Swaying or excessive lateral movement: Fix by drilling with a towel under the trail foot to prevent sideways movement and encourage vertical transfer through the target line.
- Early extension or loss of spine angle: maintain posture by keeping the chest tight and focusing on hip turn rather than over-rotating the shoulders.
- Late weight transfer or hanging back: Practice step-through drills to feel the weight move forward and find your lead foot earlier in the downswing.
- Hooked or sliced shots due to mis-timed transfer: Slow down the tempo on drills, then gradually reintroduce speed while keeping the transfer smooth and predictable.
- Head movement off the ball: Keep a soft gaze, imagine your head is “tethered” to a height and position that doesn’t drift during impact.
Benefits of Proper Weight Transfer
- Cleaner contact with the ball, leading to more crisp, solid shots.
- Increased distance through efficient energy transfer and consistent impact.
- Better ball flight control, including more predictable launch angles and spin.
- Enhanced balance and stability through the swing, reducing compensations in the upper body.
- Lower risk of injury by aligning force paths with natural body mechanics and reducing excessive wrist and shoulder strain.
Case studies and Firsthand Experience
A mid-amateur golfer, previously struggling with fat shots, started a structured weight-transfer routine focusing on the trail-to-lead shift. Over eight weeks, his impact footprint became noticeably more centered, and he reported fewer “misses” on the toe or heel of the club.By integrating the drills into pre-shot routines, his average dispersion reduced from 12 yards to around 5 yards, and he gained confidence in holding alignment through impact.
A competitive club golfer adopted the “lead-foot emphasis” during practice sessions. By prioritizing weight distribution at impact rather than chasing distance, his ball striking improved even when his swing tempo varied.The key takeaway was consistency: if the weight transfer was on schedule, the rest of the swing had a better chance to align with the target.
Quick Reference: Drills At-a-Glance
| Drill | Setup | What it trains |
|---|---|---|
| Trail-to-Lead drill (Step-Through) | Ball centered, feet shoulder-width, light knee bend | Weight transfer timing, hip drive, solid impact |
| Slow-Motion Transfer Practice | Half-speed swing with cue towel | Feel of transfer sequence, posture integrity |
| lead-Only Contact Drill | Tee ball, lead-side alignment stick | Impact awareness on lead foot, contact consistency |
| Hip-Drive Drill | Normal stance, no extra equipment | Equates hip action with forward weight shift |
| Balance-Building Drill | Towel under trail foot, narrow stance | Prevents sliding, reinforces forward transfer |
Frequently Asked Questions
- How much weight should transfer to the lead foot at impact? There isn’t a universal percentage. Aim for the majority of your weight on the lead foot at impact,while maintaining balance and a stable posture. Individual differences in height, flexibility, and swing style will influence exact numbers.
- Is weight transfer more critically important than swing path? Weight transfer is a foundational driver of a repeatable swing. It sets up the path and contact quality. A good swing path without proper transfer is less effective, and conversely, proper transfer can compensate for small path variances.
- Can I overdo weight transfer? Yes. excessive forward lean or early release can cause weight to rush forward, resulting in fat shots or loss of control.The goal is controlled, athletic transfer, not a jarring lunge toward the ball.
Resources and References
- Biomechanics of Golf by James White and colleagues
- Golf Digest articles on weight shift and impact position
- PGA Tour instructional videos on energy transfer and posture
- Club-specific coaching programs focusing on fundamentals and transfer sequencing