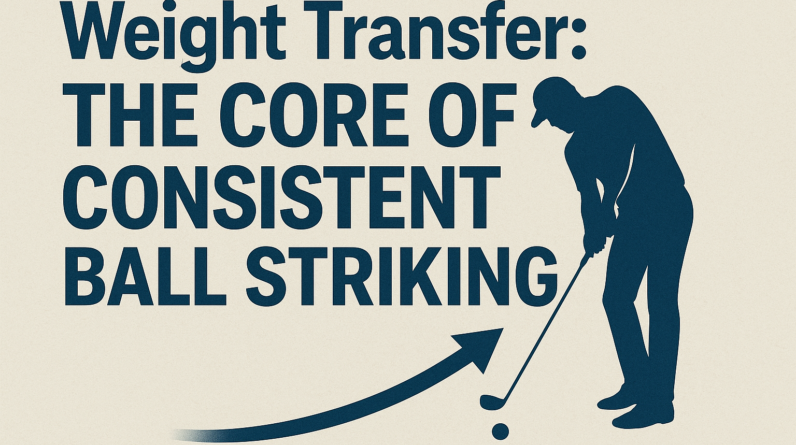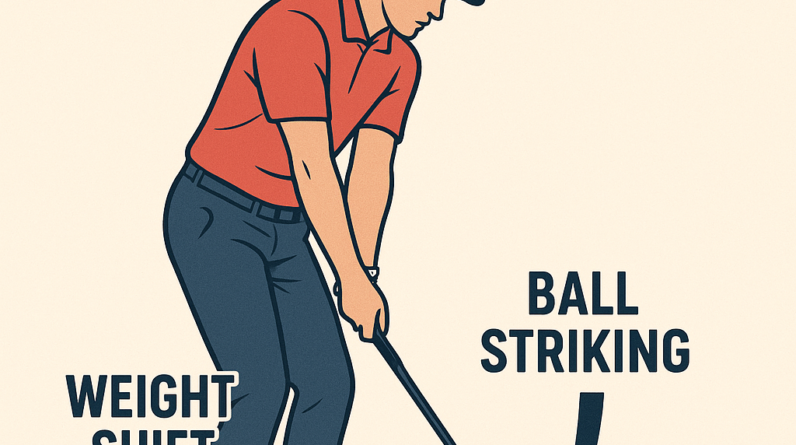

Weight Transfer: The Key to Consistent Ball Striking
In this focused lesson, we’ll zero in on weight transfer—the way you move your body’s weight from the back foot to the front foot during the swing. When done well, it helps you strike the ball more consistently, with better contact and more solid distance. Let’s keep the focus tight and practical.
What this concept is
- Weight transfer is the orderly shift of your center of gravity from the trail foot (right foot for right-handers) in the backswing toward the lead foot (left foot for right-handers) through impact and into the follow-through.
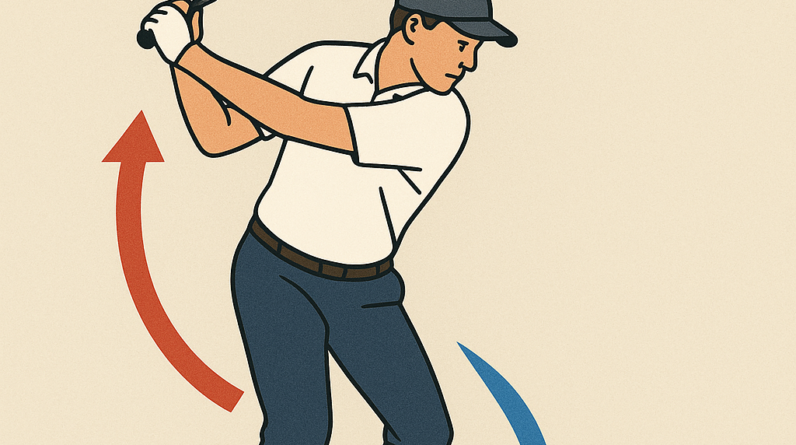
- Think of it as a controlled “load and unload.” You load toward the trail foot on the backswing, then unload toward the lead foot as you swing down and through the ball.
- Proper transfer helps you maintain spine angle, lag, and a square clubface at impact, which all support solid, repeatable ball striking.
Why it matters to the golf swing
- Consistent contact: When weight shifts correctly, your low point stays where you want it and you avoid thin (top of the ball) or fat (ground) shots.
- Better sequencing: A smooth transfer helps your hips rotate in the right order, letting the arms release the club naturally instead of manipulating the shot with arms alone.
- Increased power and control: A solid transfer allows you to crush the ball with more speed while maintaining control over direction and trajectory.
What the golfer should feel when doing it correctly
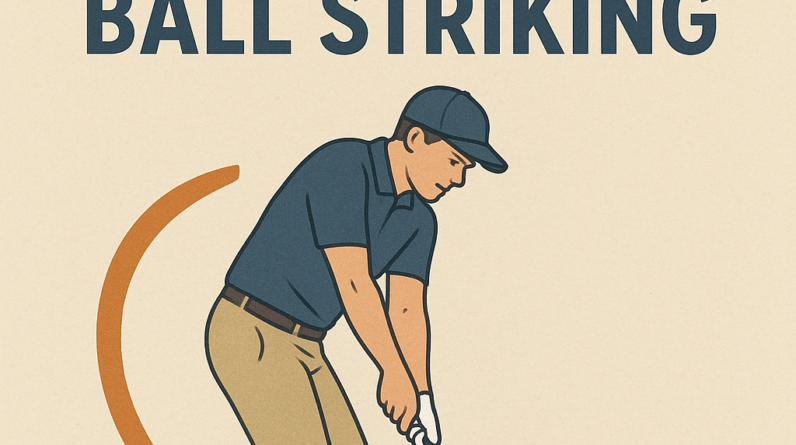
- In the backswing, you feel most of your weight resting on the trail (right) foot without collapsing the left knee.
- At the transition, you sense a deliberate shift toward the lead (left) foot as your hips begin to rotate toward the target.
- At impact and through the finish, you feel your weight firmly on the lead foot, with the trail knee streaming toward extension and the body balanced over the target line.
2–3 common mistakes and how to fix them
- Mistake 1: Weight stays on the back foot through impact
- Fix: Feel the pressure move toward the lead foot as you approach impact. Practice with slow, three-quarter swings focusing on transferring weight exactly as the club reaches the ball. Keep your lead knee flexed and your spine angled toward the target.
- Mistake 2: Weight shifts too early, especially during the backswing
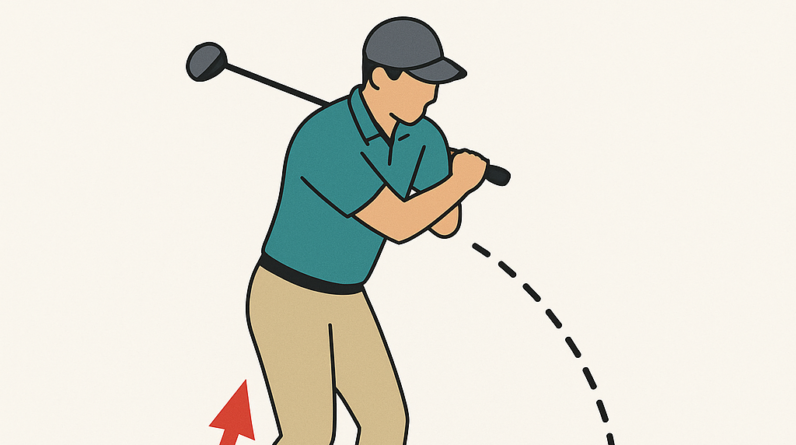
- Fix: Maintain more balance on the trail foot during the backswing. At the top, initiate the move by rotating the hips and guiding the weight forward. A brief pause at the top (half a second) can help you feel the correct timing before you deliver to impact.
- Mistake 3: Excessive slide or collapse of the lead knee
- Fix: Keep the lead knee tracking in line with the lead foot without caving inward. Think of guiding your weight straight into the lead foot while maintaining a stable arch and a quiet head.
Simple, actionable fixes for each mistake
- For Mistake 1: Practice a “weight shift drill” at half-swings. Start with most of your weight on the trail foot, then slowly shift to the lead foot as you contact the ball, finishing with your weight visibly on the lead foot.
- For Mistake 2: Use a pause at the top. Take a few practice swings where you pause at the top for 1–2 seconds, then complete the downswing, focusing on initiating the move from the hips and transferring weight just before impact.
- For Mistake 3: Gate the finish. Place a small object (like a towel or a bumper) under your lead knee and aim to keep it steady through impact. If the knee collapses inward, reset and re-check your hip turn and ankle stability, then reattempt.
One easy drill you can do at home or range
Step-Through Weight Transfer Drill
- Stand with feet together and comfortable athletic posture. Lightly bend the knees and feel balanced.
- Take a small backswing and keep most of your weight on the trail foot (right foot for a right-hander).
- At the transition, rotate your hips and push your weight forward onto the lead foot. Step your lead foot forward to land in a solid, balanced finish, with most weight on the lead foot.
- Finish with a quiet, controlled follow-through and your chest facing the target. Repeat slowly until the transfer feels smooth, then gradually lengthen to full swings.
Focus on the sequence: load on the trail foot, rotate and transfer to the lead foot, finish with weight over the lead foot. With practice, weight transfer becomes automatic, helping you hit more consistent, solid shots.
Weight Transfer: The Key to Consistent Ball Striking
Understanding Weight Transfer in Ball Striking
Weight transfer is the deliberate movement of your body’s mass from one foot to another during the preparation, contact, and follow-through of a swing or shot. When done correctly, it creates a stable base, optimizes power generation, and preserves control through impact. In many sports—golf, tennis, baseball, and even cricket—the most reliable hitters are those who can consistently move their weight in sync with the stimulus of the ball. You don’t have to be the strongest athlete to benefit; you need to coordinate your body’s mechanics so that momentum travels efficiently through the kinetic chain from the ground up to the implement and finally to the ball.
Think of weight transfer as the bridge between stance and contact. If your weight stays locked over the back foot or shifts too late, you miss the optimal impact window, resulting in loss of power, mis-hits, or arcing paths. Conversely, a well-timed weight transfer aids in stabilizing the spine angle, aligns the hips and shoulders, and allows your arms to deliver a precise, well-timed strike. This article focuses on practical, sport-agnostic principles, so you can apply the concepts whether you’re playing golf, tennis, baseball, or any ball-striking discipline that relies on ground reaction forces.
Key takeaway: weight transfer is not a single move, but a sequence. It begins with setup, continues through loading, and culminates in release and follow-through. Mastery comes from drilling these stages with intention and feedback.
The Science Behind Weight Transfer
To optimize weight transfer, it helps to understand a few core concepts that underpin most accomplished ball-striking actions:
- Center of mass alignment: Keeping the center of mass over the base of support reduces wobble and promotes a stable strike.
- Ground reaction forces: the ground acts as a foundation. Forces generated through the feet drive the hips, torso, and arms toward the ball.
- Kinetic chain: Energy flows from the legs to the hips, then to the torso and arms. A break in this chain interrupts power transfer.
- Timing and sequencing: The sequence in which weight shifts,rotates,and delivers force determines both accuracy and distance.
- Balance under load: A dynamic balance allows you to recover width and control after contact, reducing error margins.
From a coaching perspective, cues that emphasize direction (where your weight is moving) and timing (when to accelerate through the ball) tend to produce faster learning curves. In practise, most players benefit from watching for a simple, repeatable sequence rather than chasing complex biomechanical descriptions.
Key Phases of Weight Transfer in Ball Striking
1) Setup and Address Position
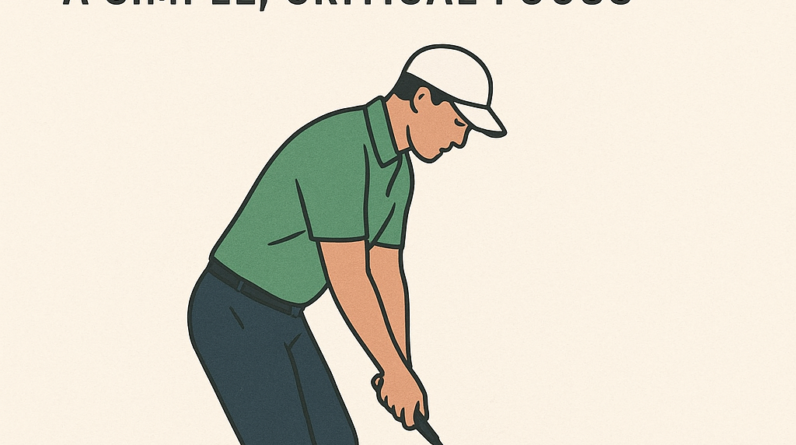
Preparation lays the foundation for effective weight transfer. A balanced, athletic stance with a slight knee bend and hips back helps store potential energy for the swing or contact phase. Your center of gravity should be over or slightly inside the midfoot, not perched heavily on the toes. In golf and baseball, you’ll often hear cues like “drop into your heels” or “feel the ground through the arches.” In tennis,a stable base allows you to shift weight smoothly as you prepare to strike from the backhand or forehand side.
2) loading Phase (Backweight and Coiling)
During loading, you initiate a controlled shift of weight toward the rear foot while maintaining a dynamic spine angle. The hips begin to rotate toward the target, but the upper body remains loaded to store energy. The goal is to create a modest stretch in the hips and torso so that, at impact, you can unwind with maximal velocity. Keep the head still and eyes on the ball to aid timing. A common error at this stage is excessive early straightening of the front knee, which can prematurely crash weight forward and disrupt sequencing.
3) Transition and Peak Weight Transfer
The transition is where weight moves from the back foot to the front foot in a controlled, aggressive manner. For many players, this is the decisive moment that determines whether the strike is clean and powerful. The hips and pelvis rotate through the shot, and the front knee flexes to accept the load. In fast games, you might see a brief “fall” onto the front foot as gravity helps drive the momentum forward.The cue here is “front-side aggressiveness with balance”—you want to feel your weight finishing toward the front side without losing posture.
4) Release,Contact,and Follow-Through
At contact,most energy should be fully transferred into the ball.The release should feel like a coordinated unwinding from the midline outward. After impact, the body naturally continues toward the target with a smooth, balanced finish. A hallmark of good weight transfer is that you end in a balanced position with the chest facing the target and the weight mostly on the front foot (or the lead foot, depending on the sport). If you topple or slide excessively after contact,it often indicates a lag in the transfer sequence or a disruption in balance during the release.
Benefits of Proper Weight Transfer
- Increased consistency: A repeatable weight transfer pattern reduces variability in contact points and ball flight.
- Improved power and distance: Energy stored during loading combines with a clean transition to produce faster ball speeds.
- Enhanced balance and control: A stable base minimizes mishits and off-center impacts.
- Reduced injury risk: Balanced loading reduces excessive stress on joints by distributing forces more evenly.
- Better trajectory control: Proper sequencing helps you shape the ball’s arc more predictably.
Common Faults and How to Fix Them
Fault: Early weight transfer to the front foot
Consequence: Forward-leaning contact, toe hits, or low ball flight. Fix: Pause briefly at the top of the backswing or backswing load to allow a more deliberate transfer,and practice with wall-tenge cues that emphasize keeping weight on the rear foot momentarily before shifting.
Fault: Over-rotation without ground connection
Consequence: Loss of balance and mis-hits. Fix: Add a simple drill focusing on keeping the front knee tracking over the midfoot and maintaining a slight knee flex during the shift. focus on maintaining a direct line from the ground up to the hips.
Fault: Excess lateral drift after impact
Consequence: Reduced power transfer and inconsistent contact. Fix: Drill with a tape line on the ground to coach a straight path through the ball, rebalancing the hips toward the target after contact, not across it.
fault: Rigid upper body and stiff wrists
Consequence: Stalling energy transfer and poor timing. Fix: Integrate light rhythm work, such as swinging with a soft grip and a looser wrist action to promote a natural unwinding of energy through the hit.
Practical Drills and Practice Routines
Below are practical drills you can incorporate into your weekly training.They are designed to build awareness of weight transfer, improve timing, and stabilize your base. Perform each drill in sets of 6–12 repetitions, depending on your sport, with a 60–90 second rest between sets.
- Split-stance load drill: In a ready stance, step into a split-stance (front foot forward, back foot back) and practice shifting weight from back to front while keeping a stable torso. Do 3–4 sets per side.
- Wall-tush drill for forward transfer: Stand with your back against a wall, perform a back-swing and forward transfer while lightly touching the wall with your tailbone to ensure no excessive backward movement. focus on a clean, controlled transfer into the front foot at contact.
- ceiling-to-ball rhythm drill (golf/tennis): Use a light ball or a practice ball; start with a small backswing, then transfer weight as you strike toward a target. Emphasize a smooth unwind and balanced finish.
- Balance pad or wedge drill: Stand on a balance pad or small wedge to challenge stability as you execute a minimal swing or shot. The goal is to feel the weight shift without losing posture.
- Step-through drill: Take a small step toward the target as you strike, encouraging forward weight transfer and a controlled follow-through. Use a beat-count cue (1-2-3-4) to time the move.
- Rotational wind-up without ball: Practice a full torso rotation with weight loading,then transition to the front foot without a ball.This builds the sequencing of hips,torso,and arms for better transfer.
Case Studies and first-Hand Experiences
Case Study A – Golf Enthusiast: A recreational golfer, 42, struggled with inconsistent ball flight and distance. After a four-week program focusing on weight transfer, he reported a 15–20% betterment in accuracy and a noticeable gain in total driving distance. The key adjustments were a deliberate load onto the back foot during the takeaway, a shorter but more potent transition to the lead foot, and a balanced finish with the chest facing the target.
Case Study B – Tennis player: A junior tennis player improved on serve consistency by emphasizing a smooth weight shift from the back foot into the front foot during the ball toss. The serve speed increased while net errors decreased, due to better balance and timing through impact.
Case Study C – Baseball Hitter: A high-school slugger implemented a drill routine to optimize weight transfer during the swing. He reported fewer mis-hits and more consistent line drives after focusing on the sequencing of loading, transitioning, and releasing, with emphasis on hip rotation aligning with the front foot striking the ground.
Weight Transfer quick Reference
The table below summarizes cues, focus areas, and common faults for quick, at-a-glance guidance. It uses WordPress-amiable styling to align with typical post editors.
| Cue / Phase | What to Do | Common Faults | Fix |
|---|---|---|---|
| Setup | Balance and posture; weight over midfoot | Heel heavy or toe heavy | Adjust stance width; practice with mirror cues |
| Load | Backweight maintained; torso coiled | early front-side pressure | Pause slightly at the top; feel a hinge-like load |
| Transition | Weight shifts to front foot; hips rotate | Excess lateral drift | Step/line drill; keep chest angled to target |
| Release & Contact | forward unwind; contact centered | Over-rotation or arm-dominant hit | Improve sequencing; reduce grip tension |
| Finish | Balanced, target-facing finish | Post-impact collapse | Post-shot balance drill; hold finish position |
Equipment and Environment Considerations
Even the best weight transfer technique can be undermined by equipment choices or surface conditions. Here are practical considerations to ensure your environment supports proper transfer:
- Flooring and surface: Practice on a level, non-slip surface. Avoid slick floors that encourage slipping or misalignment during weight shift.
- Equipment fit: Ensure your bat, racket, club, or sport-specific implement is properly sized for your height and strength. A mismatch can mask proper weight transfer and mislead practice cues.
- Ground feedback: Use lines, mats, or tape to visualize the weight transfer path. This can definitely help you internalize the correct sequence more quickly.
Progression Plans and Tracking
A structured progression helps you build consistent weight transfer over time. Consider the following plan:
- Week 1–2: Focus on setup and load cues. Use mirrors or video feedback to confirm weight distribution and spine angle.
- Week 3–4: Introduce the transition cue. Add light movement drills to reinforce front-foot loading without sacrificing balance.
- Week 5–6: Integrate release and follow-through.Begin to test with a ball and measure contact consistency.
- Week 7 onward: Increase intention and complexity (varied speeds, different ball placements, and fatigue testing) to ensure transfer holds under pressure.
Tracking options include simple notes on consistency, a numeric rating after sessions, or short video clips for visual feedback. The goal is to create a clear map of improvement and identify which cues produce the most reliable results for you.
Frequently Asked Questions (FAQ)
Q: can weight transfer improve performance even if I’m older or less athletic?
A: Yes. Weight transfer is largely about timing, sequencing, and efficient use of the ground. With consistent practice, athletes of all ages can enhance balance, control, and power by refining the transfer process.
Q: How long does it take to see improvement?
A: Expect visible progress within 3–6 weeks of focused practice. The exact timeline depends on your current mechanics, frequency of training, and the specificity of your drills.
Q: should I use a coach to learn weight transfer?
A: While self-guided drills work well, a coach can provide real-time feedback, correct subtle faults, and tailor cues to your body type and sport. A few sessions can accelerate the learning curve significantly.
Putting It All Together
Weight transfer is the cornerstone of repeatable ball striking. By understanding the phases—setup, loading, transition, and release—you can build a reliable rhythmic pattern that translates into better contact, more power, and greater control. The beauty of this approach is its universality: the same concepts apply whether you’re teeing off on a sunny golf course, rallying on a fast tennis court, or swinging for a big base hit in the on-deck circle. Start with a simple, repeatable sequence, use feedback to refine your cues, and gradually increase the complexity of drills as your confidence grows. With deliberate practice, weight transfer becomes an automatic, auditory and physical cue—an invisible engine behind consistent ball striking.