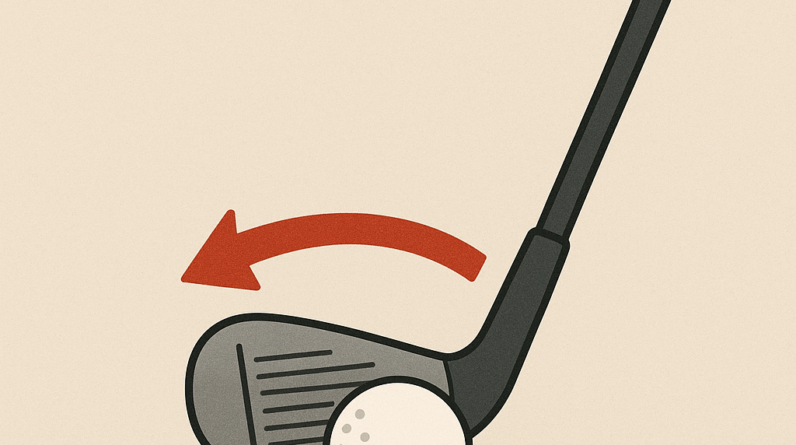
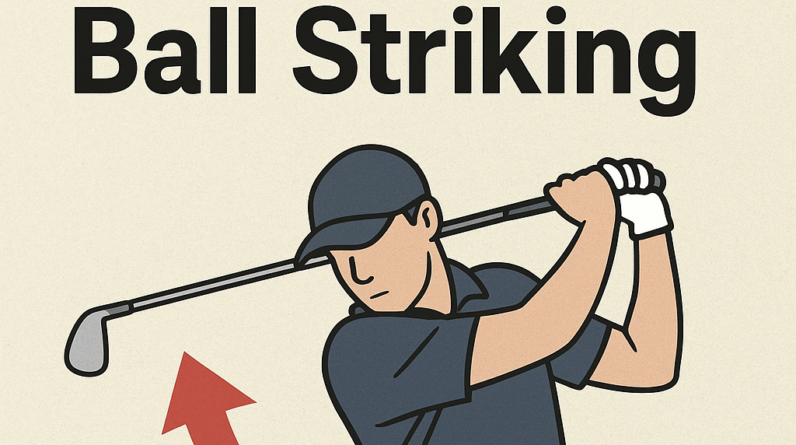
Weight Transfer: The Key to Consistent Ball Striking
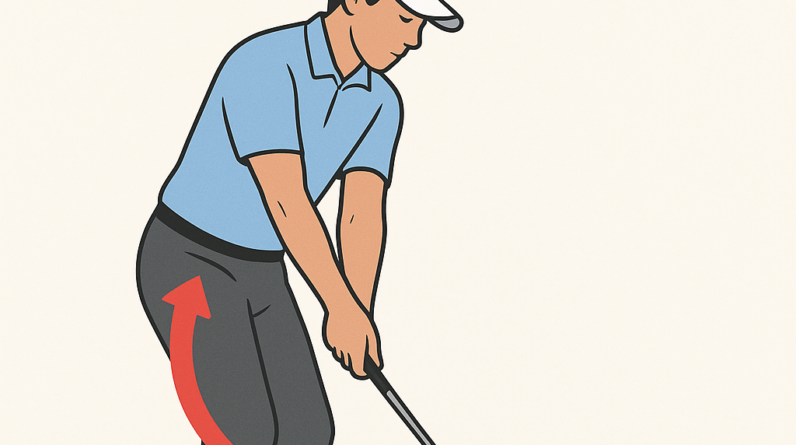
Weight transfer is the deliberate shift of your body’s pressure from the trail foot to the lead foot as you move from backswing into impact and through the finish. It’s not a flashy move; it’s the quiet engine behind solid contact. When done well, your body acts like a springboard, delivering energy from the ground into the club and then into the ball.
What the concept is
In practical terms, you start with most of your weight on the back foot at address. During the downswing you transfer that weight toward the front foot, timing it so the lead side is in control as the club meets the ball. The transfer should be gradual and coordinated with your hips and torso, not a gymnastic lunge or a sudden lurch forward.
Why it matters to the golf swing
- Improved contact: a well-timed transfer helps you strike the ball on the center of the face more often.
- Better distance control: energy moves efficiently from the ground to the club, maximizing speed without overmoving your head.
- Enhanced consistency: steady balance through impact reduces mishits and directional misses.
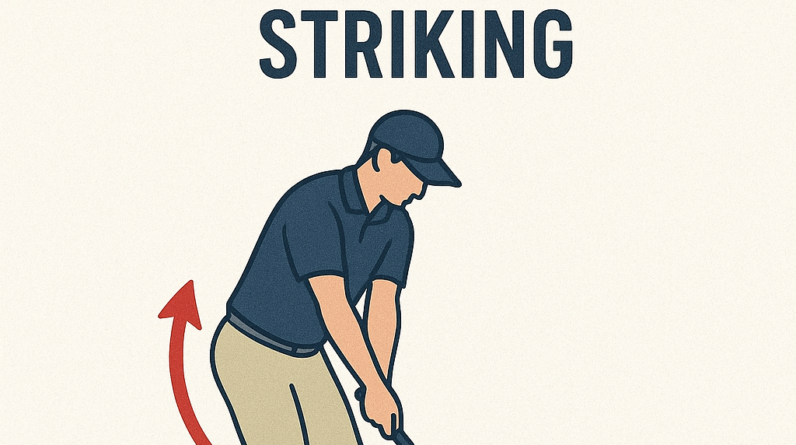
What the golfer should feel when doing it correctly
- A gradual pressure shift from the trail foot to the lead foot, especially through and just after impact.
- Maintained spine angle and balance—no jumping or dipping.
- Chest and torso facing the target after impact with weight settled more on the lead foot.
2–3 common mistakes golfers make with this concept
- Mistake 1: Sticking the weight on the trail foot at impact (not transferring forward).
- Mistake 2: Excessive lateral slide or sway of the hips instead of a controlled turn.
- Mistake 3: Over-tilting forward or rushing onto the toes, losing balance and spine angle.
Simple, actionable fixes for each mistake
- Fix for Mistake 1: Feel a deliberate, gradual shift of pressure toward the lead foot during the downswing. Finish with the majority of your weight on the lead foot. Practice pauses at impact to confirm the weight move.
- Fix for Mistake 2: Focus on a stable rotational turn rather than sliding the hips forward. Use a wall drill (see drill below) to keep your hips squared and the lower body from drifting sideways.
- Fix for Mistake 3: Maintain your spine angle and balance by keeping your head over the center of your stance. Think of rotating around your spine rather than leaning forward onto the toes.
One easy practice drill you can do at home or at the range
Step-Through Balance Drill (no need to hit a ball every rep):
- Take your grip and setup with normal address.
- Make a half backswing and then rotate through impact, but instead of staying planted, step forward with your lead foot as you finish. Your weight should end on the lead foot, chest facing the target.
- Repeat 8–12 times, keeping the transition smooth and controlled. If you wobble, slow down and feel the weight shift before stepping through.
Tip: you can do this drill with or without a ball. If you have a mirror or phone camera, record a few reps to verify your balance and where your weight is at impact.
If you’d like, tell me your dominant miss (thin, fat, push, pull) and your typical address posture. I can tailor a short, focused weight-transfer plan for you and suggest refinements to fit your current setup.
Weight Transfer in Golf: Teh Quiet Engine Behind consistent Ball Striking
The science behind weight transfer in golf
Weight transfer in golf is the purposeful movement of your body’s center of gravity from the trail foot toward the lead foot during the swing. Contrary to a static stance, a golf swing thrives on dynamic balance and timing. The goal is not to pile onto the lead foot at impact, but to create a smooth, well-timed sequence that uses ground reaction forces to amplify clubhead speed while preserving control. In biomechanics terms,the body acts as a kinetic chain: feet push into the ground,legs flex and extend,hips rotate,the spine tilts and maintains angular relationships,the torso uncoils,and the arms and wrists release the club at the right moment.
Key concepts you should know:
- Center of gravity and balance: Maintaining a stable spine angle while shifting weight reduces early release and swing inconsistencies.
- Ground reaction forces: The force you apply into the ground in the early backswing and downswings generates most of the clubhead speed.
- Sequencing: The order in which hips,torso,and arms rotate determines how efficiently energy is transferred from the lower body to the club.
- Impact position: A solid impact position ofen features a stable body, slightly forward tilt, and a square, dispatched clubface relative to the swing path.
When weight transfer is executed well, golfers of all skill levels experience more consistent contact, improved ball flight, and a reduction in compensatory movements that degrade performance.The quiet engine of the swing—weight transfer—helps maintain a steady tempo,reduces tension,and keeps the golfer from overloading the hands at impact.
Sequencing: hips, torso, arms
The classic swing sequence begins with the lower body and proceeds through the torso and arms. Proper sequencing ensures energy is built from the ground up and released at the right moment through the hands and club. This is how weight transfer becomes a reliable ally rather than a guess.
Pre-swing setup
- Feel balanced with a slight knee flex and a light grip pressure.
- Distribute weight evenly between the midfoot and heels, with a tiny bias toward the trail heel.
- Maintain spine angle from setup through the backswing.
Backswing: loading the trail side
- shift weight toward the trail foot gradually while keeping the head steady and eyes on the ball.
- Let the hips rotate slightly while the torso coiling creates stored energy.
- Maintain width in the swing arc to preserve posture and alignment.
Transition and downswing: from hips to hands
- Initiate the downswing with a lower-body move, pushing into the ground from the trail foot to drive the hips toward the target.
- sequence the torso unwinding after the hips rotate, then allow the arms to release the club.
- Keep the head stable and the spine angle intact as you approach impact.
Impact and follow-through
- Lead foot slides or stays planted while the lead knee stabilizes to support a solid impact.
- Clavicle and ribcage position should allow a square clubface through the ball.
- Finish with balanced weight on the lead side and a controlled, full finish.
Common weight transfer errors and how to fix them
- early extension — hips slide away from the ball during the downswing, causing loss of spine angle. Fix: practice with a wall drill or inside-out swing path drills to keep hips under the shoulders.
- swaying rather of rotating — movement of the upper body laterally rather than rotating around a stable axis. Fix: small hip turn drills and towel-under-arm drill to promote rotation without upper-body sway.
- Reverse weight shift — weight moves toward the lead foot too early, reducing power. Fix: tempo-focused drills that emphasize loading the trail hip in the backswing and transitioning weight forward after peak coil.
- Over-rotation of the hips — leading to a loss of posture and inconsistent strike. Fix: rhythm-based drills that emphasize sequencing and maintaining spine angle through impact.
- Head movement and rising — lifting the head during the swing disrupts timing and contact. Fix: post-impact drills that encourage keeping the head steady and eyes down until after impact.
Drills to train momentum,timing,and weight transfer
Below are practical drills designed to ingrain the correct sequence without turning your practice into guesswork. use these in combination with a metronome or tempo trainer to enforce a consistent rhythm.
| Drill | What to Do | What It Teaches | Equipment |
|---|---|---|---|
| Heel-to-Toe Drill | Place a club across your toes; shift weight from heel (trail) to toe (lead) during backswing and through impact, keeping the club face square. | Promotes fore-aft weight transfer and helps feel the path and contact timing. | Club, flat mat or carpet |
| Wall-Post Drill | Stand close to a wall with your back hip lightly touching it. Swings should rotate around the hips without pushing into the wall. | Prevents excessive slide and reinforces hip rotation and trunk control. | Wall space |
| Step-Through Drill | Take your stance, swing to a three-quarter backswing, and step into a balanced finish toward the target. Maintain weight shift from back to front foot. | Develops dynamic balance and proper weight transfer through impact. | Wooden step or marker boards |
| Tempo-Count Drill | Count “1-2-3” during the backswing and transition; pause briefly at the top, then proceed with the downswing to impact. | Improves sequencing and helps you feel the stored energy releasing at the right moment. | Metronome or timer |
| 5-Second Load Drill | From setup, hold the backswing at the top for a 5-second count, then swing smoothly through impact. | Builds awareness of weight loading and storing energy in the trail side before release. | Swing aid or club |
Progressive practice plan
A structured plan helps translate weight transfer concepts into reliable on-course performance. Use this 4-week progression to ingrain the correct sequencing and feel pleasant with the shift from trail to lead foot.
Focus on setup, balance, and spine angle. Do the Heel-to-Toe and Wall-Post drills 15–20 minutes per session, 3–4 sessions this week. Prioritize a smooth tempo and no compensations. - Week 2: Add the Step-Through and tempo-Count drills. Increase to 25–30 minutes per session, maintaining a relaxed grip and stable head position.
- Week 3: Introduce the 5-Second Load drill. Integrate with full swings at 60–70% effort to feel the weight transfer without overpowering the swing.
- Week 4: Combine all drills into a 40–45 minute session with 1–2 full-speed swings near the end. Focus on achieving a balanced finish with most weight on the lead foot and a quiet,controlled follow-through.
firsthand experience and case studies
Case Study A — Amateur to improved contact:
A 36-year-old recreational golfer with a tendency for fat shots started integrating weight-transfer drills into a 4-week routine. After Week 2, his face remained square through impact, and he reported fewer toe-first contacts. By Week 4, his average carry distance increased by 8–12 yards, and dispersion narrowed by 15–20 feet with improved accuracy on mid-to-long irons.
Case Study B — Speed through sequencing:
A high-school golfer who struggled with early extension used sequencing cues to keep hips under the shoulders.Over six weeks, he reported a more stable spine angle, a more consistent strike pattern, and a measurable advancement in swing speed (about 2–3 mph on average) due to better energy transfer from the ground up. Drive shots started flying straighter with less curvature.
Frequently asked questions
- Should weight transfer always move toward the lead foot on every shot?
- Yes, but the degree and timing depend on the club, the shot shape, and your swing mechanics. The key is a controlled, well-timed transfer that starts in the backswing and completes at impact. Overly aggressive weight shift can lead to misalignment or loss of balance.
- Can weight transfer fix a slice?
- Weight transfer is part of the solution. A consistent transfer helps you maintain a square path and stable face angle, but addressing grip, swing path, and face-to-path relationship is also essential for correcting a slice.
- How do I know if I’m transferring weight correctly?
- Indicators include a stable lower body, a balanced finish with most weight on the lead foot, solid contact (not fat or thin), and a smooth tempo without compensations in the torso or head.
- Do short game shots involve weight transfer?
- Yes, though the magnitude is smaller. Short-game weight transfer focuses on controlled micro-movements for precision and touch, notably around the greens where feel and timing are critical.
Glossary of terms
: The point around which a body’s mass is balanced; maintaining alignment here supports balance and consistency. : forces exerted by the ground in response to the golfer’s movement, critical for speed generation. : The moment of contact with the ball,where body alignment and clubface orientation determine ball flight.