Weight Transfer: The Driving Force Behind Consistent Ball Striking
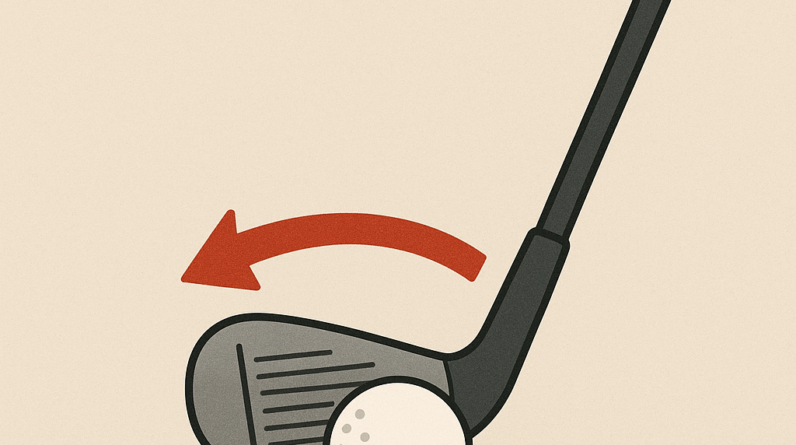
For most players, the single most important factor in solid, repeatable contact is how you move your weight during the swing. Think of weight transfer as a controlled shift of your center of gravity from the trail foot to the lead foot, especially from the top of the backswing through impact. When done well, this transfer helps you strike the ball on the center of the face more often and with better compression.
What the concept is
Weight transfer is not just “pushing off the back foot.” It’s a coordinated sequence: load the trail side on the backswing, then move that weight toward the lead side as you rotate, extend the arms, and strike the ball. For a right-handed golfer, your weight should start balanced, move to the right foot at the top, and finish with most of the weight on the left foot. The goal is to deliver the club to the ball while maintaining your posture and spine angle.
Why it matters to the golf swing
- Improves contact: Centered, solid contact is easier when your weight is over the lead side at impact.
- Increases consistency: A repeatable weight pattern reduces mis-hits and flight inconsistencies.
- Supports power: Efficient weight transfer helps generate speed without collapsing the spine or losing balance.
What the golfer should feel when doing it correctly
- At setup: weight is roughly evenly distributed.
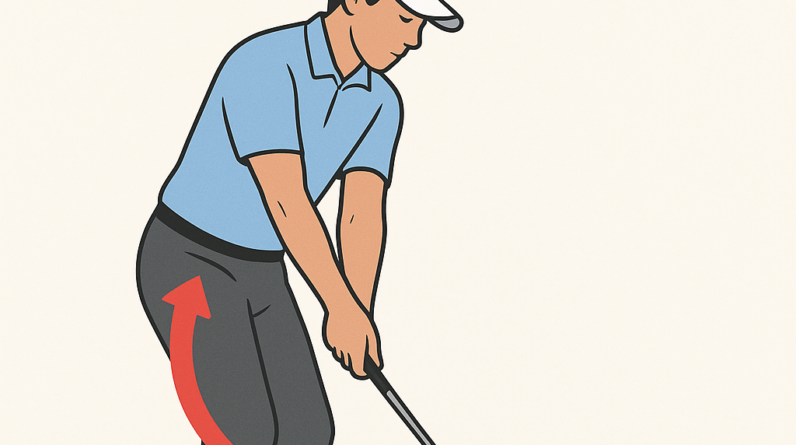
- Top of the backswing: most of your weight sits on the trail (right) foot, with the lead knee lightly flexed and the spine angle preserved.
- Downswing to impact: you feel the weight shifting toward the lead (left) foot as your hips rotate and your chest unwinds toward the target.
- At impact: a firm, balanced feel with the bulk of your weight on the lead foot; you finish with good balance and chest facing the target.
2–3 common mistakes and simple fixes
- Mistake 1: Weight stays on the back foot too long, leading to thin or fat shots.
Fix: Start the downswing with a hip rotation and a deliberate “step” of weight toward the lead foot. A simple cue is to imagine your belt buckle turning toward the target before your arms move. - Mistake 2: Lateral slide instead of rotation (your body slides toward the target rather than turning).
Fix: Keep your spine angle tall and rotate your hips toward the target. Think of keeping your upper body “over the ball” while your hips do the turning, not your feet sliding out. - Mistake 3: Early forward weight transfer (weight moves forward before contact, reducing lag and control).
Fix: Time the transfer with the downswing. Slow down the transition at first, feel the load on the trail side, then shift gradually to the lead side through impact. A tempo cue: 2 counts back (load) and 1 count forward (release).
A simple drill you can do at home or on the range
Step-Through Finish Drill
- Take your normal grip and posture, but start with your feet closer together to promote balance.
- Make a half to three-quarter swing, and as you swing through, step forward with your lead foot (left foot for right-handers) to finish in a balanced, facing-the-target position.
- Pause briefly at finish with most weight on the lead foot, then reset to address and repeat 6–10 times.
Why this helps: the step physically enforces the weight shift toward the lead side and reinforces balance through impact. Do this drill slowly at first, then gradually add speed while maintaining control.
Putting it into your practice
Work this concept before you chase distance or fancy release mechanics. Start with a few easy swings, focus on loading the trail side and then transferring weight smoothly to the lead foot. If you have a mirror or smartphone, do a quick check: at impact, your weight should feel solid on the lead foot and your posture should stay steady.
Bottom line
Effective weight transfer ties together balance, posture, and the timing of your downswing. By feeling the load on the trail foot and then the transfer to the lead foot through impact, you’ll see more consistent contact and more reliable ball flight—perfect for building a solid foundation as you improve.
Weight Transfer: The Driving Force Behind Consistent ball Striking
Understanding the Science of Weight Transfer
Weight transfer in golf is more than a simple shift from one foot too the other. It’s the purposeful sequencing of pressure through the body’s kinetic chain—feet, ankles, knees, hips, torso, and arms—that delivers solid contact, precise direction, and consistent ball striking. When executed correctly, weight transfer uses ground reaction forces to load the body efficiently and release energy at impact.
Key concepts to grasp include:
- Kinetic chain: The body works as a linked system. Efficient weight transfer starts from the ground up and travels through the hips to the torso and arms.
- Center of gravity control: maintaining a dynamic center of gravity over a stable base prevents sway and loss of balance during the swing.
- Ground reaction forces: Ground reaction forces drive the downswing, helping you accelerate the clubhead through impact.
- Phases of the swing: Setup, backswing, downswing, impact, and follow-through each contribute to how weight shifts from trail to lead foot.
In practice,weight transfer is most noticeable in the downswing,where the hips and torso pivot to direct the energy toward the ball. A well-timed transfer creates a moment where the body’s mass and momentum align with the clubface, resulting in consistent ball striking and solid contact.
How Weight Transfer Improves Consistency
Consistency in ball striking comes from repeatable mechanics. When weight transfer follows a reliable sequence, golfers minimize common errors such as early extension, sway, or hanging back on the trail foot. The result is a stable impact location, square clubface, and an even spread of impact positions across the clubface.
Key benefits of proper weight transfer
- Predictable contact: Consistent strike quality—centered on the clubface—reduces mishits and improves control.
- Improved distance control: Efficient energy transfer translates to more consistent ball speed and carry.
- Directional accuracy: Proper weight progression helps the clubface square up at impact, improving accuracy.
- Reduced injury risk: Balanced loading of joints minimizes compensations that can lead to overuse injuries.
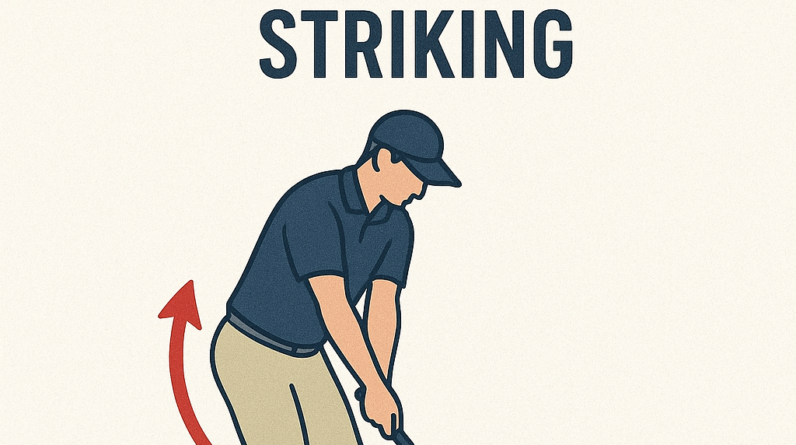
The Mechanics: Why the Lower Body Matters
While the arms and hands shape the clubface, the engine behind great contact is the lower body. A strong, coordinated transfer of weight begins with setup posture, foot position, and knee flex, then accelerates through the downswing as the lead leg accepts pressure.
Ground contact and stability
During setup, you should feel balanced with a slight athletic knee flex. As you swing, pressure shifts from the trail foot toward the lead foot in a controlled manner. Solid ground contact helps maintain posture and prevents early wagon-wheel movement or drift off the ball.
Hip sequencing and torso rotation
hip rotation initiates the downswing. The hips “uncoil” toward the target while the torso and arms follow, creating a favorable lag between the club and hands. This sequencing ensures energy is transferred efficiently from the ground up to the clubhead.
Center of gravity and balance
Maintaining a dynamic center of gravity over the midline of your stance supports a stable, repeatable strike pattern.excessive lateral movement or head drift can disrupt contact and timing.
Practical Drills to Train Weight Transfer
Drills that emphasize weight shift help build a reliable habit loop. Integrate these into your practice routine to reinforce correct sequencing without overthinking the swing:
With feet shoulder-width apart, place most weight on the trail foot during backswing, then shift to the lead foot during downswing. Pause at the moment of peak weight transfer to feel the load progression. Set up with a short backswing, then step toward the target with the lead foot on the downswing to encourage forward weight transfer while maintaining balance. Stand with your back to a wall, hinge at the hips, and practice rotating through impact while keeping low contact with the wall. This helps you feel both torso rotation and weight transfer without losing posture. If you have access to pressure plates or a tracking system, monitor how pressure moves from the trail to lead foot during the downswing. Use the data to cue a smoother transfer. On short games or putts, focus on transferring weight to the front foot as you strike the ball. The cue is to “press into the lead heel” at impact for clean contact.
Common Misconceptions and Fixes
- Misconception: “I must keep all weight on the back foot for power.
- Reality: Efficient power comes from a deliberate shift toward the lead foot and a stable impact position.
- Fix: Practice controlled weight transfer without forcing a big jump forward. Focus on feeling the trail knee straighten and the lead knee flex as weight moves forward.
- Misconception: “Weight transfer means only the hips.”
- Reality: The entire kinetic chain—feet, ankles, knees, hips, torso, arms—participates. Improper loading in any segment disrupts the sequence.
- fix: Build a sense of global balance first, then refine sequencing with drills that emphasize coordinated movement from ground up.
- Misconception: “Weight transfer equals shifting posture aggressively.”
- Reality: Subtle, controlled shifts beat large, unstable movements. Consistency comes from small,repeatable changes in pressure rather than dramatic postural rewrites.
Case Studies and Real-World Examples
Real players experience tangible benefits when they tune their weight transfer. Here are brief snapshots that highlight common improvements:
- amateur to solid contact: A weekend golfer who previously topped shots found more consistent carry after focusing on transferring weight smoothly to the lead side during downswing. Ball speed improved by a measurable margin, and misses reduced on the toe line.
- Distance gain through better sequencing: A mid-handicap player who struggled with early extension learned to keep the spine angle while initiating downswing with pelvic rotation. The result was more centered contact and a modest increase in drive distance.
- Consistency for young players: Junior golfers who practiced directed weight transfer drills reported more repeatable swings and fewer head movements, leading to steadier ball striking under pressure.
Data and Visual Aids
Visual cues and simple data can solidify the concept of weight transfer for players of all levels. The table below summarizes the weight transfer sequence and what to feel at each phase. It’s designed to be a speedy reference during practice sessions.
| phase | Key Movement | Common Error to Avoid |
|---|---|---|
| Setup | Balanced stance with slight knee flex; weight evenly distributed | Locking onto the ball with the body leaning excessively |
| Backswing | Load weight onto the trail foot; hips rotate away from the target | Early extension or sway; losing posture |
| Downswing | Shift weight toward the lead foot; hips clear the line; torso rotates | Reverse weight shift or hanging back |
| Impact | Center of gravity over the lead foot; firm,quiet contact | Head height loss or clubface open at impact |
| Follow-through | Full rotation; balanced finish with weight on lead side | Loss of balance or collapsing posture |
First-Hand Experience: A Player’s Journey
During coaching sessions,I’ve watched players move from inconsistent contact to reliable center hits by prioritizing weight transfer. One student, a competitive amateur, described the shift as changing from “trying to punch the ball” to “letting gravity and hips do the work.” The change was measurable: more on-center hits, improved dispersion of shot directions, and a noticeable gain in confidence under pressure. The key takeaway was repeating a simple cue: feel the trail-leg load, then feel the lead-leg drive through impact while maintaining posture.Over several weeks, the swing became smoother, and the ball stayed online more often.
Benefits of Proper Weight Transfer
- Enhanced contact quality across the clubface
- More consistent ball speed and distance control
- Improved radius of swing and better on-plane delivery
- Lower injury risk through balanced loading and reduced compensations
- Better adaptivity to different clubs and shot shapes
Tips for Implementation and Practice Plan
Incorporate these ideas into a practical,progressive plan that targets weight transfer without overcomplicating the swing:
- Baseline assessment: Record a few swing videos focusing on foot pressure and hip rotation. Note if the weight shifts smoothly or stalls on the trail side.
- Week 1 — Awareness: Do wall drills and split-stance practice to feel the weight transfer without a ball. Emphasize balance and posture.
- Week 2 — Transfer sequencing: Add slow-motion swings with a shorter backswing, focusing on initiating the downswing with the hips and guiding weight onto the lead foot.
- Week 3 — Ball integration: Introduce midpoint swings with a short iron. Maintain the sensation of a progressive weight shift while striking the ball with compact tempo.
- Week 4 — Real-world application: practice on the range with a few target changes. Use cues like “load, rotate, drive” to recall the sequence during a full swing.
Pro tip: Use a mirror or video feedback to verify that your trail foot is bearing weight during the backswing and that you transfer weight to the lead foot through impact. Small, repeatable adjustments beat big swings that chase distance but sacrifice contact.